Bambu Lab A1
- Set Printer to Automated Mode: Please follow the instructions here to set your printer to automated mode.
1.0 What's in the Kit
- 2 x Tilt Brackets (A1, A2)
- Tilt Bracket Left (A1)
- Tilt Bracket Right (A2)
- 1 x Ejection Guide (A3)
- 2 x Rubber Feet
2.0 Install Tilt Kit
-
Carefully lay the printer on its left side and slide the bed all the way to the back of the printer.
-
Hook the ejection guide (A3) into the cavity on the bottom surface of the printer, and rotate the part until it snaps into place:
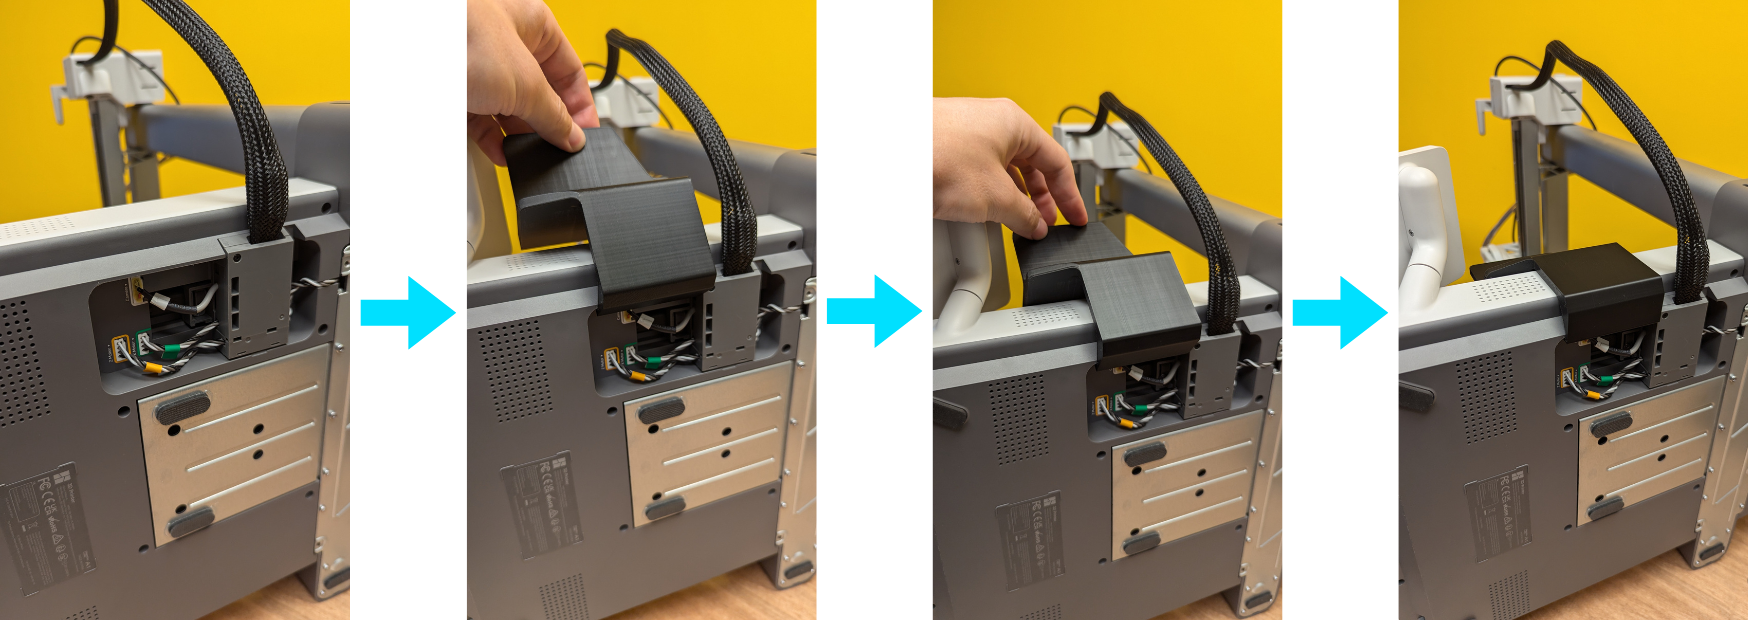
-
Place the printer back upright. The ejection guide (A3) should sit just behind the LCD, slotting under the bed as shown below:
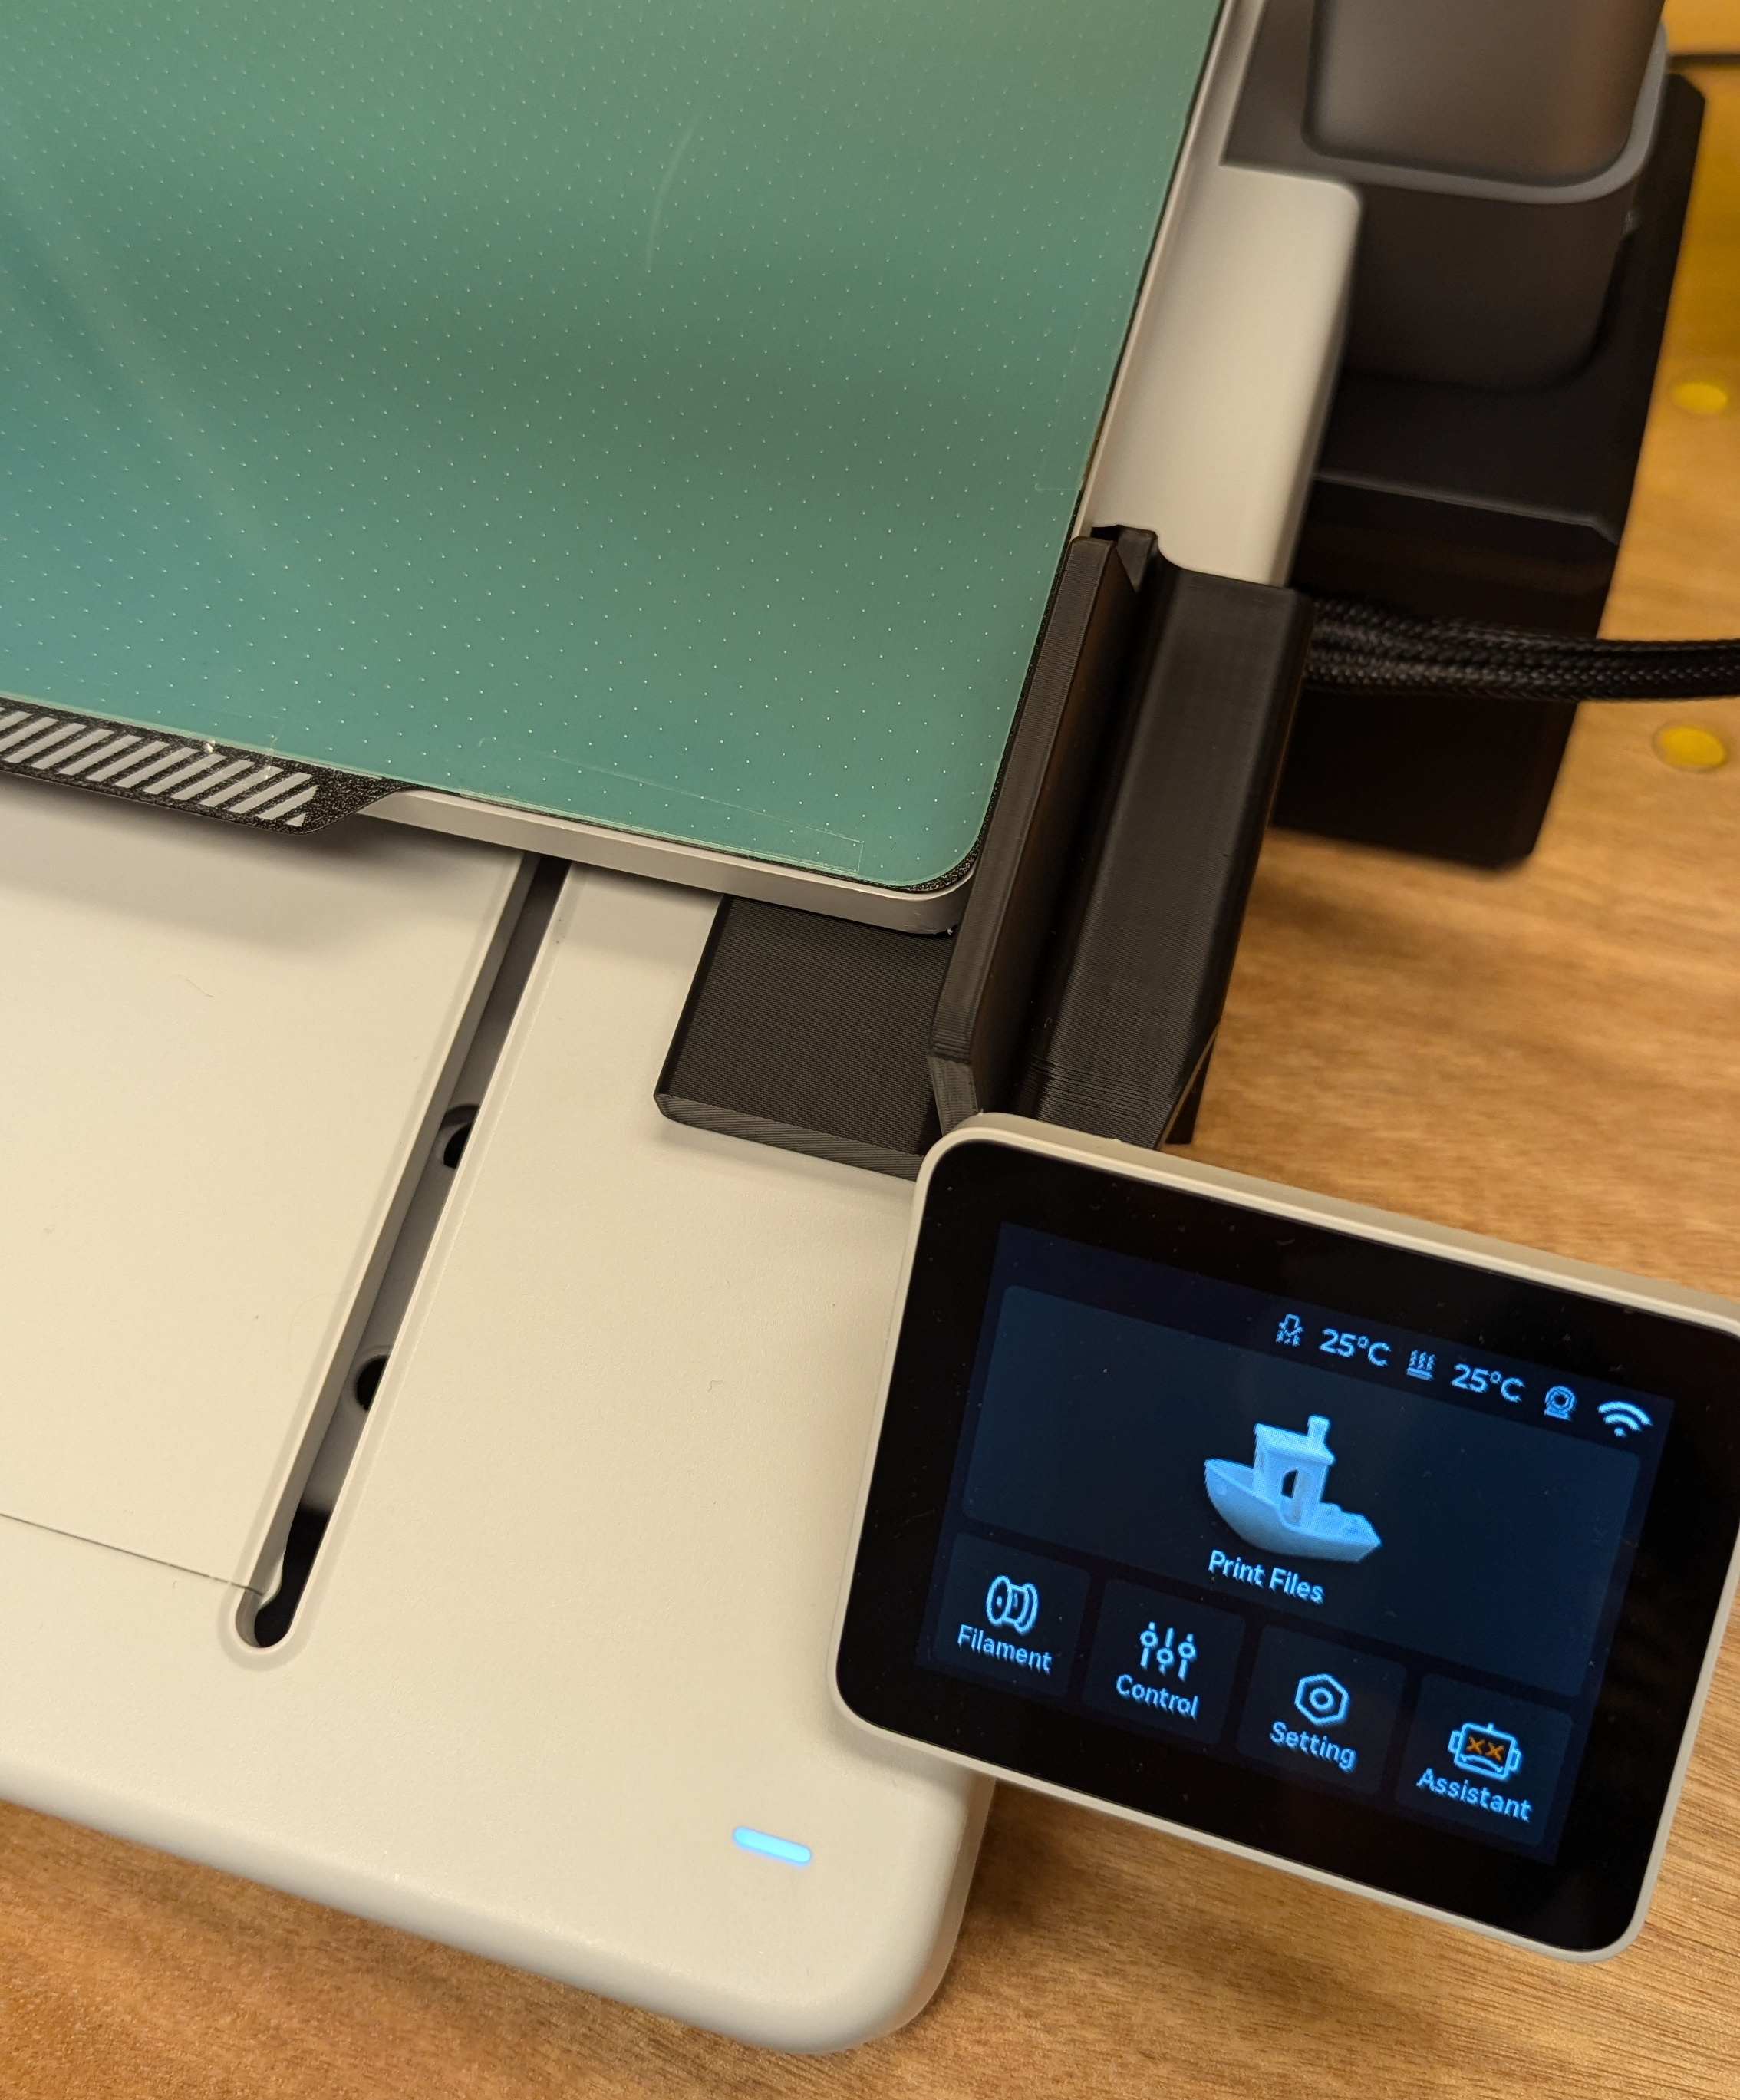
-
Using the provided rubber feet, peel off the adhesive backing and adhere to the bottom of the tilt brackets (A1, A2) (If not pre-installed):
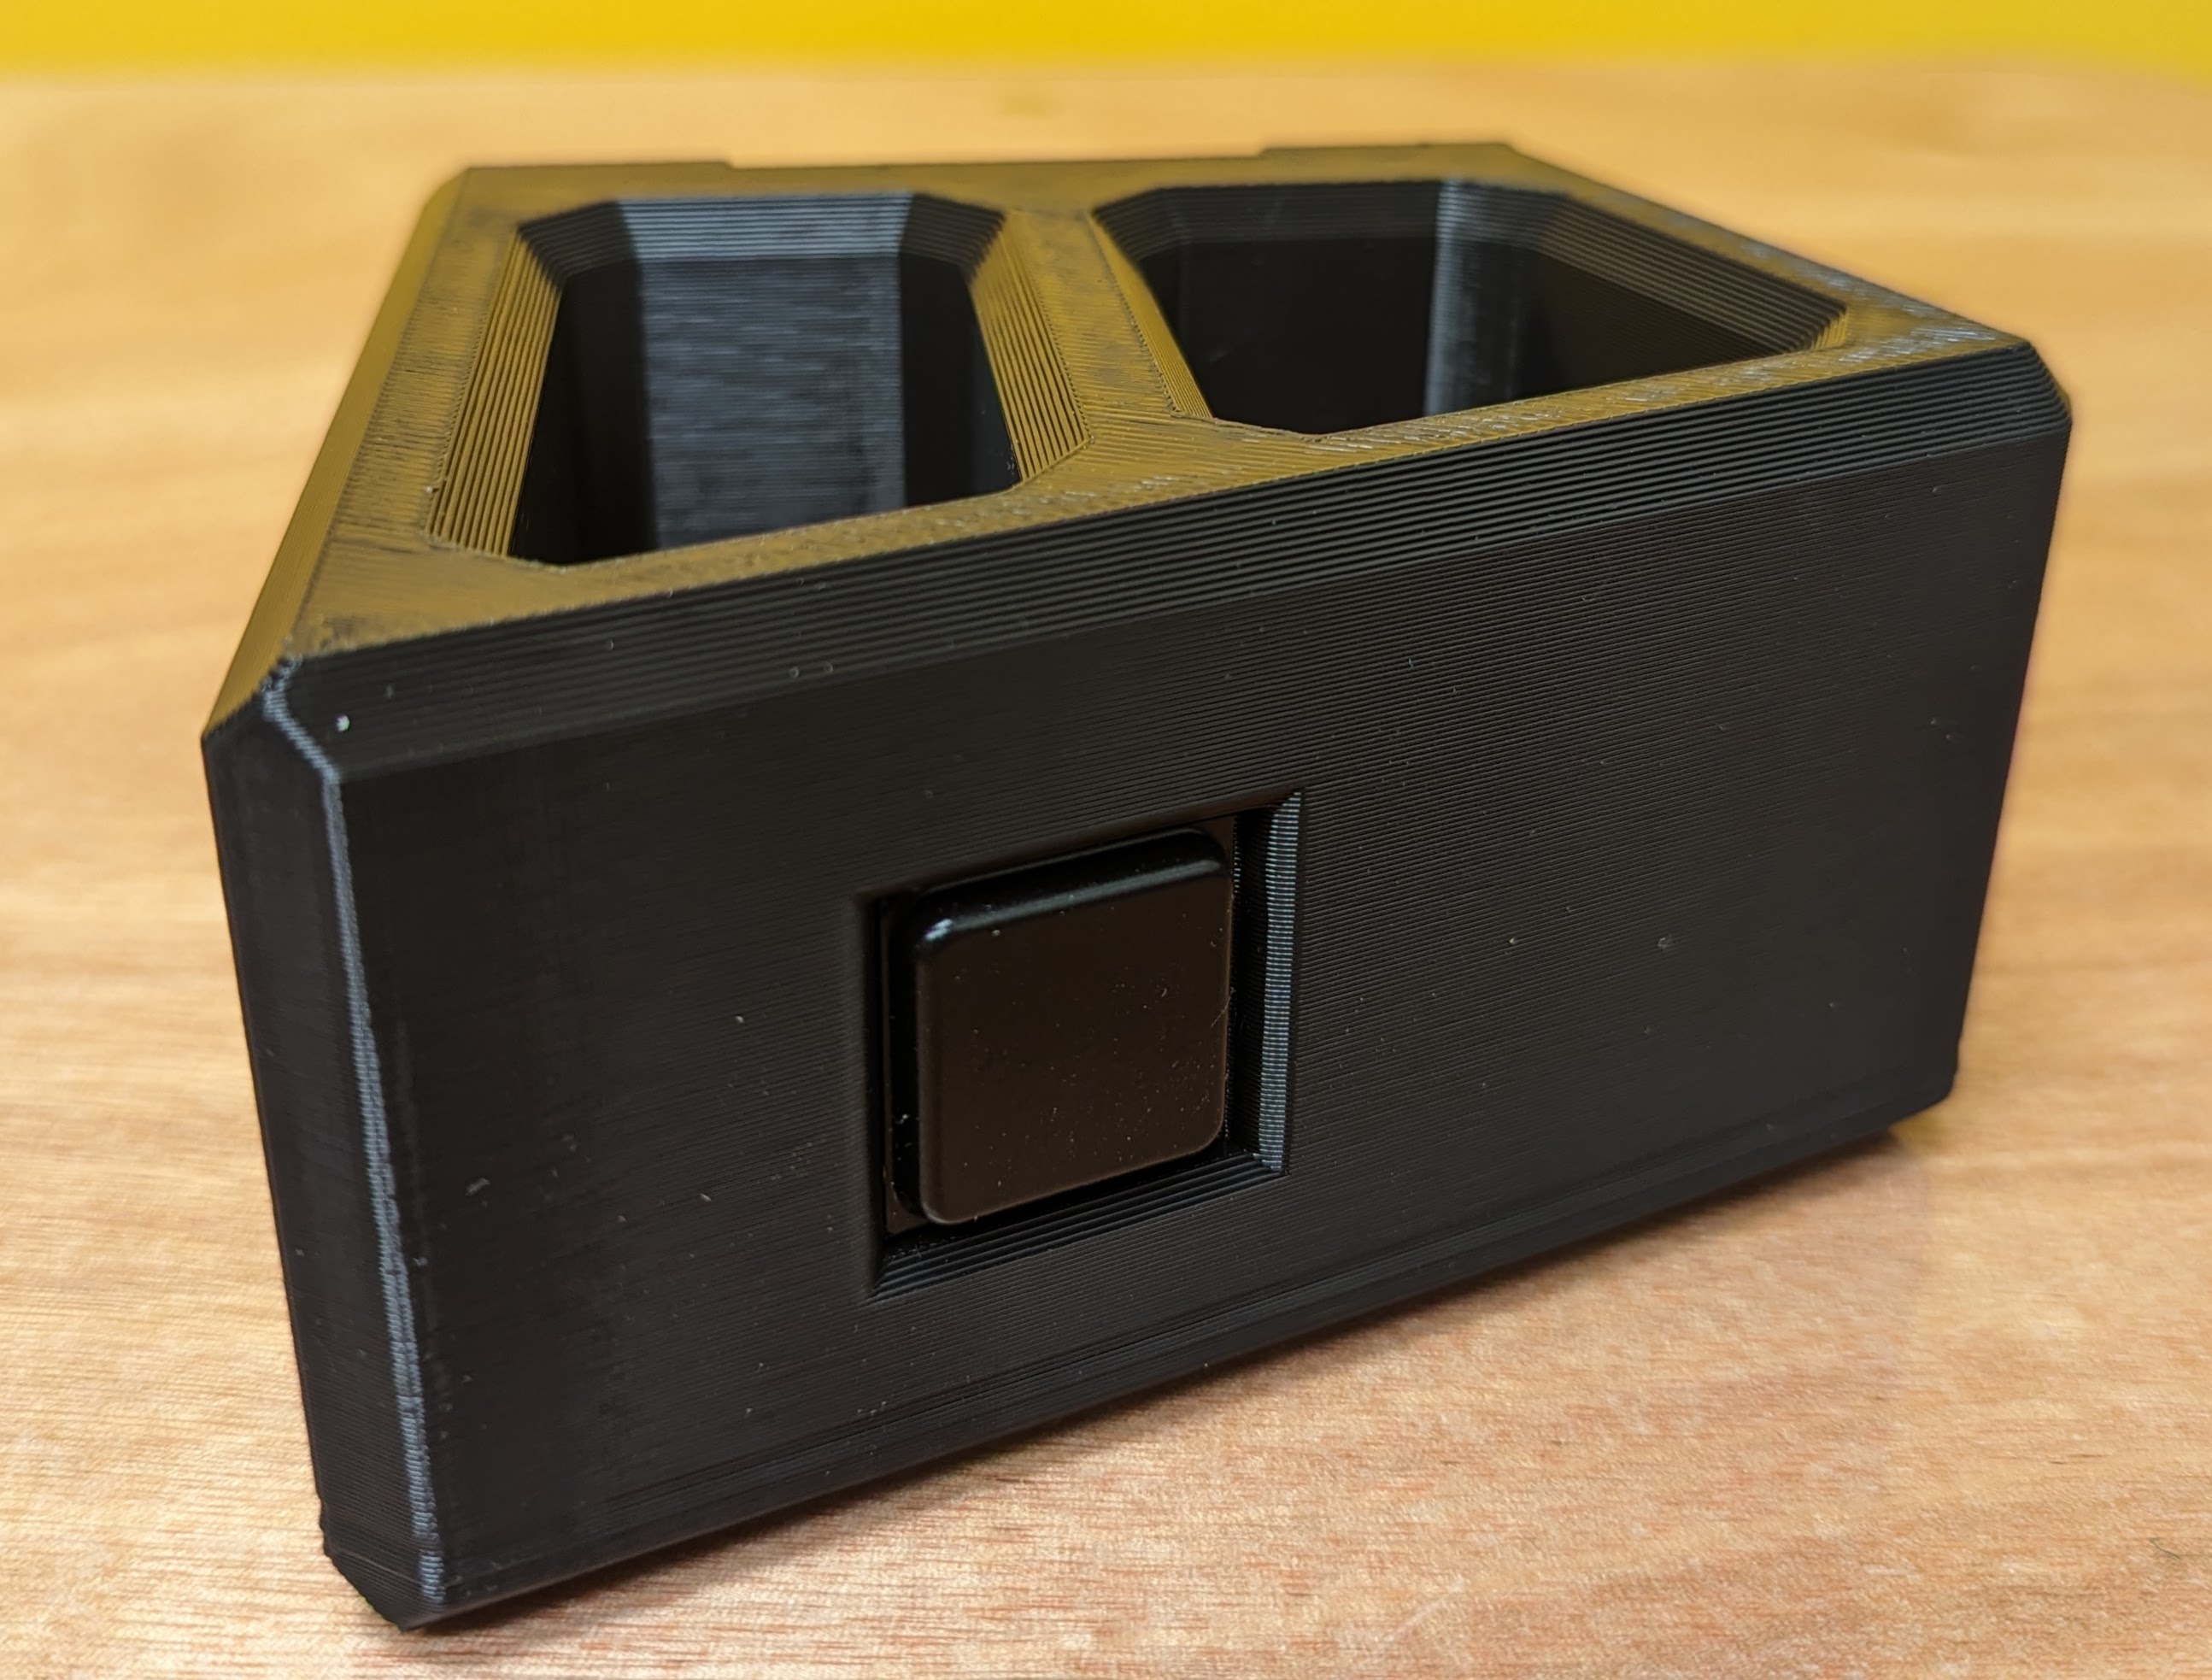
-
Carefully tilt the printer forward ~20° and slide the tilt brackets (A1, A2) inward from each side, ensuring the indents on the tilt brackets slot around the base of each arm of the printer:
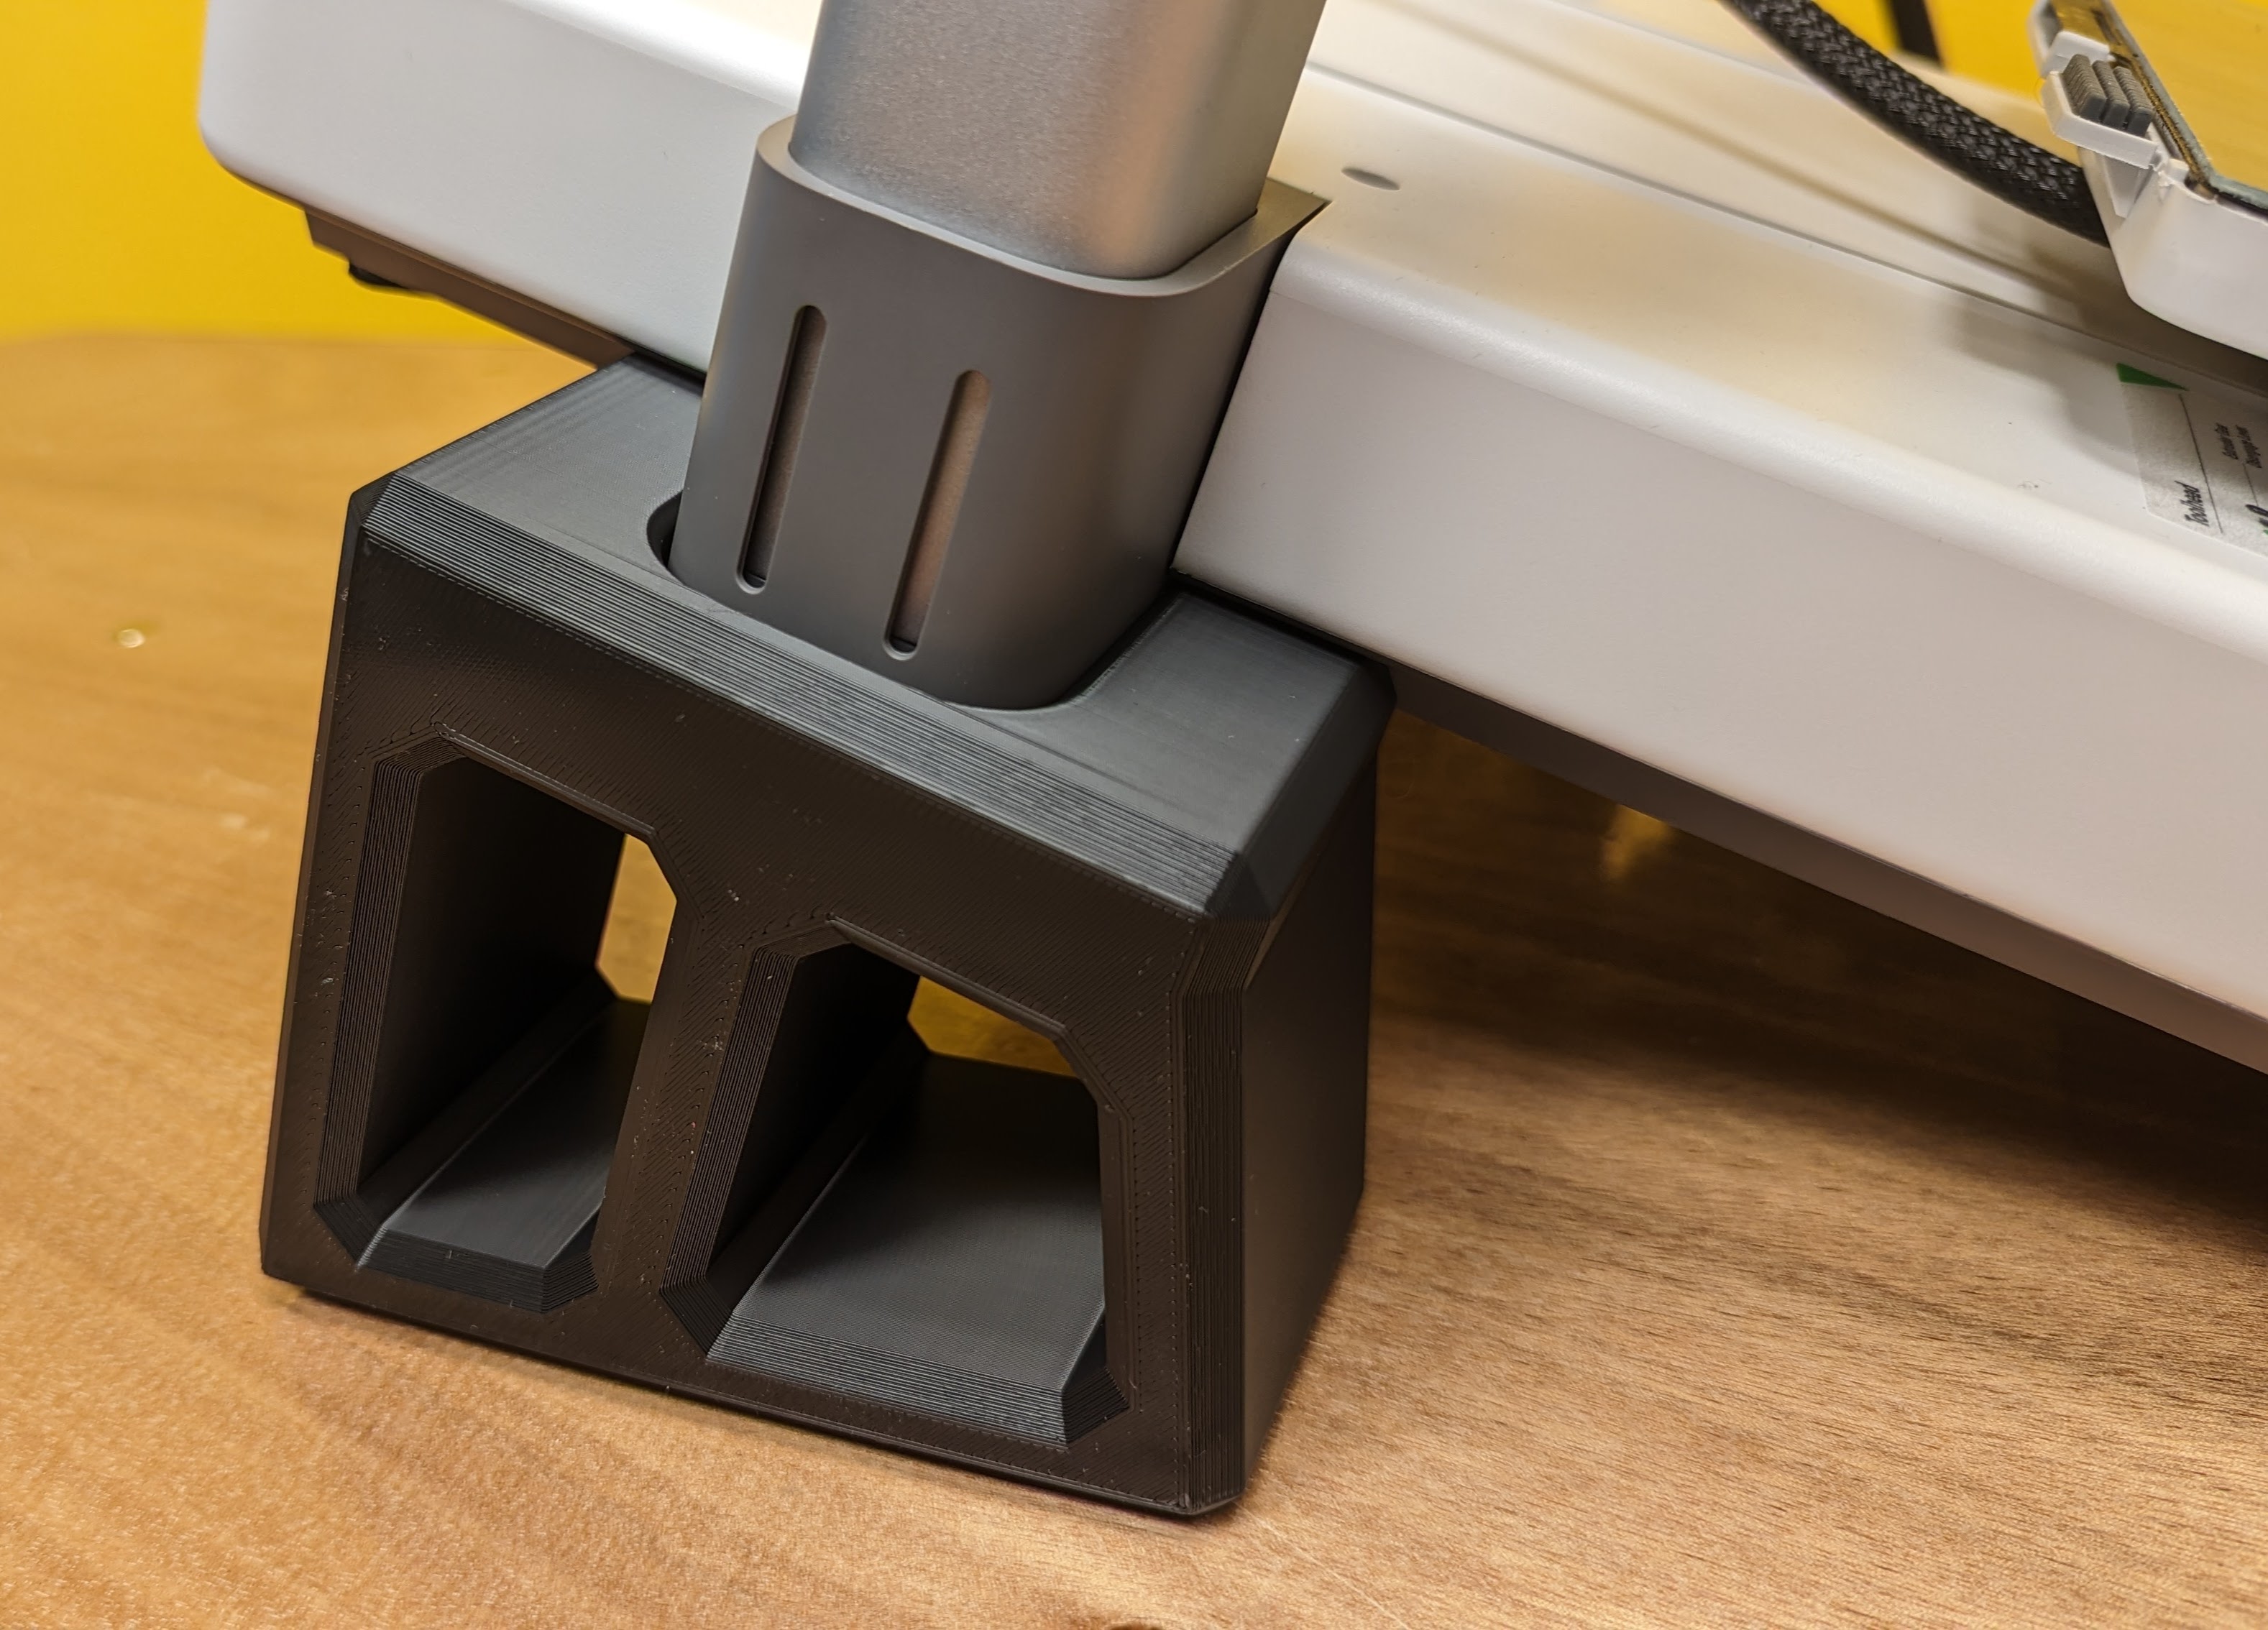
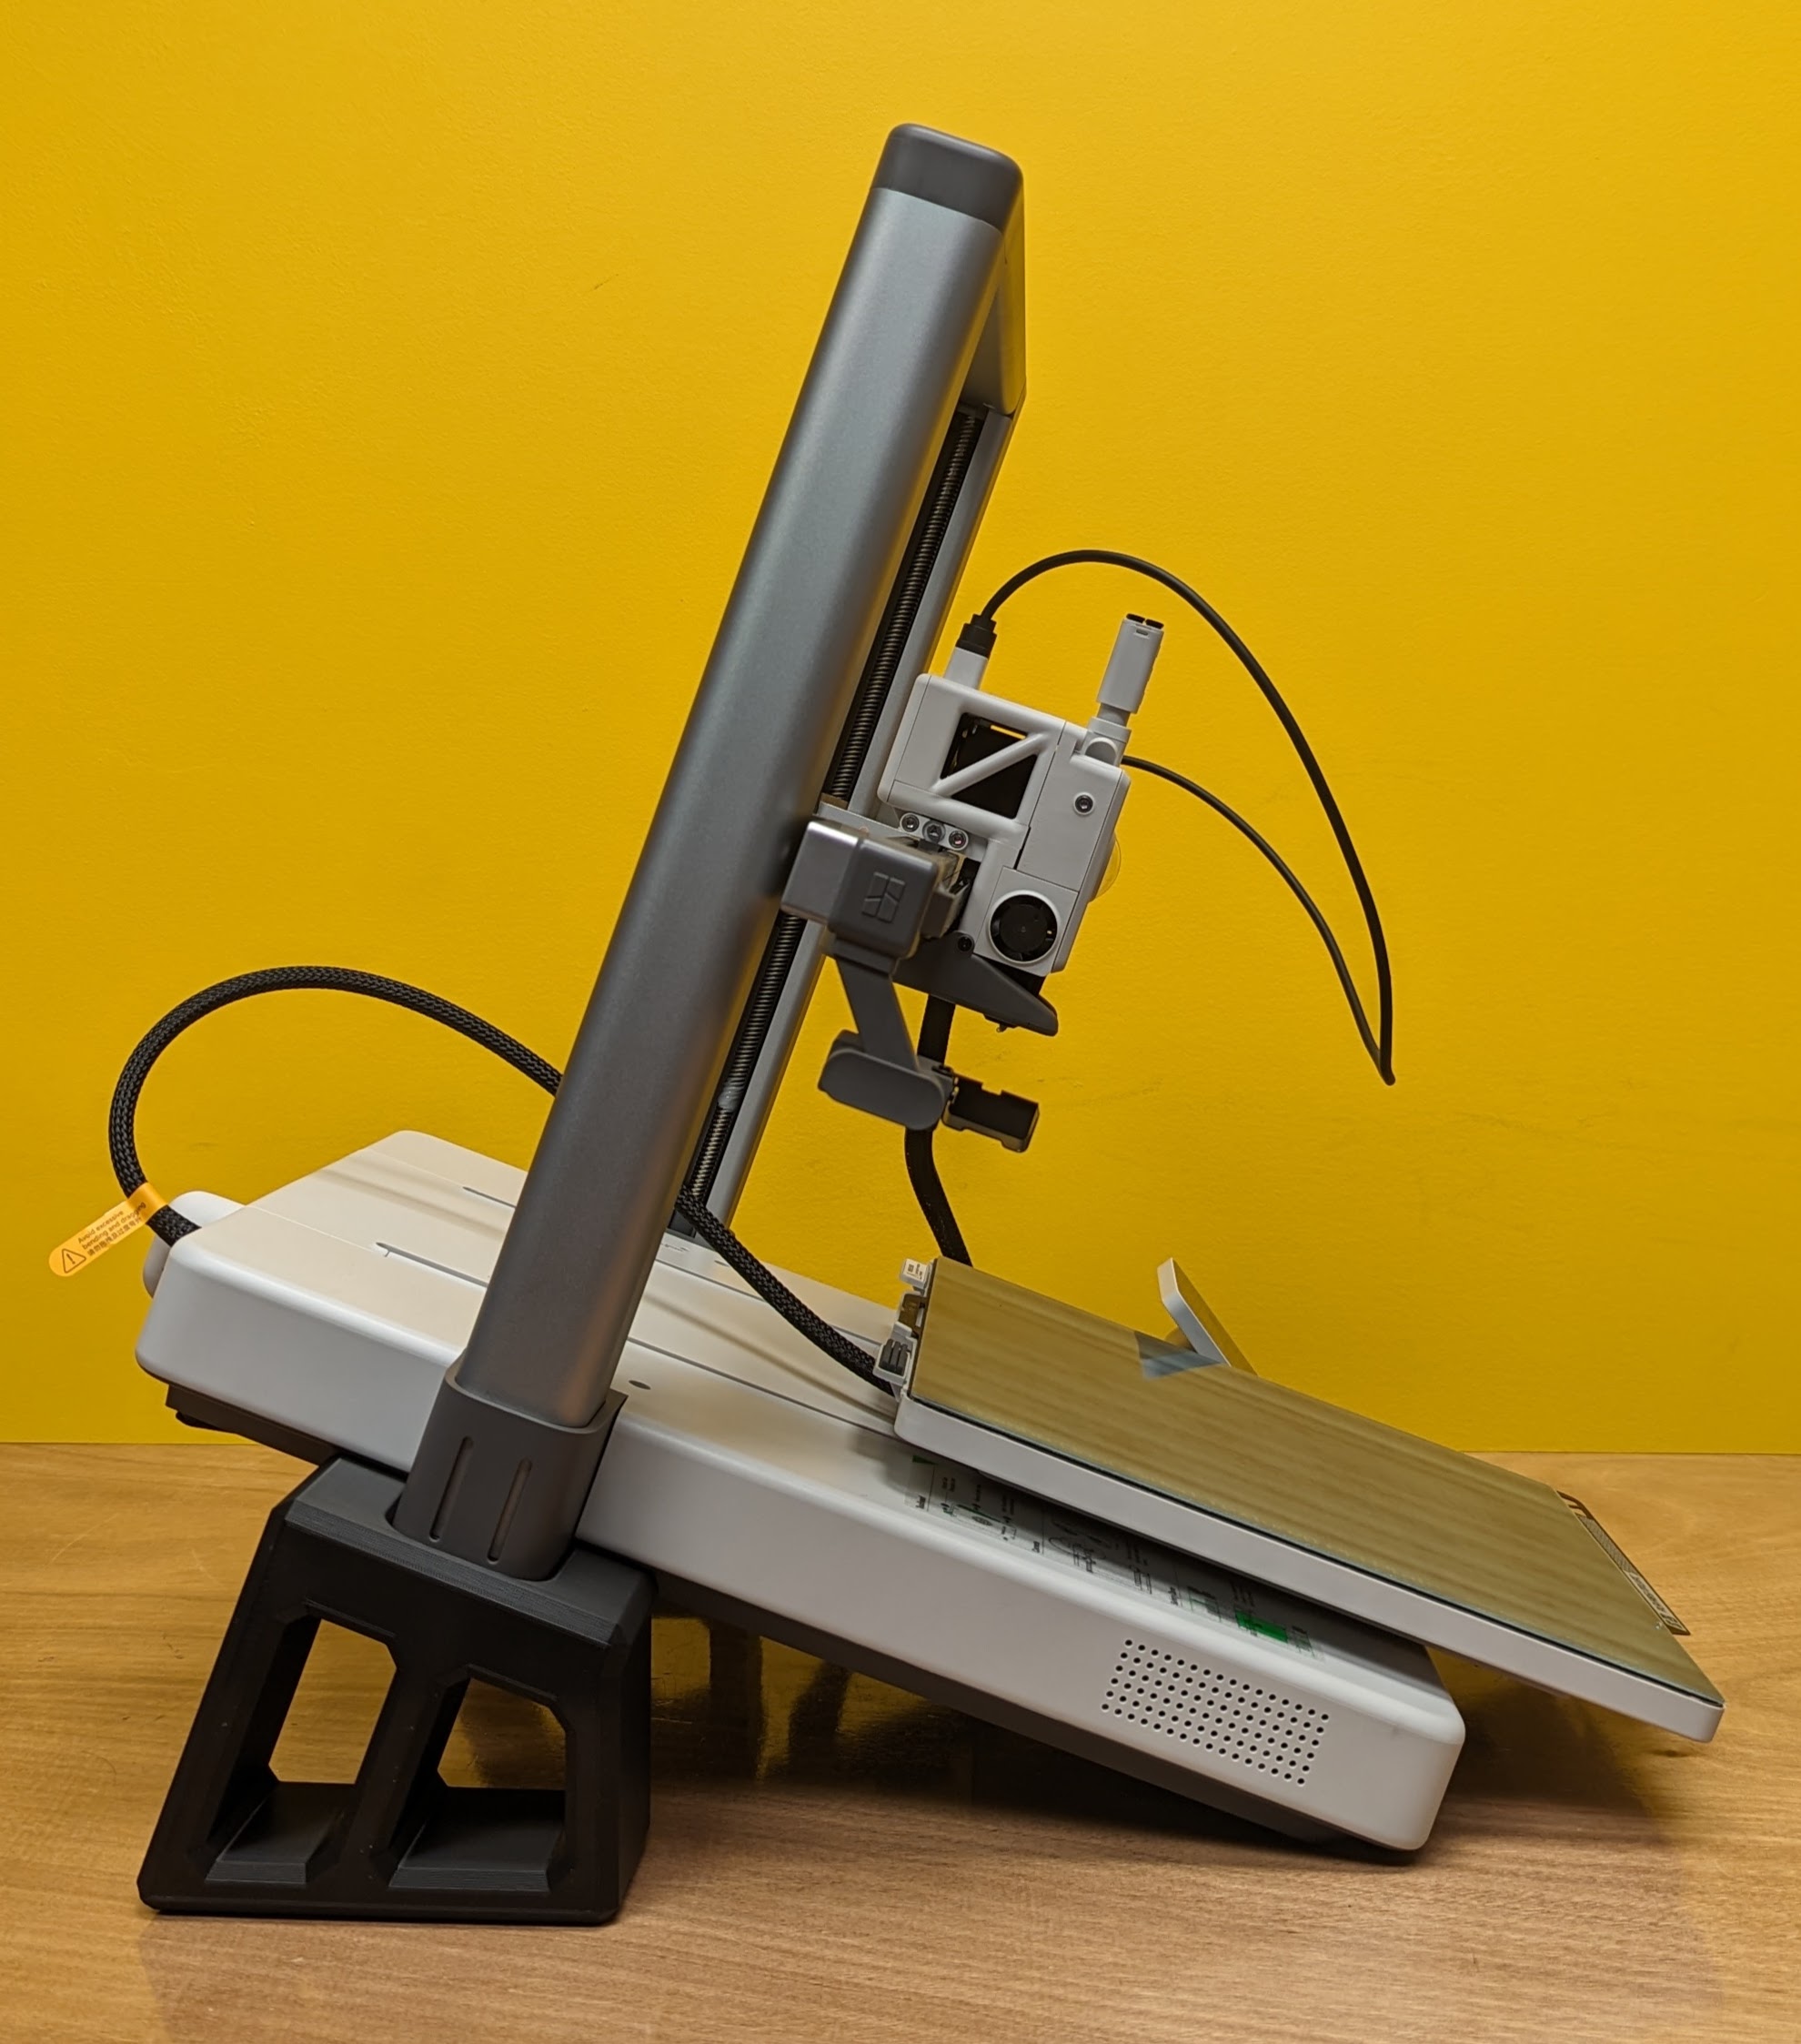
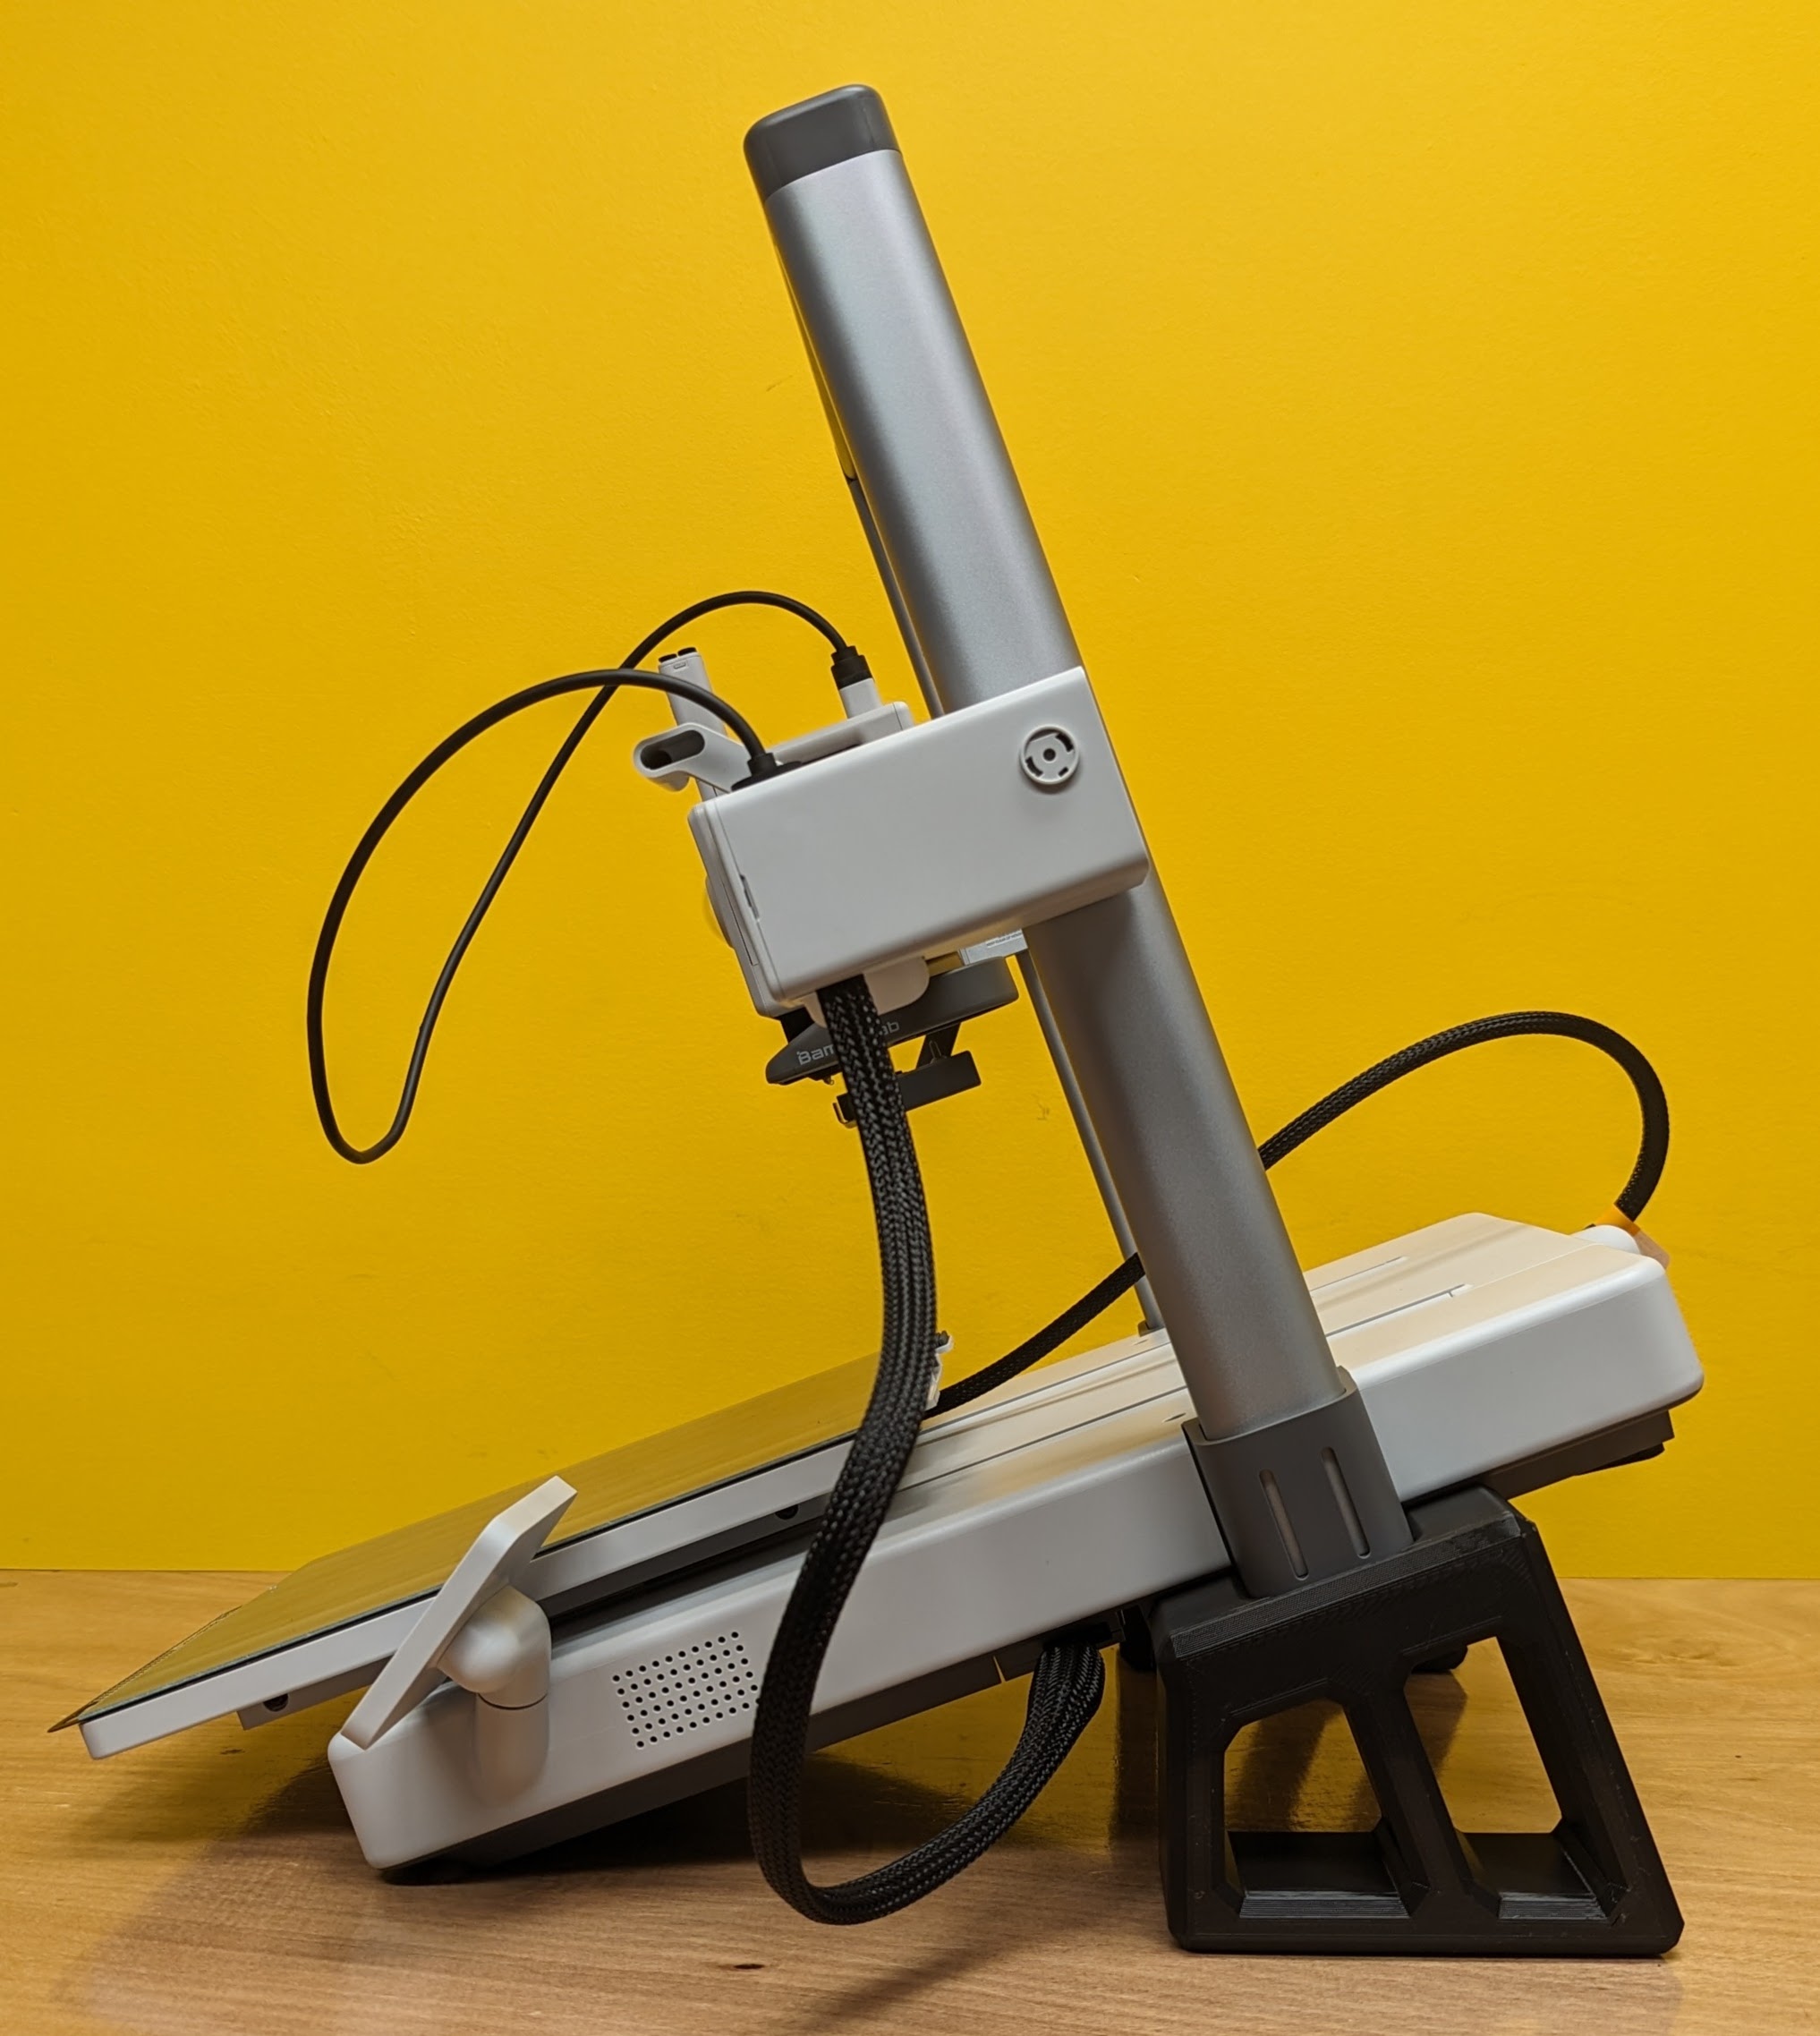
-
Check: Test stability by carefully pushing the printer back & forth, and side to side. If the printer wobbles excessively, or has any rubber feet not solidly against the table surface, adjust the tilt brackets accordingly (The slots on the tilt brackets have some wiggle room to allow for adjustment):
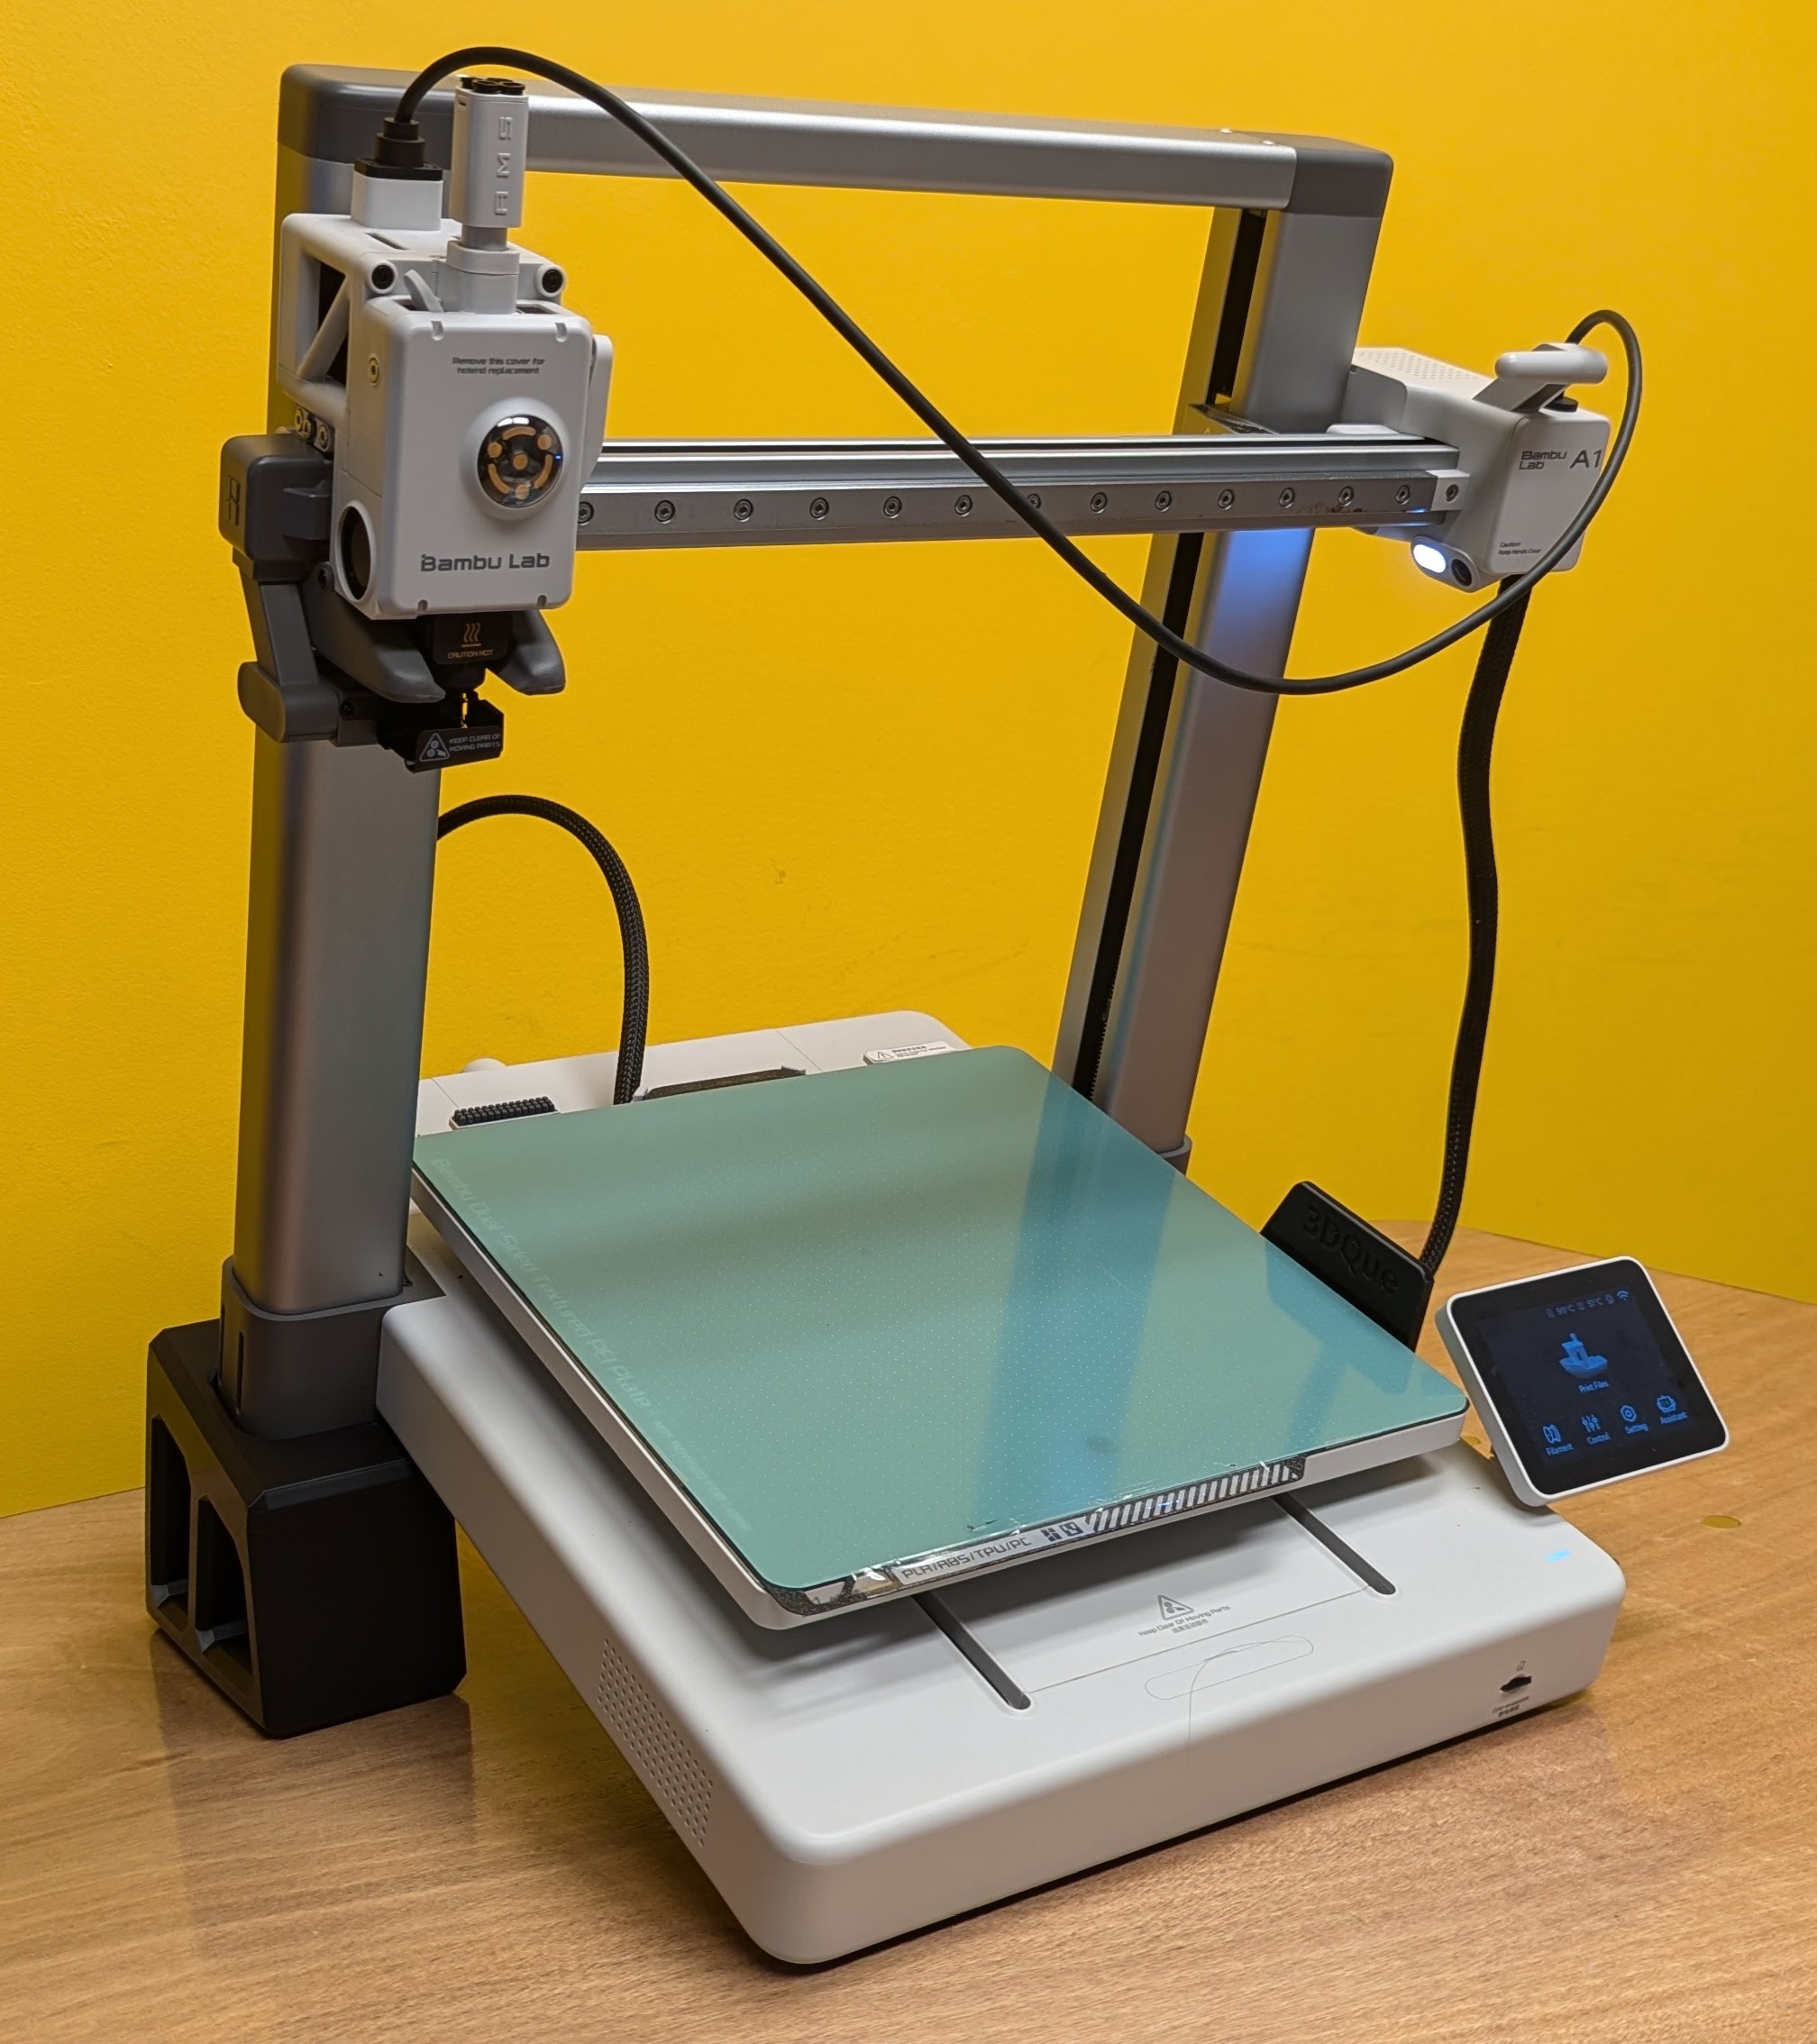
Done!
3.0 Slicing Requirements
Slicer Version
Please use Bambu Studio version 1.9.0.17 or newer.
Alternatively, you can use OrcaSlicer version 2.0.0 or newer.
Settings and Profiles
As a general rule of thumb, printing on VAAPR requires a ~10°C hotter bed and nozzle temperature than you would normally use for a Smooth PEI Sheet.
The VAAPR bed requires no adhesives, and no cleaning between prints.
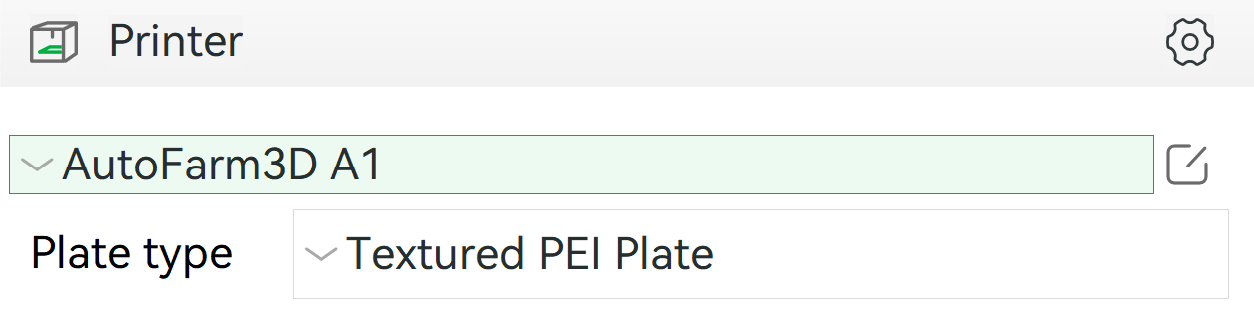
- Make sure you are slicing all models with the “Smooth PEI Plate / High Temp Plate” setting in Bambu Studio.
- Disable the layer fan for the first 3 layers.
- Make sure the AMS slots in your slicer correspond correctly to the order in which colours are loaded on the Bambu.
- Keep the start and end gcode as it is. AutoFarm3D is built to work with the default bambu gcode and will automatically process your files for automated removal.
Removing Purge Lines (Optional)
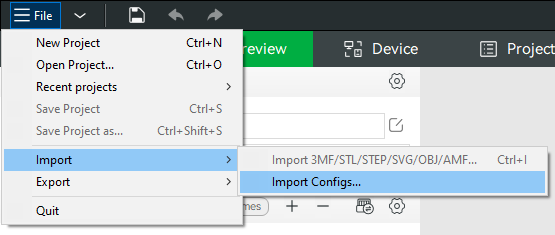
The A1 purge lines at the front of the bed are too thin to be ejected and print slightly outside the print area, so they may print slightly off of the VAAPR bed. If you would like to remove them, please import the provided profile below. Alternatively, you can intersect them with the part you’re printing so they get removed together.
To import the profile in Bambu Studio or OrcaSlicer, go to File > Import > Import Configs...
Once you have imported the profile, make sure you have it selected before slicing new objects.
Exporting Files
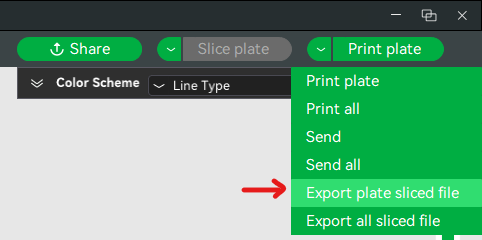
When exporting a file from OrcaSlicer or Bambu Studio, export the object as a “Plate Sliced File”. This will output a file with the extension .gcode.3mf. Bambu Printers reject all other types of file (regular .gcode, .3mf projects).