VAAPR Bed Installation
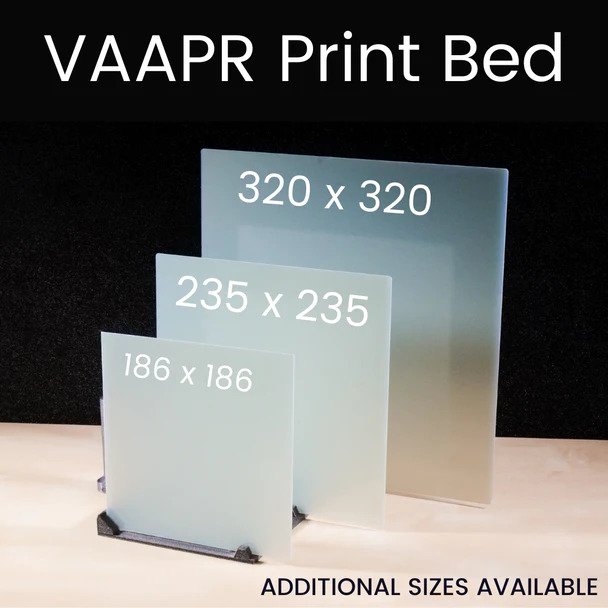
What is VAAPR?
'VAAPR' is short for "Variable Adhesion, Automatic Part Release". We designed this print bed specifically to release 3D prints when it cools down. In combination with our automation software, this allows 3D printers to auto-eject prints once they have finished, resulting in a massive increase in throughput and efficiency.
The VAAPR bed requires no adhesives, and no cleaning between prints.
The VAAPR bed is compatible with most 3D printing materials.
Optimal printing environment: 20-25°C ambient room temperature. If you can't keep your room temperature within this range, we recommend an AC and/or heating setup to keep printing consistent. Avoid strong drafts and minimize exposure to dust, oils, and other contaminants.
Do not apply isopropyl alcohol, acetone, or any other cleaning solutions to the VAAPR bed.
Most cleaning products irreversibly damage the print surface!
ONLY clean the VAAPR print bed with unscented dish soap and water. We recommend Seventh Generation Dish Soap
Installation Option 1: Apply VAAPR Bed to Removable Flex Plate
If your printer has a magnetic print surface, you must apply the VAAPR bed onto the removable flex plate.
Do not apply the VAAPR bed directly onto the magnetic print surface or the heated bed.
Prusa MK3 and Prusa MINI users should follow this installation method.
-
Wash your hands. This helps avoid transfer of oils, and keeps the VAAPR bed clean.
-
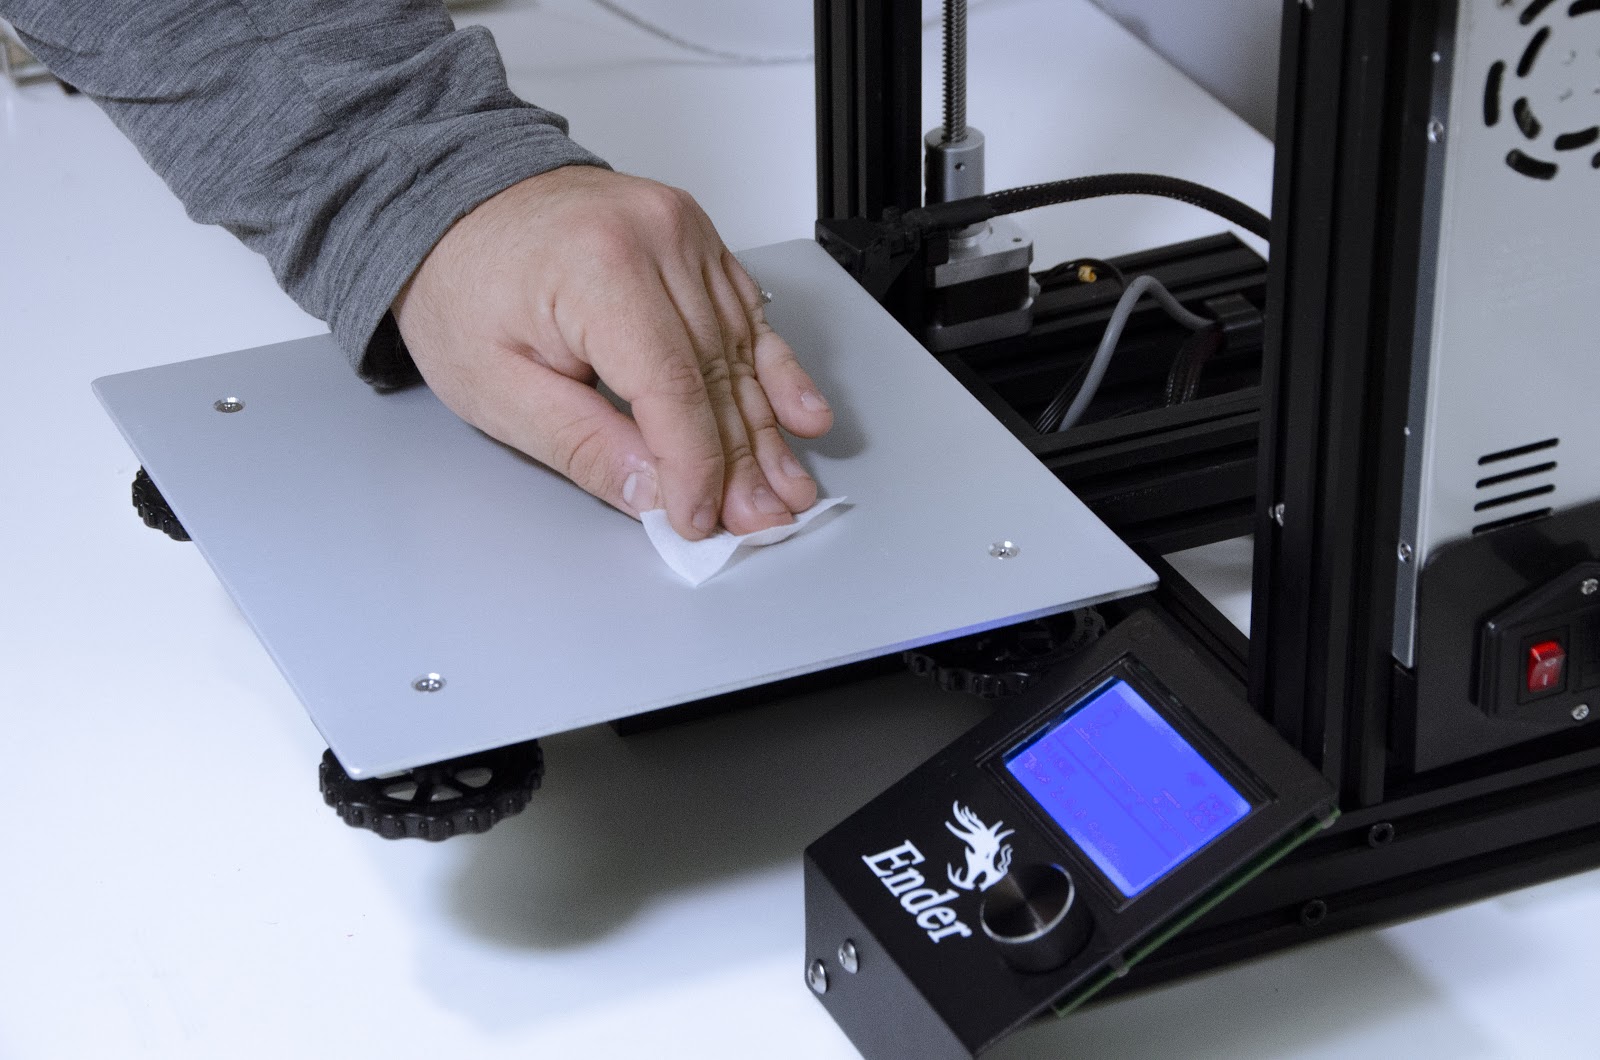
Clean the surface that you'll apply the VAAPR bed onto. Dust, oils, or any other residue can cause air bubbles, which you'll want to avoid.
-
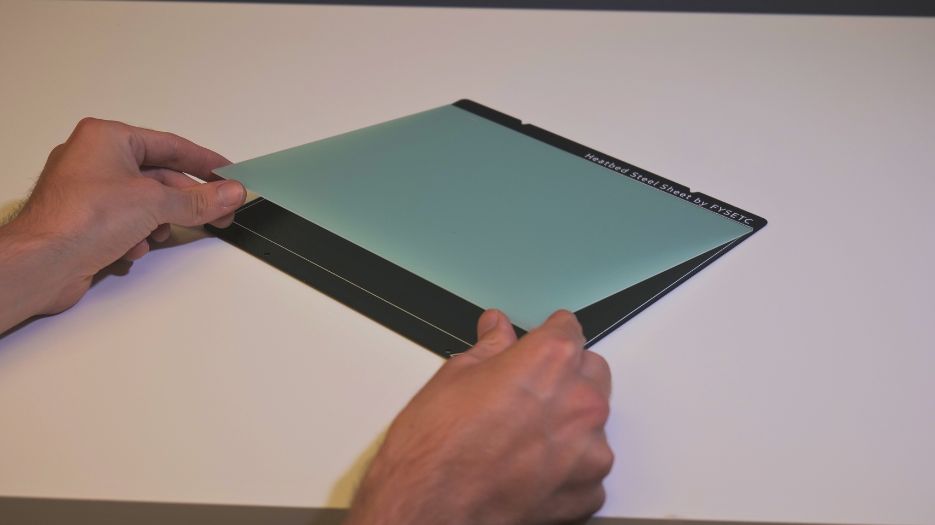
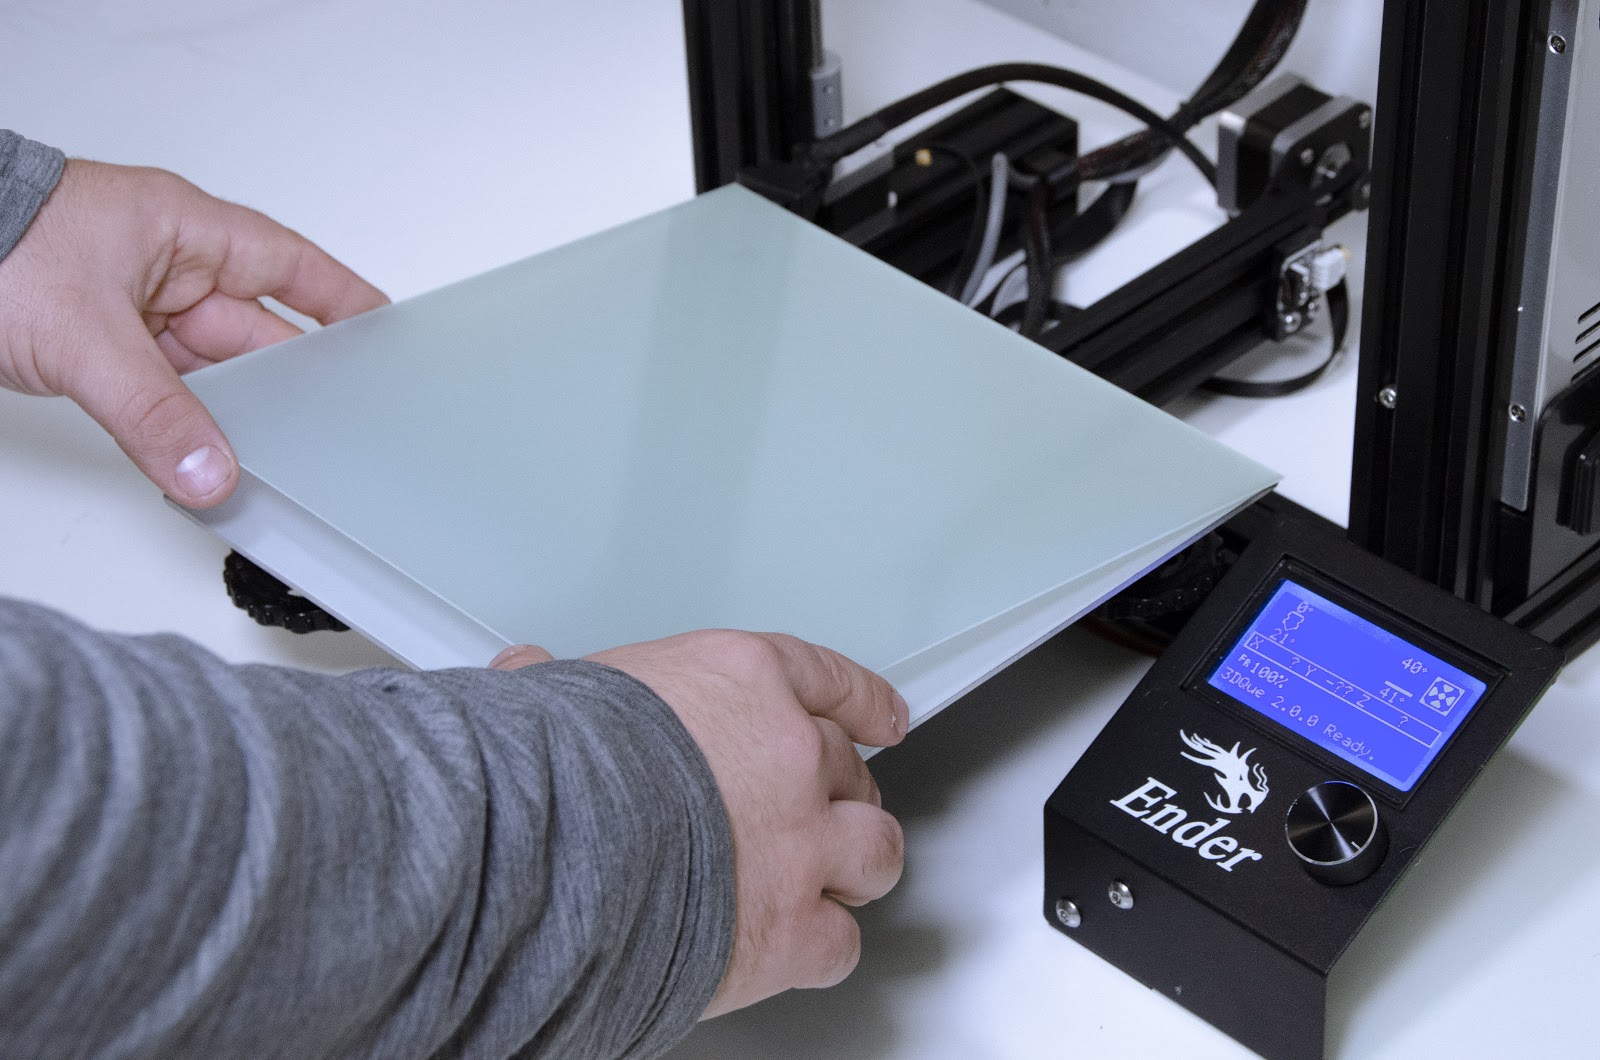
Install the bed. Peel adhesive film back about 5cm (2 inches).
-
Align the corners of the bed with the corners of the print surface.
The double-sided adhesive is very sticky and immediately creates a very strong bond.
You only get one chance to apply the bed, so make sure it is aligned before pressing down!
-
Peel off the adhesive backing to expose the double-sided adhesive.
-
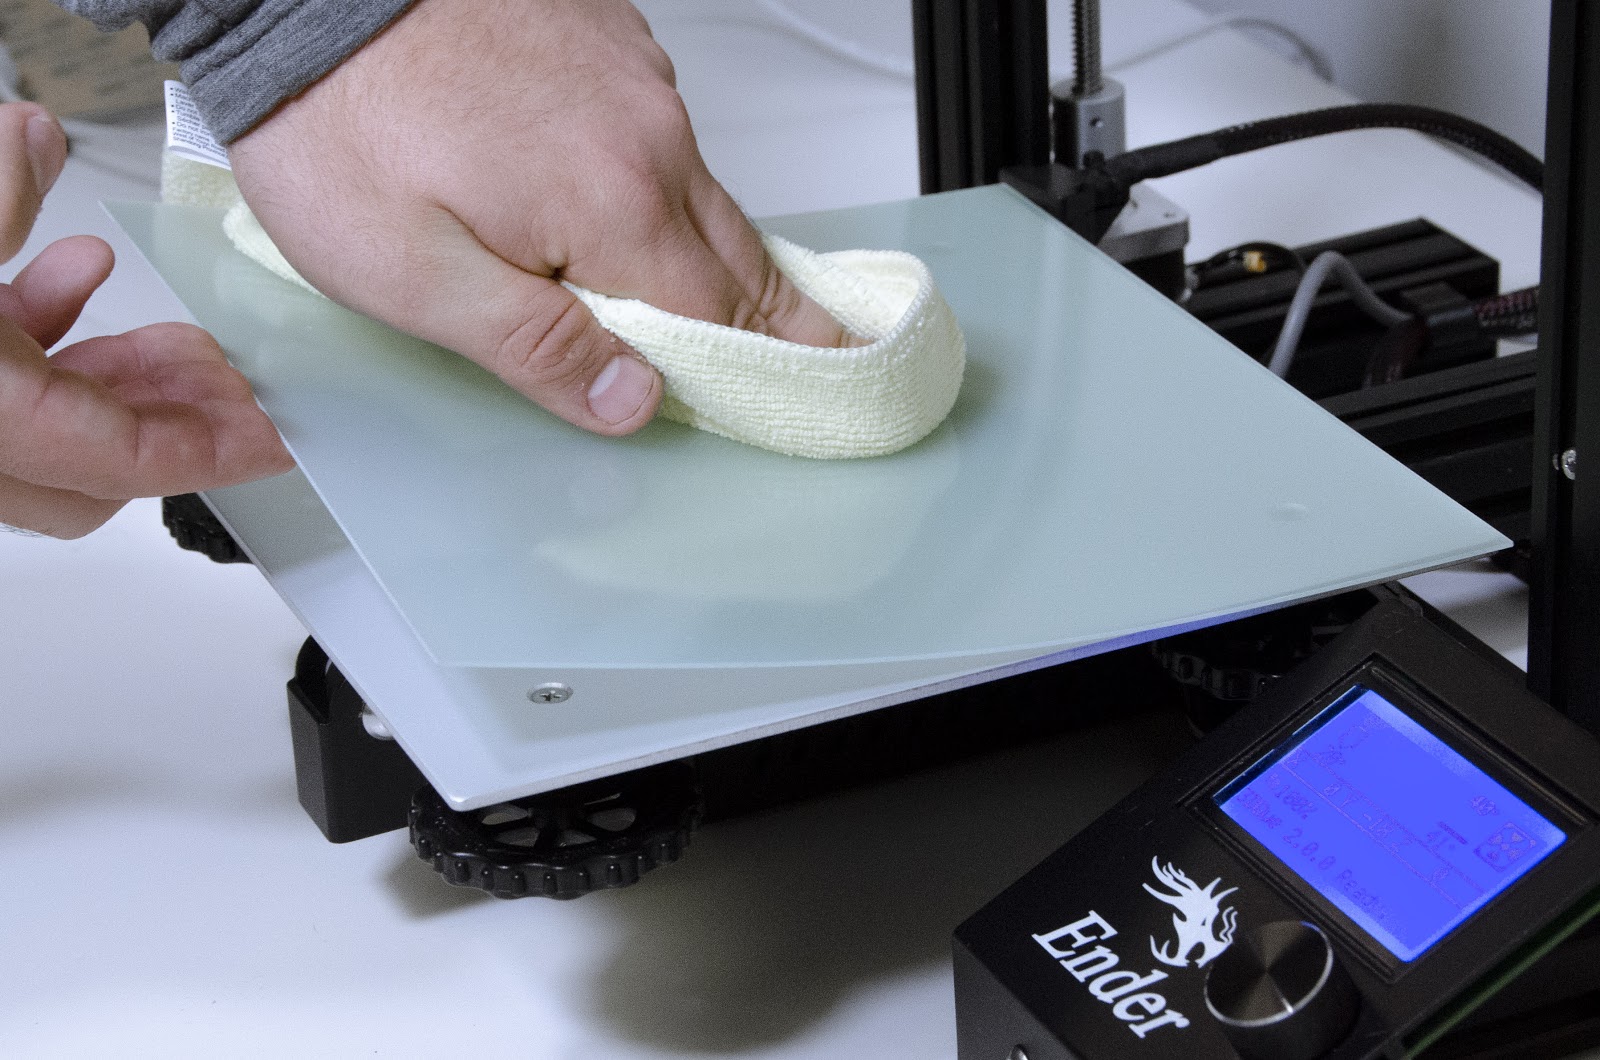
Press the top edge of the VAAPR bed onto the surface and flex it into a slight curve like a spatula pushed down onto a table.
-
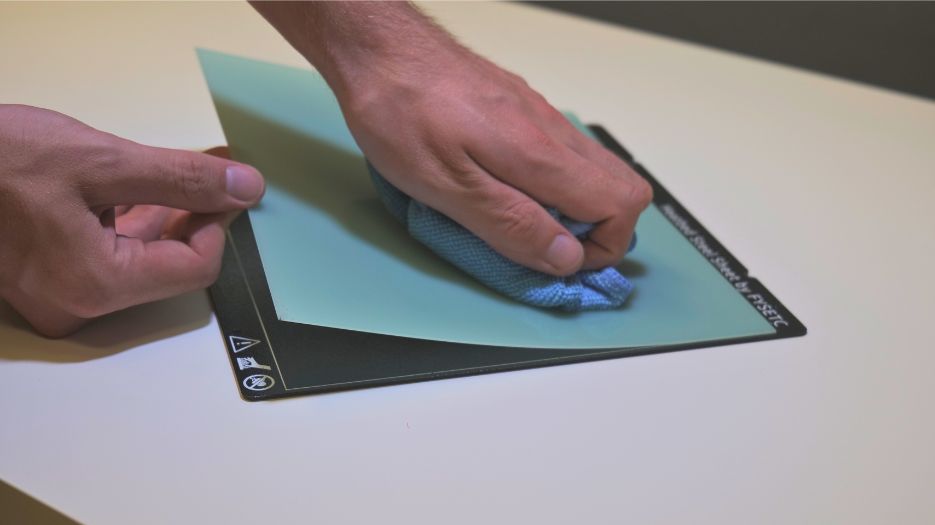
While still flexing the bed, use a clean microfiber cloth to press out the air bubbles in a ‘V’ pattern, starting from the middle to the top edges.
-
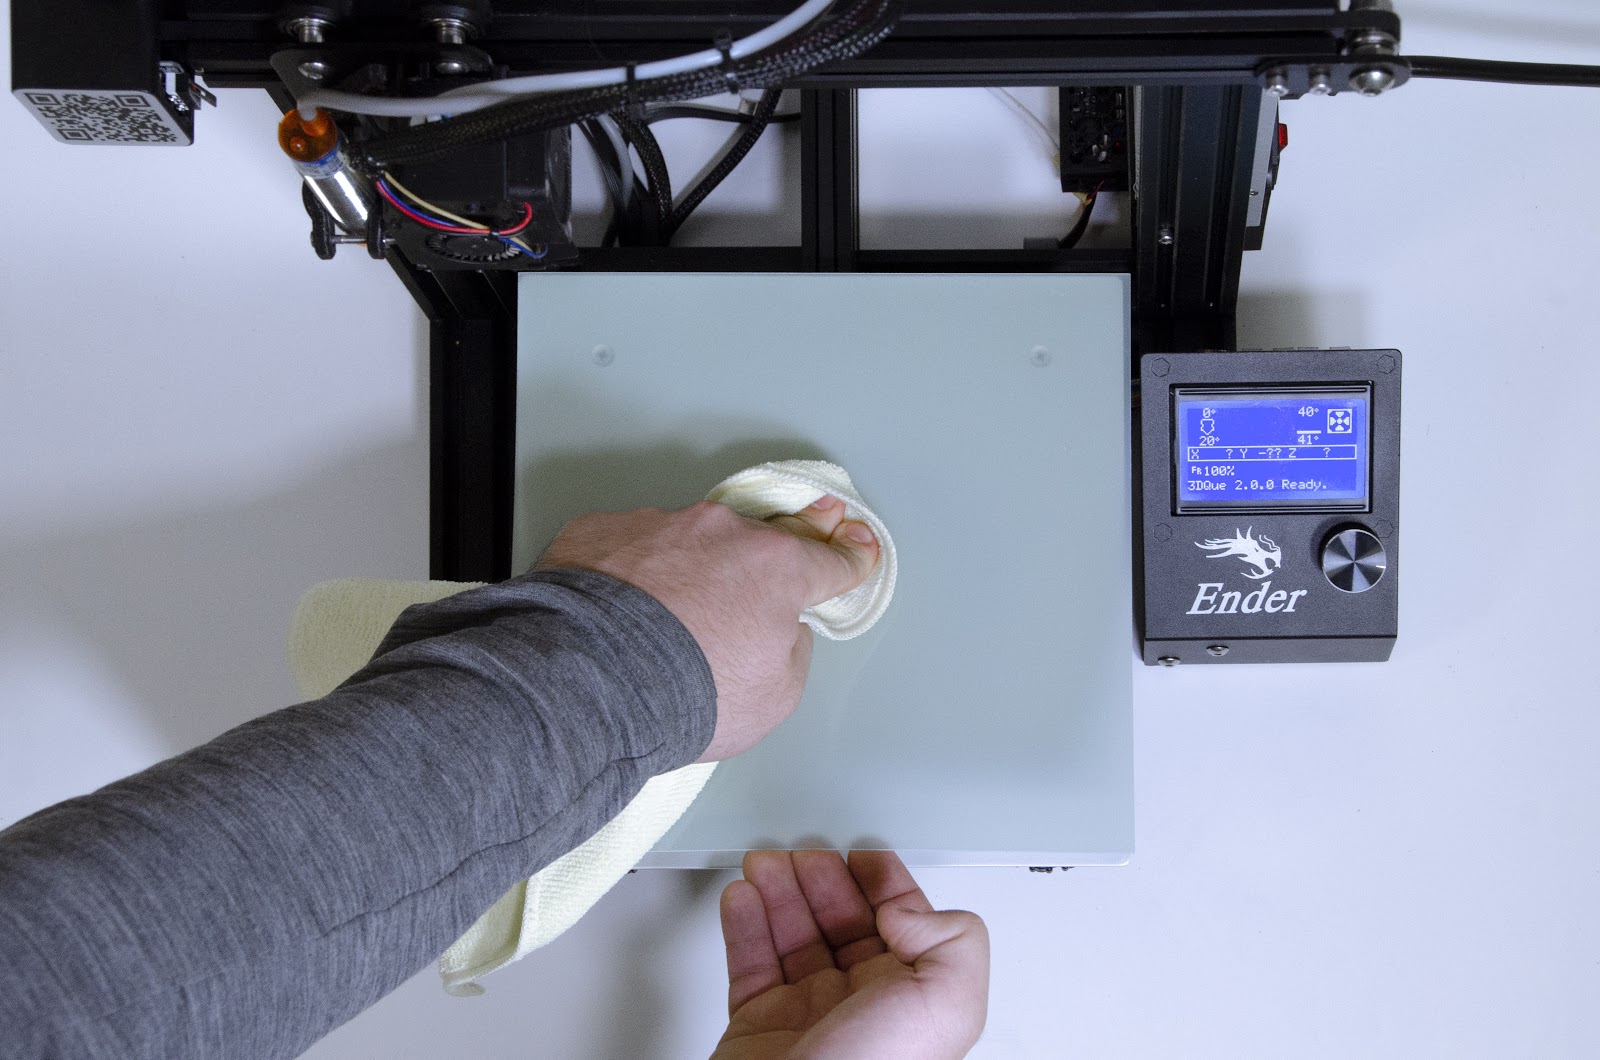
Once the bed is applied, go over once more and press down on the bed with the cloth firmly left-to-right and back-to-front to remove any air bubbles.
-
Clean the VAAPR print bed with a soft wet cloth and a drop of unscented dish soap. Full VAAPR cleaning guide
Installation Option 2: Apply VAAPR Bed Directly to Heated Bed (Video Tutorial)
Only apply the VAAPR bed directly to the heated bed if your printer does not have a removable flex plate.
-
Wash your hands. This helps avoid transfer of oils, and keeps the VAAPR bed clean.
-
Clean the surface that you'll apply the VAAPR bed onto. Dust, oils, or any other residue can cause air bubbles, which you'll want to avoid.
-
Install the bed. Peel adhesive film back about 5cm (2 inches).
-
Align the corners of the bed with the corners of the print surface.
The double-sided adhesive is very sticky and immediately creates a very strong bond.
You only get one chance to apply the bed, so make sure it is aligned before pressing down!
-
Peel off the adhesive backing to expose the double-sided adhesive.
-
Press the top edge of the VAAPR bed onto the surface and flex it into a slight curve like a spatula pushed down onto a table.
-
While still flexing the bed, use a clean microfiber cloth to press out the air bubbles in a ‘V’ pattern, starting from the middle to the top edges.
-
As you get to the bottom, use the cloth to press out air bubbles while pulling out the rest of the backing.
-
Press down on the bed with the cloth firmly left-to-right and back-to-front to remove any air bubbles.
-
Clean the VAAPR print bed with a soft wet cloth and a drop of unscented dish soap. Full VAAPR cleaning guide
Calibrate Z Offset
Your 3D printer is not aware that you have a new print surface. If you try to print without recalibrating your Z offset, the nozzle will dig into the VAAPR bed, immediately scratching it!
Before printing on the VAAPR bed, you must relevel your bed, and recalibrate your Z offset.
Prusa MK3 / Prusa MINI Z offset calibration
Use official Prusa PINDA probes to prevent damaging the VAAPR bed. Unofficial replacement probes are not reliable and may result in levelling issues.
-
Make sure your nozzle is clean and cool before proceeding.
-
Ensure the Z probe is 0.8-1mm above the tip of your nozzle. If the probe is too high up, the sensing distance will be insufficient due to the thickness of the VAAPR bed, and the nozzle will push into the bed during auto-levelling.
-
Carefully lower the Z axis until the tip of the nozzle is just barely touching the bed, and then adjust the height of your Z probe. The ideal height is 0.8mm, about the thickness of the tip of a zip-tie.
If you run into probing issues, you may need to lower the probe height even more than 0.8mm.
-
Begin the First Layer Calibration routine and follow the steps as shown on the Prusa website for the offset on a "smooth sheet". Make sure to select the option to start at an offset of 0.000. The zig-zag calibration pattern should start. Slowly rotate the LCD knob counter-clockwise until the filament is printing flat and smooth on the bed.
-
Check that the print bed is level and z-offset is calibrated before attempting to print any parts.
Next Steps
Learn how to use and take care of your new VAAPR bed!