Sidewinder X1/X2 and Genius/Pro
Compatibility information
1.0 What's in the Kit
Sidewinder X1/X2
- 1 x Angle Bracket Left (SW1)
- 1 x Angle Bracket Right (SW2)
- 1 x Protective Hotend Cover (SW9)
- 2 x M5 x 60 mm Screws
- 2 x M3 x 25 mm Screws
Genius /Pro
- 1 x Angle Bracket Left (GE1)
- 1 x Angle Bracket Right (GE2)
- 1 x Protective Hotend Cover (SW9)
- 2 x M5 x 60 mm Screws
- 2 x M3 x 25 mm Screws
2.0 What You'll Need
- Allen Keys
3.0 Install The Kit
-
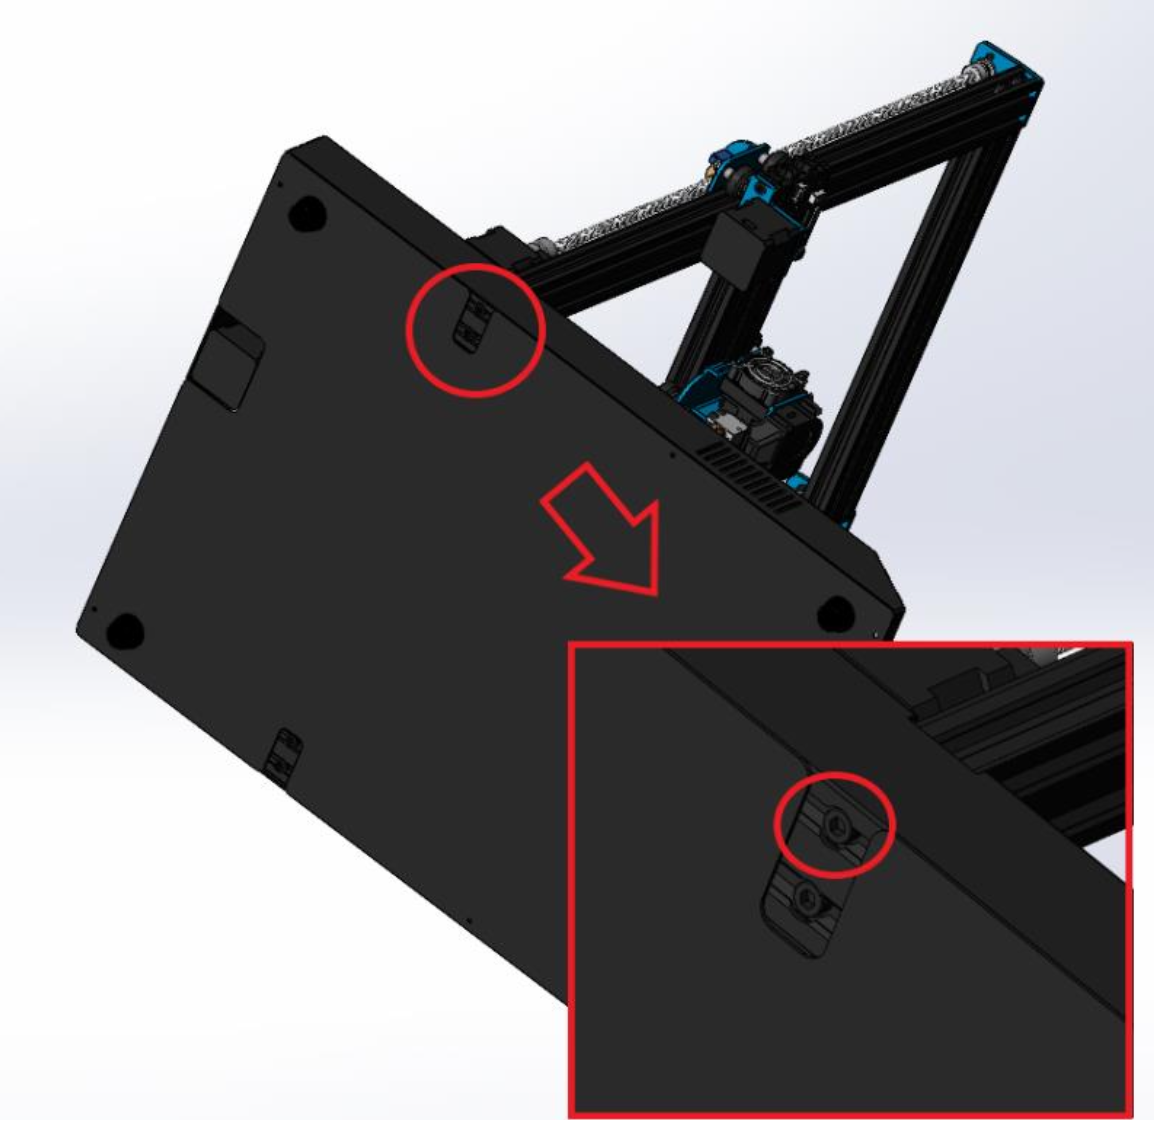
On an open and clean table, rotate your Sidewinder 3D printer (or Genius) on it’s right side to give you access to the z-gantry bolts underneath.

-
Remove the outermost z-gantry screw.
-
Using the provided M5x60mm bolt and M5 washer, install the SW1 (GE1 for Genius) tilt bracket.
-
Ensure that the flat ledge of the tilt bracket is flush with the base of the 3D printer.
-
Carefully rotate your 3D printer on its left side and repeat step 2 using the SW2 (GE2) tilt bracket.
-
Rotate your 3D printer and let it stand using the tilt brackets.
-
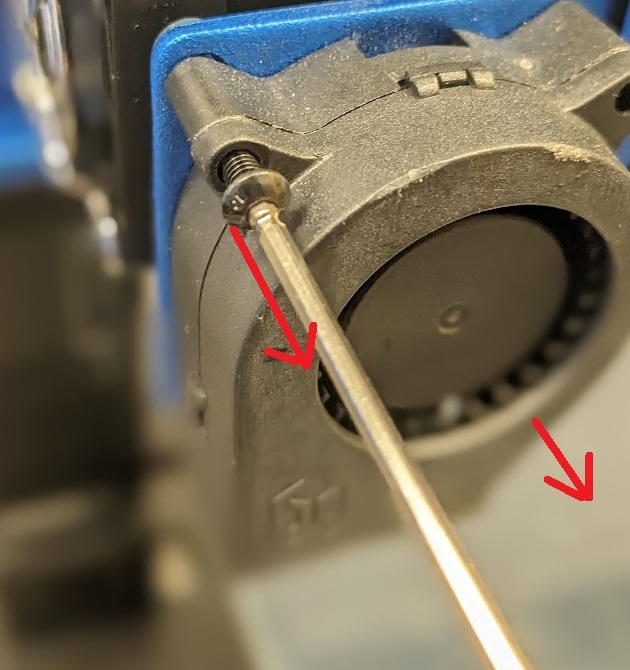
Remove the part-cooling fan by unscrewing 2 screws.

-
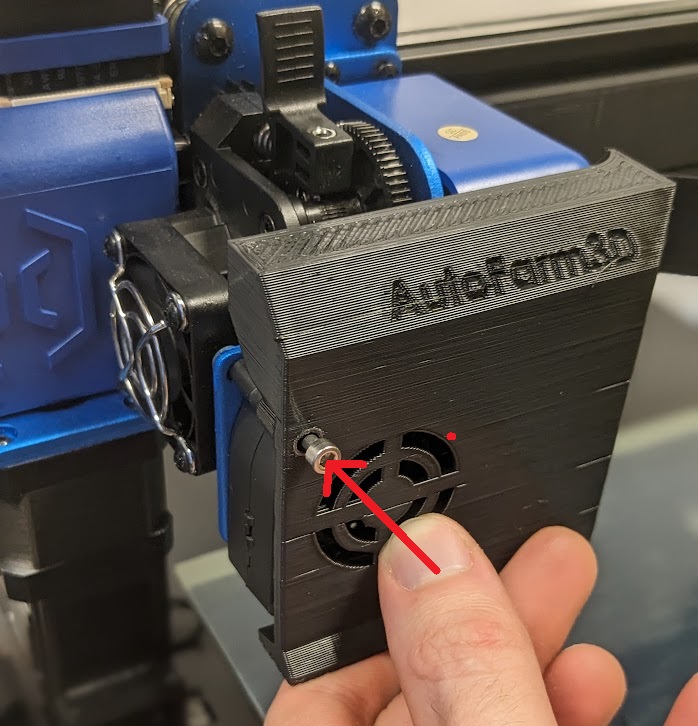
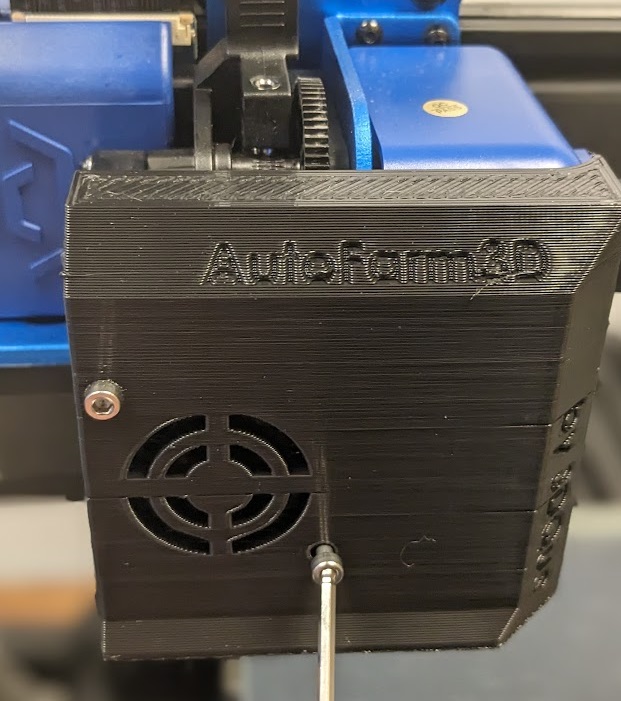
Install the protective hotend cover (SW9) using the M3x25mm screws


Done!