CR10S Pro/V2
Compatibility information
To Be Discontinued
Starting 2024, we will be no longer provide tilt kits for CR10S Pro/V2
1.0 What's in the Kit
Printed Parts
- 1 x Tilt Bracket Left (SP1)
- 1 x Tilt Bracket Right (SP2)
Hardware
- 2 x M5 x 60mm screws (can use 50mm for DIY and availability)
- 2 x Rubber feet
2.0 What You'll Need
- Allen Keys
3.0 Install Tilt Kit
-
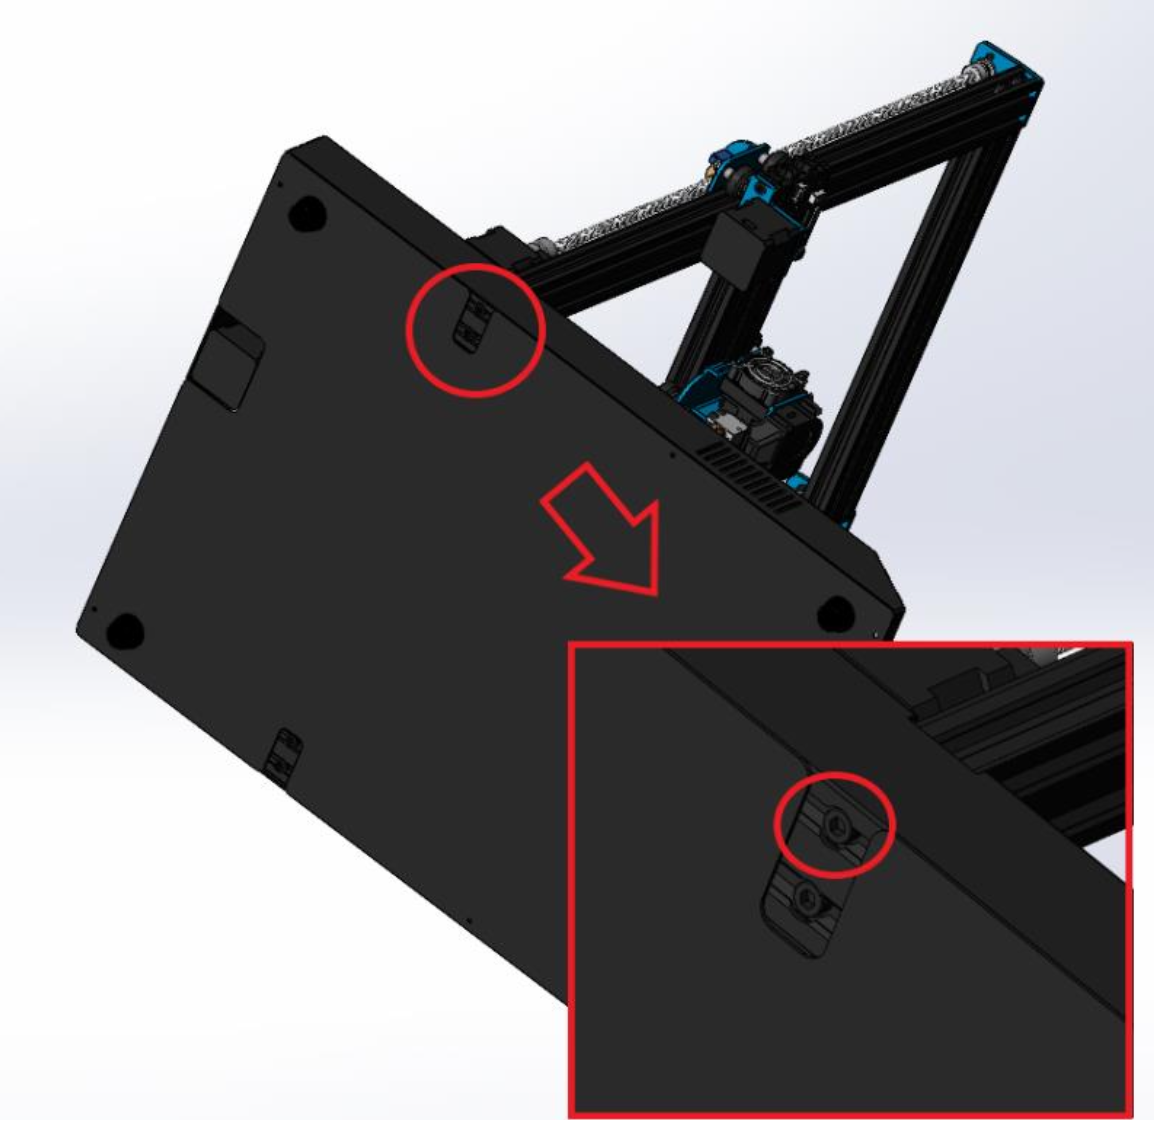
On an open and clean table, rotate your CR10 S Pro (V2) on it’s right side to give you access to the z-gantry bolts underneath.

-
Remove the outermost z-gantry screw.
-
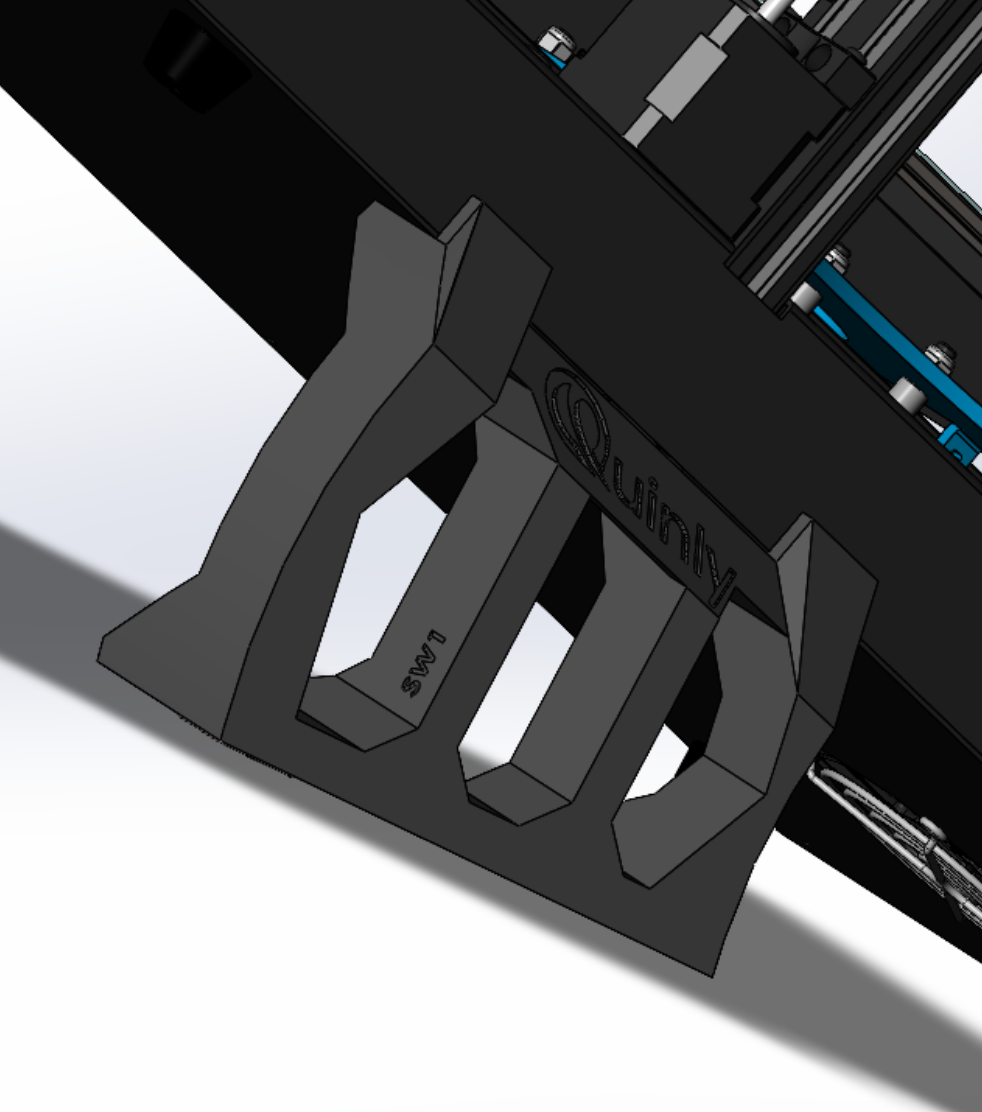
Using the provided M5x60mm bolt and M5 washer, install the SP1 tilt bracket.
-
Ensure that the flat ledge of the tilt bracket is flush with the base of the 3D printer. See below for example.

-
Carefully rotate your 3D printer on its left side and repeat step 2 using the SP2 tilt bracket.
-
Rotate your 3D printer and let it stand using the tilt brackets.