Enabling Auto Ejection
Please note: We do not recommend enabling auto ejection without an Auto Ejection kit installed on the printer. Please wait until installation is complete to enable Auto Ejection.
Set Printer to Developer Mode: Ensure your printer is set to Developer Mode. Instructions.
1. Navigate to Printer Settings
1.1 Open Printer View
Click on the printer card. A popout will appear on the right hand side. Click the "Printer Settings" button as shown below.
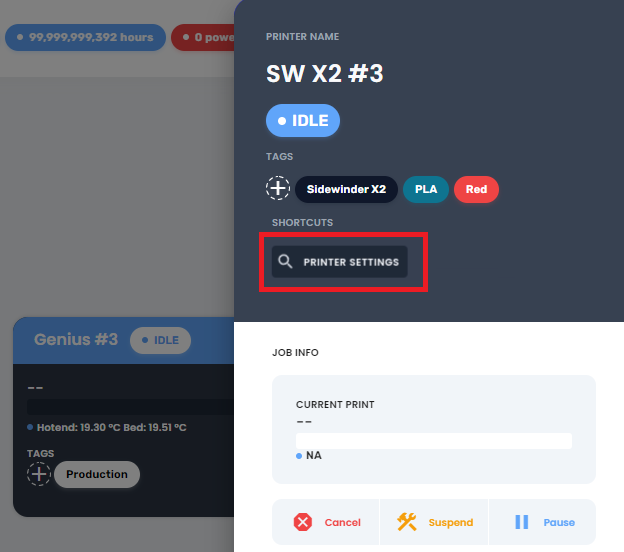
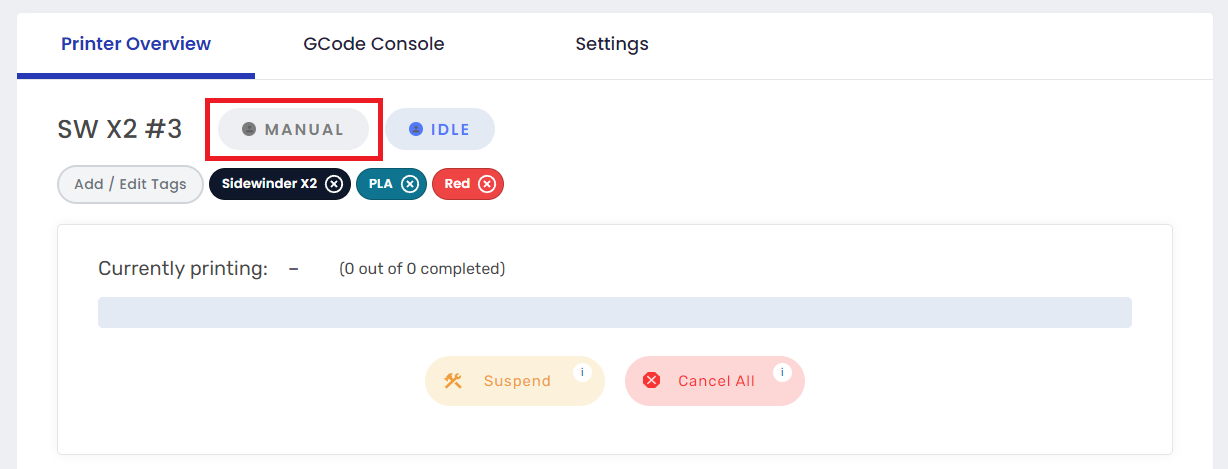
Note that your printer will have the 'manual' tag by default. This will change when you switch auto ejection on.
1.2 Open Printer Settings
Click on the "Settings" tab.
2. Turn on Auto Ejection
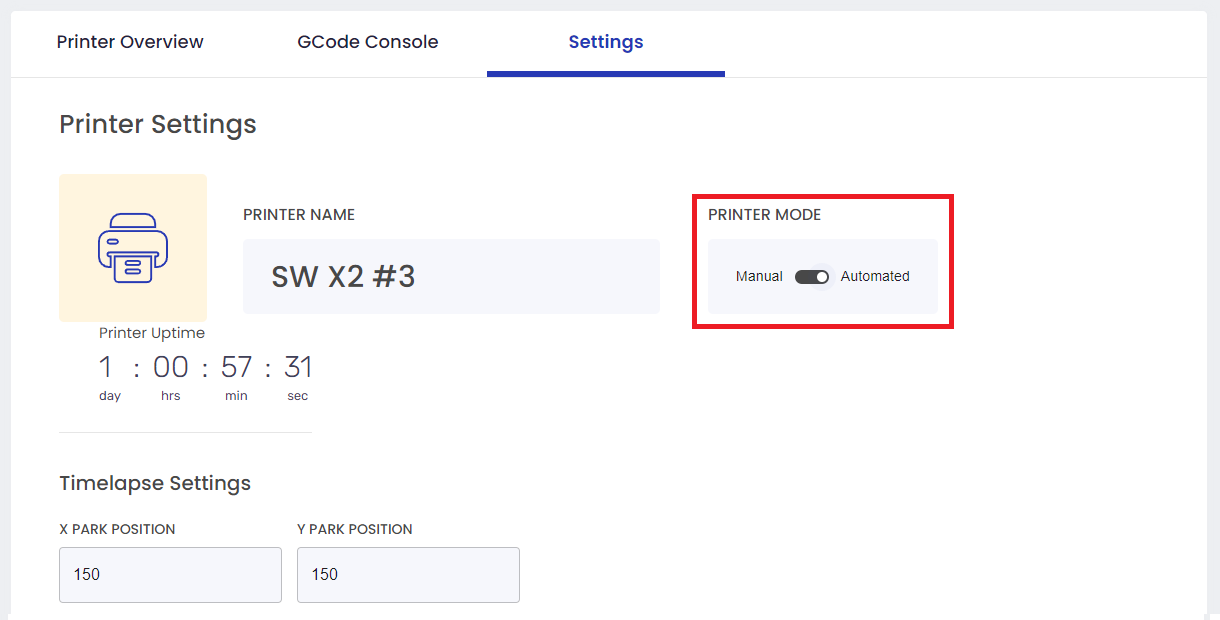
2.1 Toggle to 'Automated'
Click on the toggle to switch it from "Manual" to "Automated".
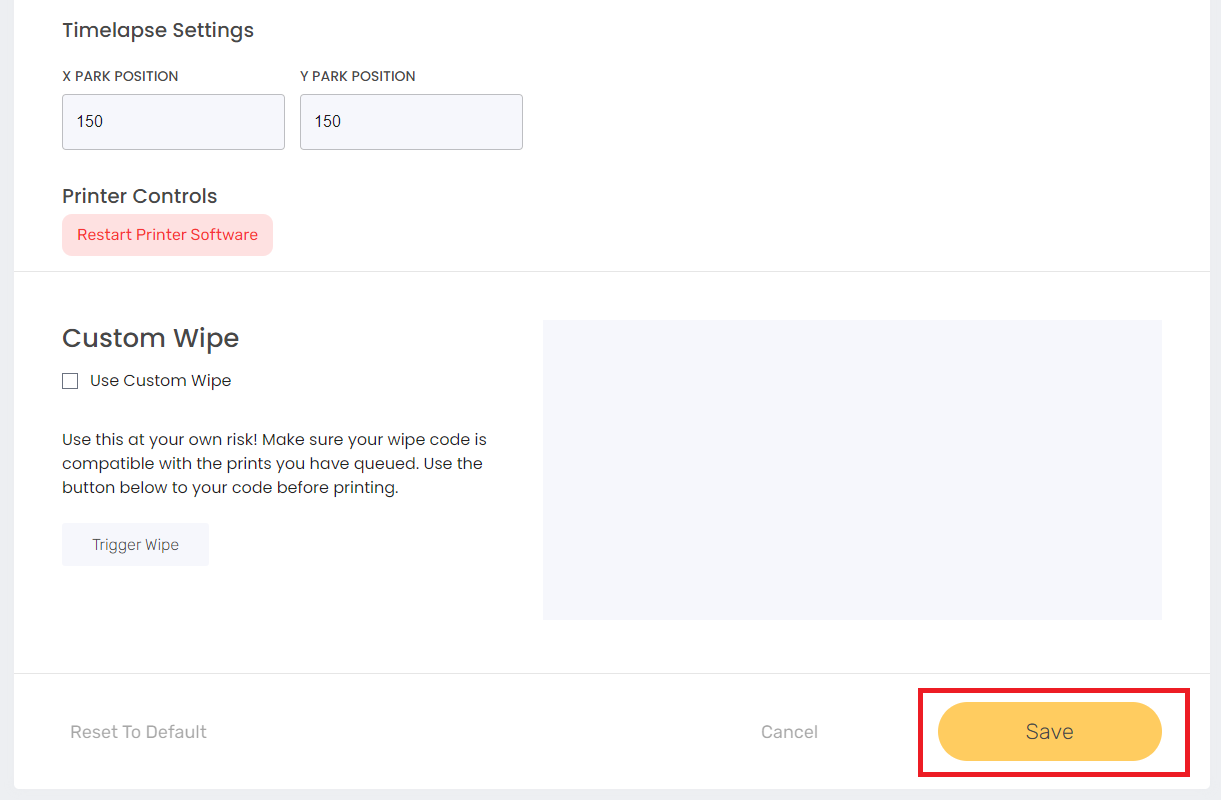
2.2 Save Changes
Scroll down and click "Save". If you skip this step, your printer will remain in manual mode.
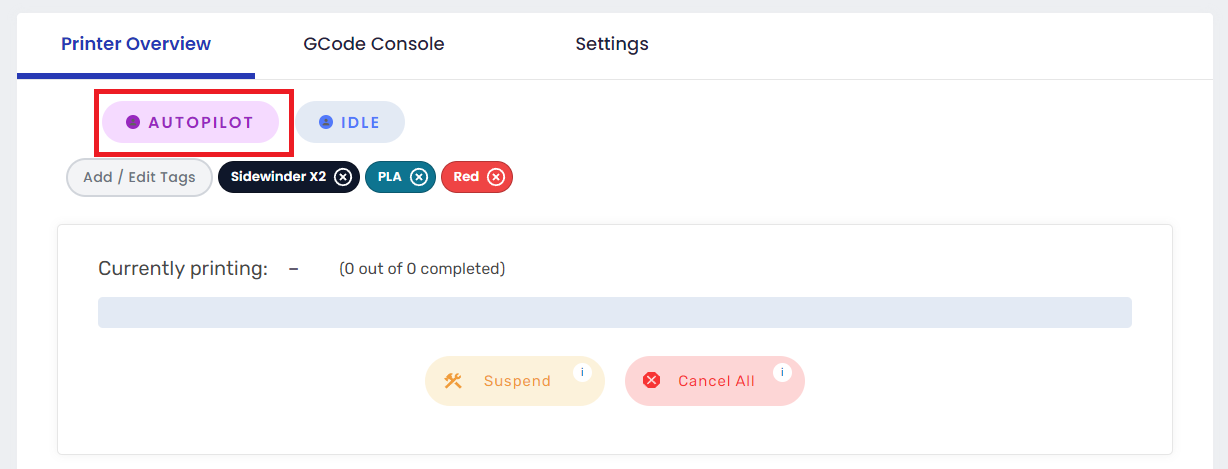
2.3 Check Printer Status
Your printer's status should have changed to "Autopilot". If it still says manual, try again and make sure you save your changes.
Make sure to read our auto ejection slicing guide before sending prints to auto eject!