Prusa Mini/+
-
Update Firmware: Update your firmware to the latest official release as per Prusa's instructions.
-
Disable Pi Mode: Go to your LCD Menu → Settings → RPi Port → “off”.
-
Disable Crash Detection Go to your LCD Menu → Settings → Crash Detection → “off”.
-
Remove USB Drive: Remove the USB drive from the printer. When plugged in, it can interfere with the connection stability.
-
Set Printer to Automated Mode: Please follow the instructions here to set your printer to automated mode.
1.0 What's in the Kit
Printed Parts
- 2 x Angled tilt brackets (M10, E17)
- 1 x Front brace (M12)
- 1 x Hotend Ram (M13)
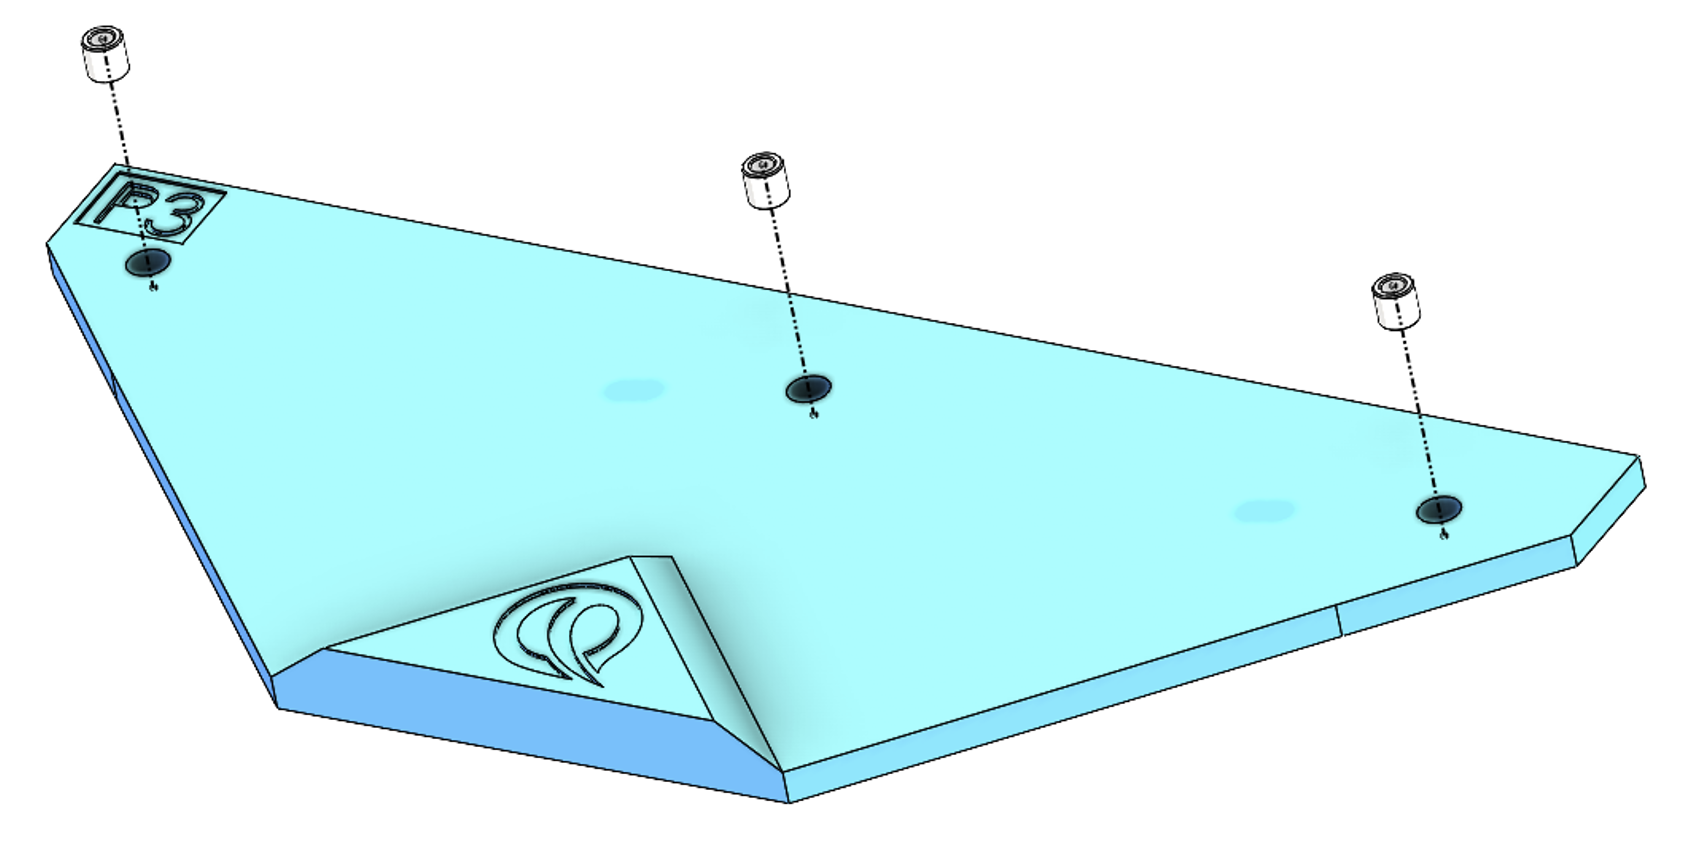
- 3 x Part guidance ramps (M3, M4, M5)
- Bed Ramp (M3)
- Front Ramp Left (M4)
- Front Ramp Right (M5)
Hardware
- 3x M5x8 Button head screws
- 2x M5x25 Button head screws
- 3x M5 3030 T nuts
- 1x M3x40 Cap screw
- 4x Rubber Feet
2.0 What You'll Need
- 3mm Allen key
3.0 Install Tilt Kit
3.1 Install the Tilt Brackets (M10, E17)
-
Prepare the M10 and E17 tilt brackets by installing the M5x8mm and 3030 T-nuts, keep nuts loose.
-
Using the provided rubber feet, peel off and adhere to the bottom of the tilt brackets (M10/E17) and front brace (M12), if not preinstalled.
-
Begin by rotating the printer so that it is lying on its left side. (Be aware that the Mini isn't symmetric. The printer may roll over, find a stable position.)
-
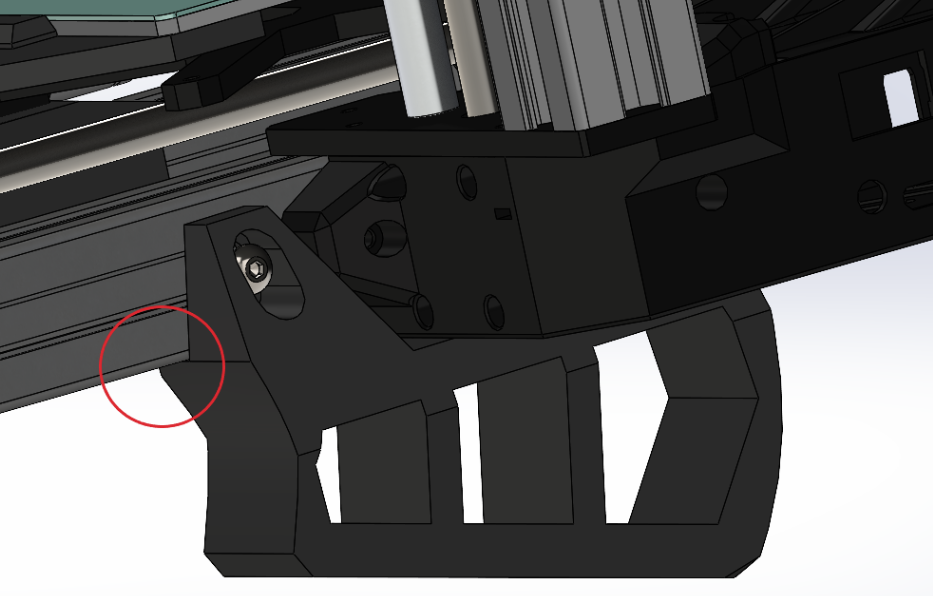
Install the M10 tilt bracket but sliding in the M5 3030 T-nut section of the tilt bracket and ensure that the base of the printer is sitting on the ledge part of the tilt bracket as shown below:
-
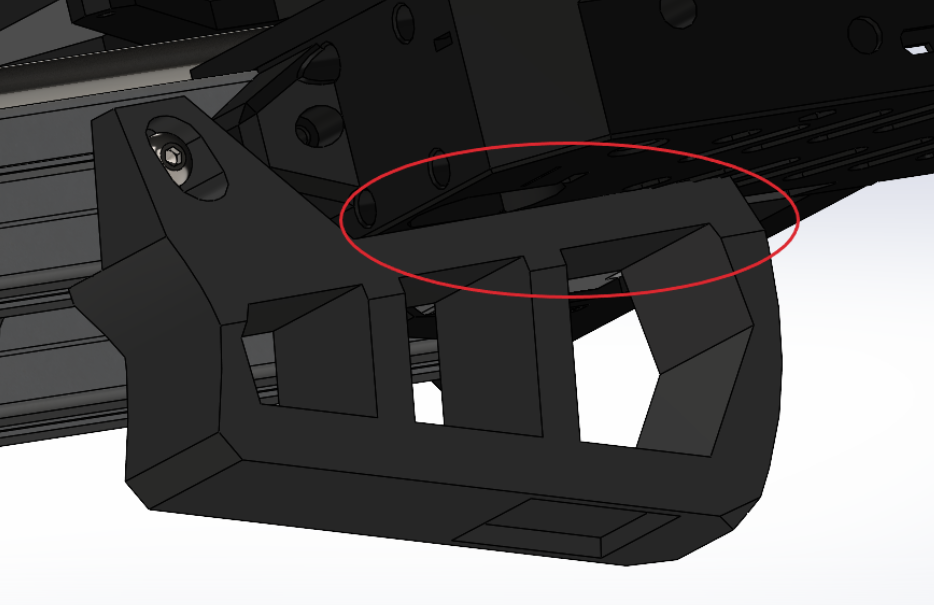
In addition, also ensure that the electronics case of the printer is sitting on the circled area of the tilt bracket as shown:
-
Tighten the M5 screw on the M10 tilt bracket.
-
Rotate your printer on its right side. Find a stable position to avoid rolling over.
-
Slide in the T-nuts from the E17 brackets.
-
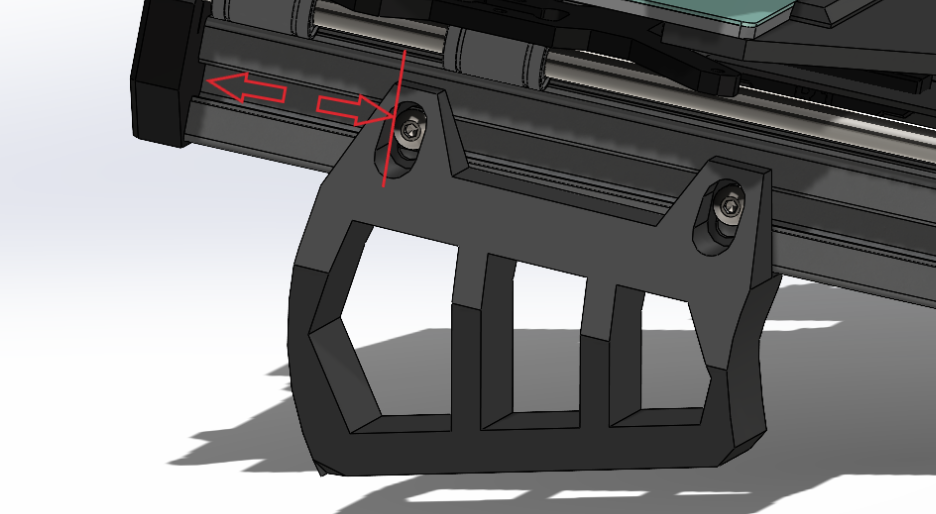
Set the distance of the bracket to be 50mm from the backplate of the printer as shown:
-
Tighten the M5 screws of the E17 tilt bracket.
3.2 Install the Front Brace (M12)
-
Rotate the printer so that it's now upright.
-
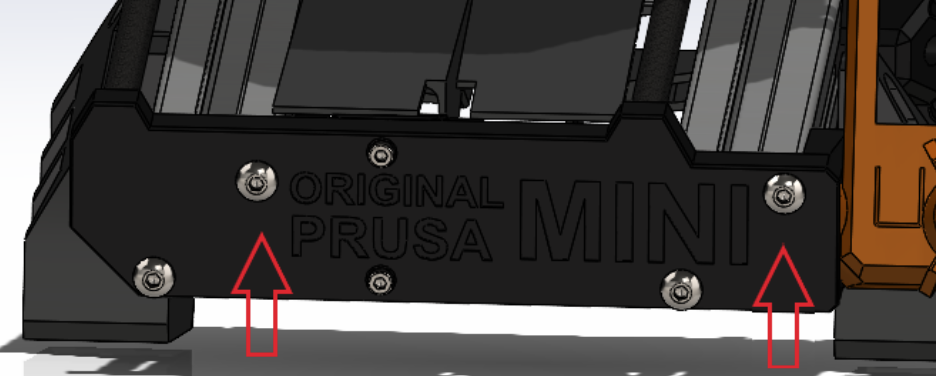
Unscrew the following screws at the front of the printer:
-
Install front brace (M12) using the provided M5X25mm screws.
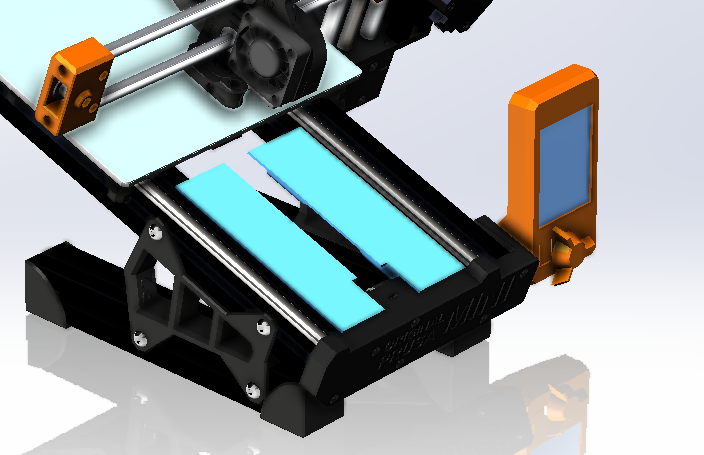
3.3 Install the Inner Ramps (M4, M5):
-
Clip the guidance panels (M4, M5) onto the inside of the Prusa frame as shown below, ensuring they come flush with the frontplate.
3.4 Install the Bed Ramp (M3)
-
Take off the Prusa flex plate.
-
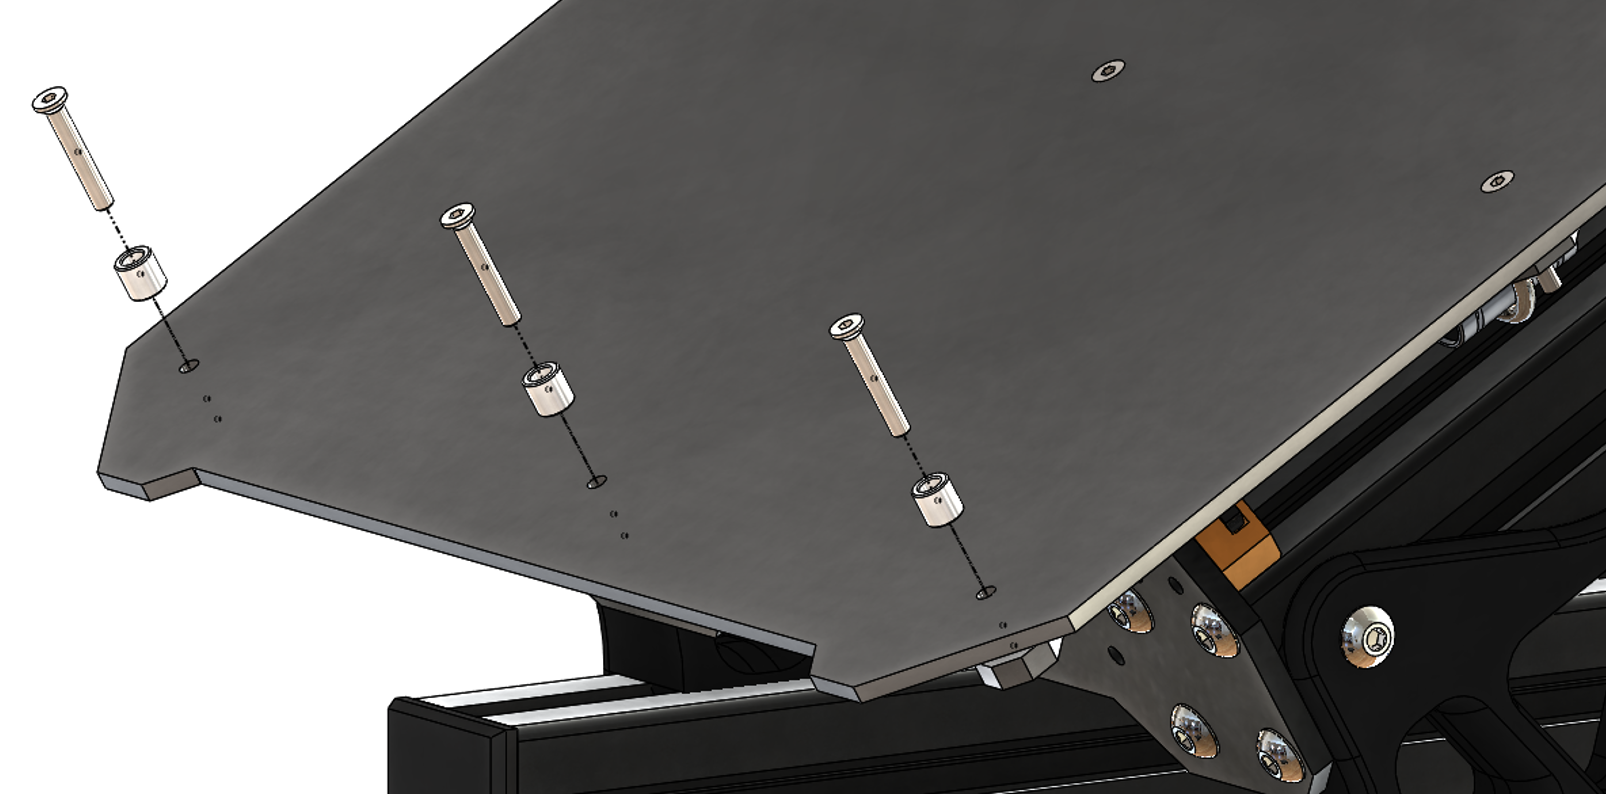
Remove the front 3 screws as well as the 3 spacers separating the bed from the Y axis mounting plate.
-
Push spacers into holes
-
Using the bed screws, align and slide in the screws onto the spacers previously install on the front ramps. Fasten the front ramp.
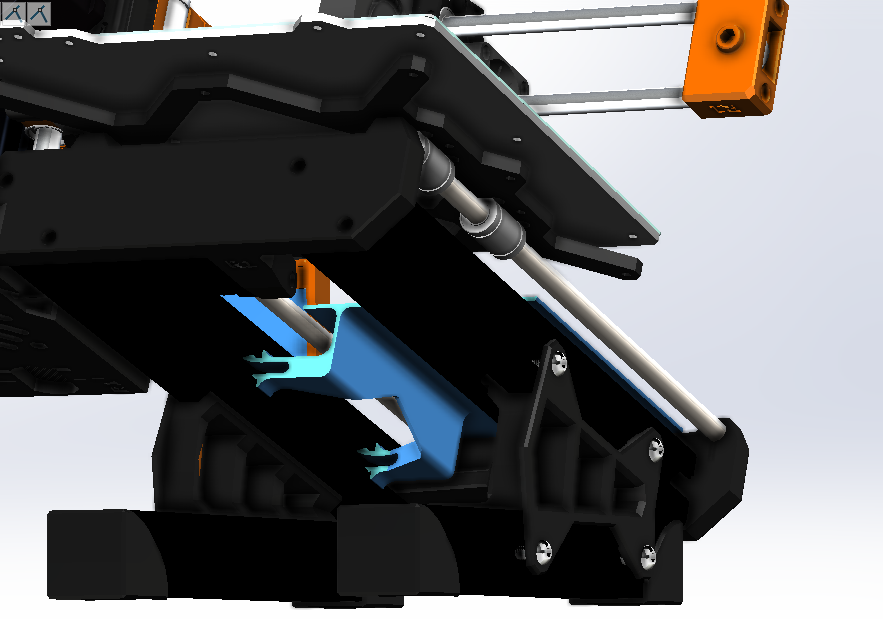
3.5 Install the Hotend Ram (M13)
-
Remove the screw securing the print fan to the hotend heatsink.
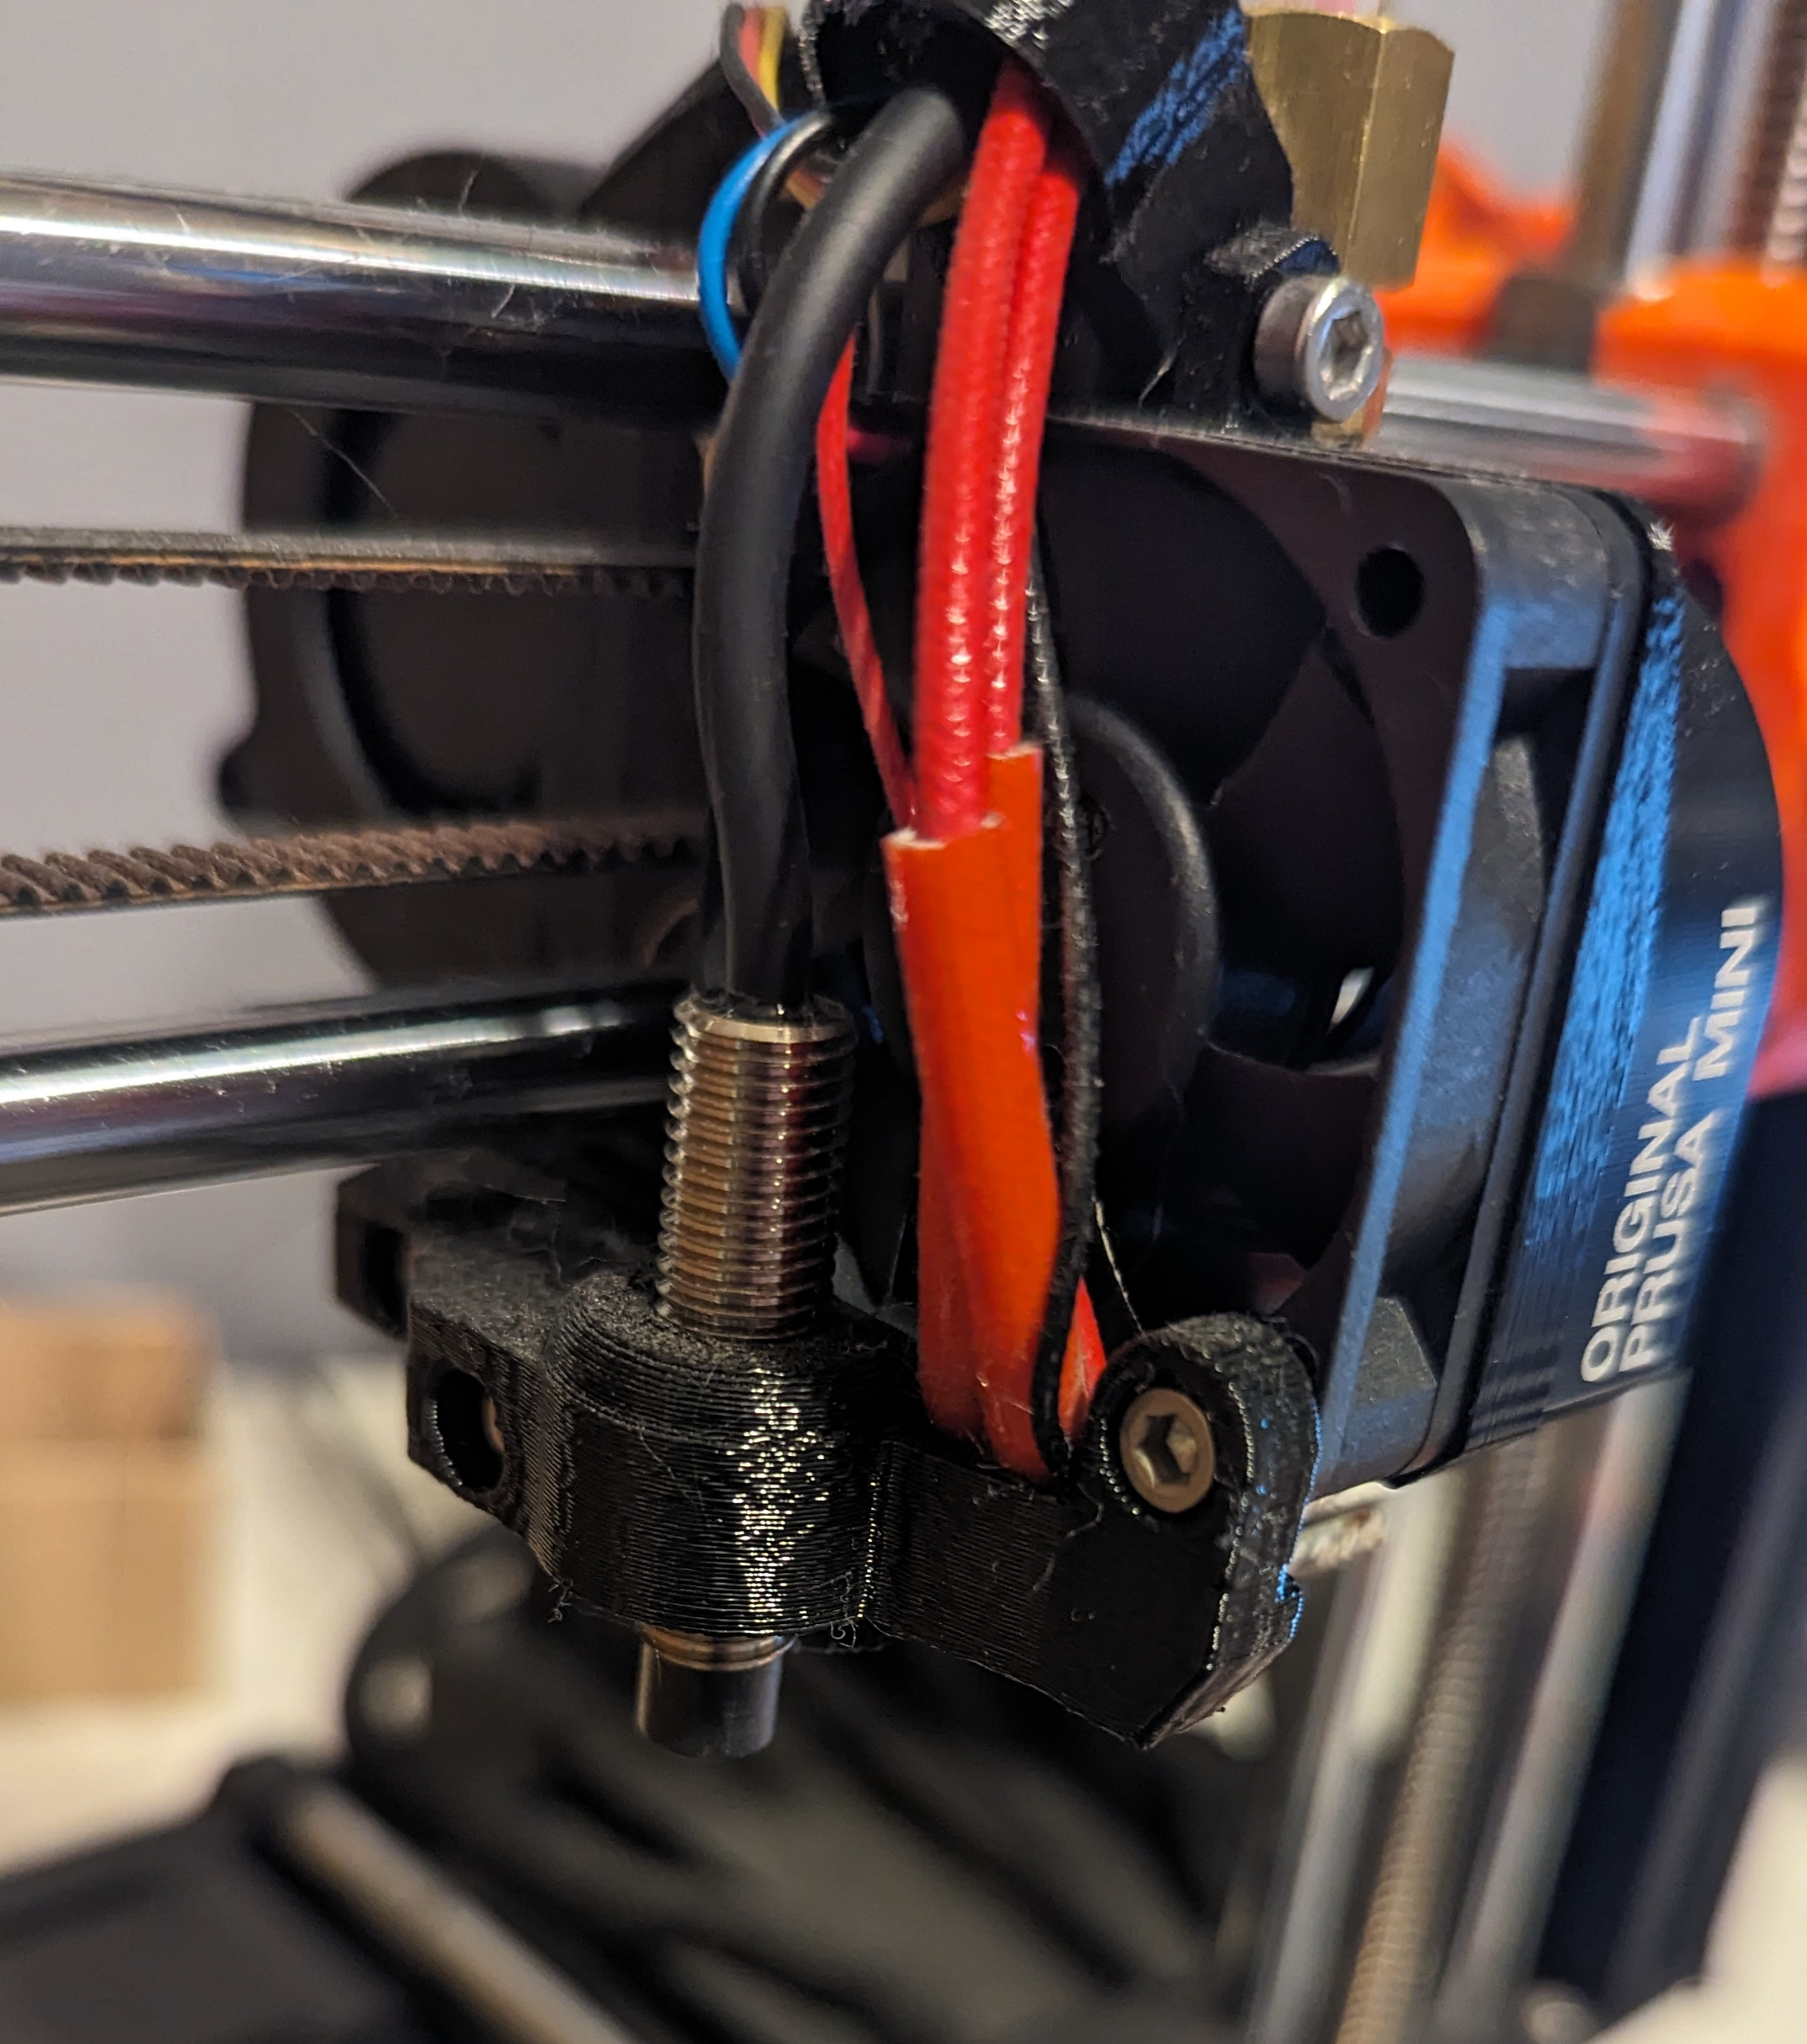
-
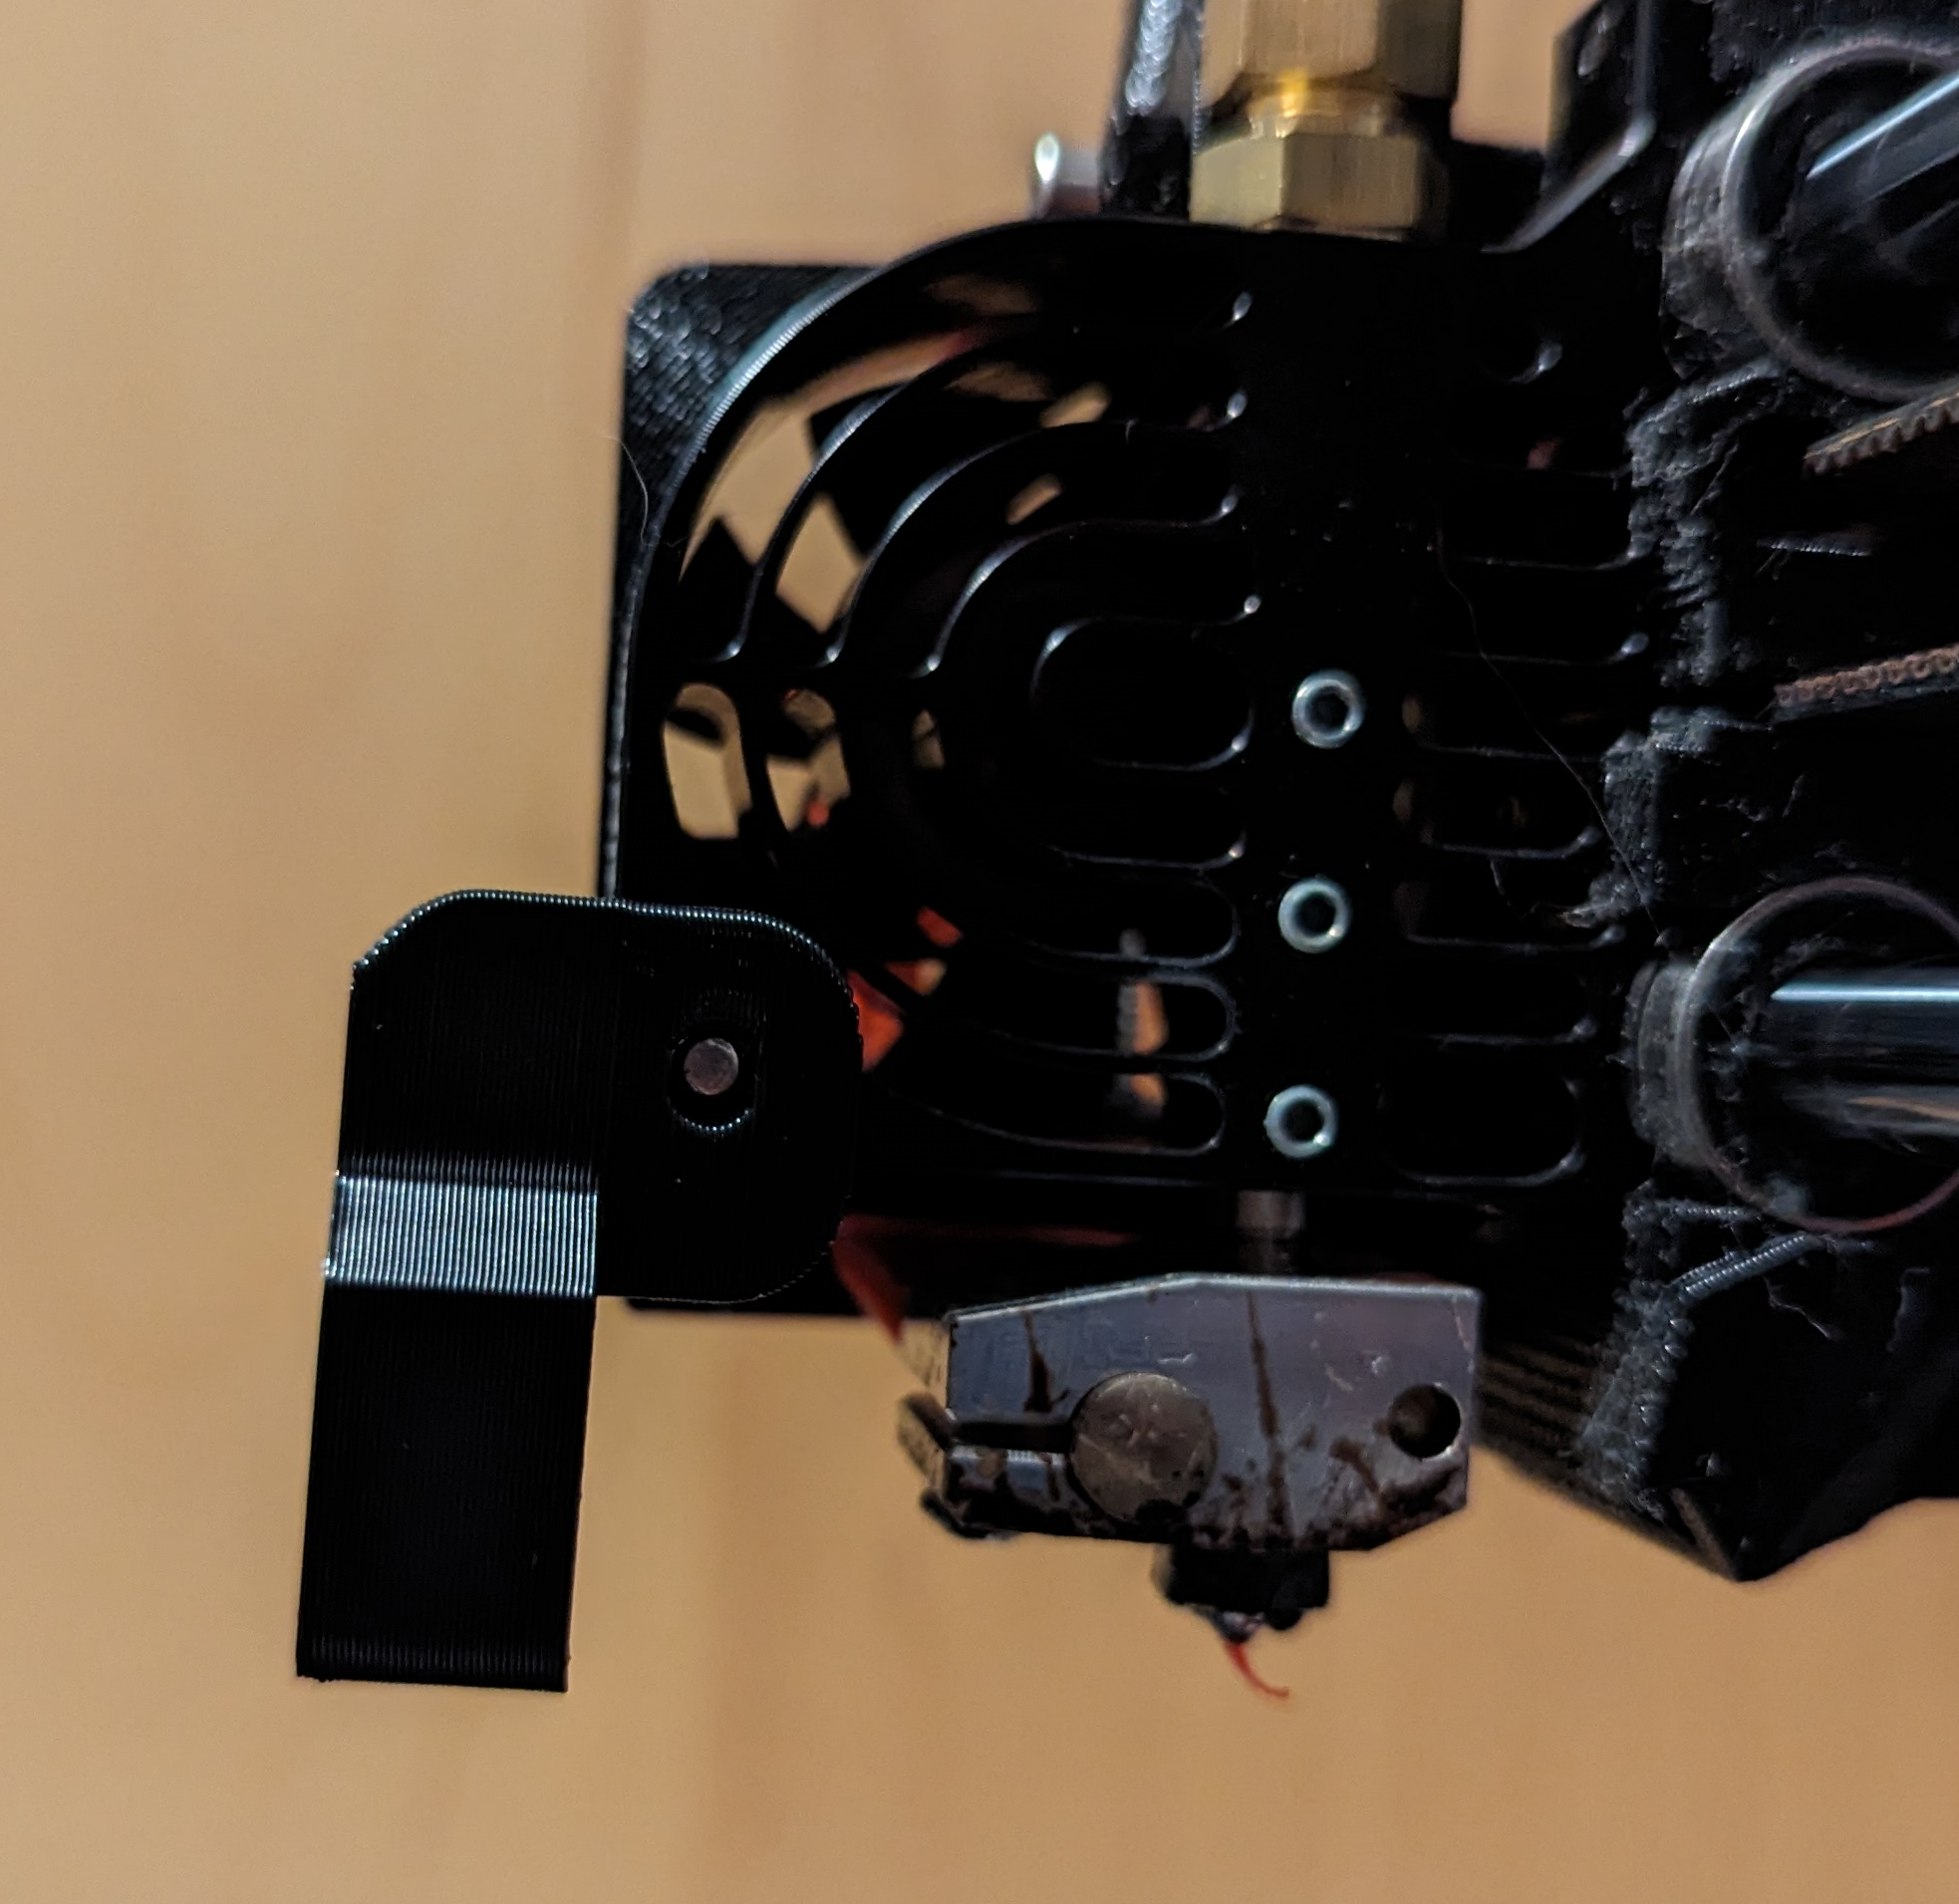
Using the provided M3x40 cap screw, screw the hotend ram (M13) into the hotend assembly from the left side.
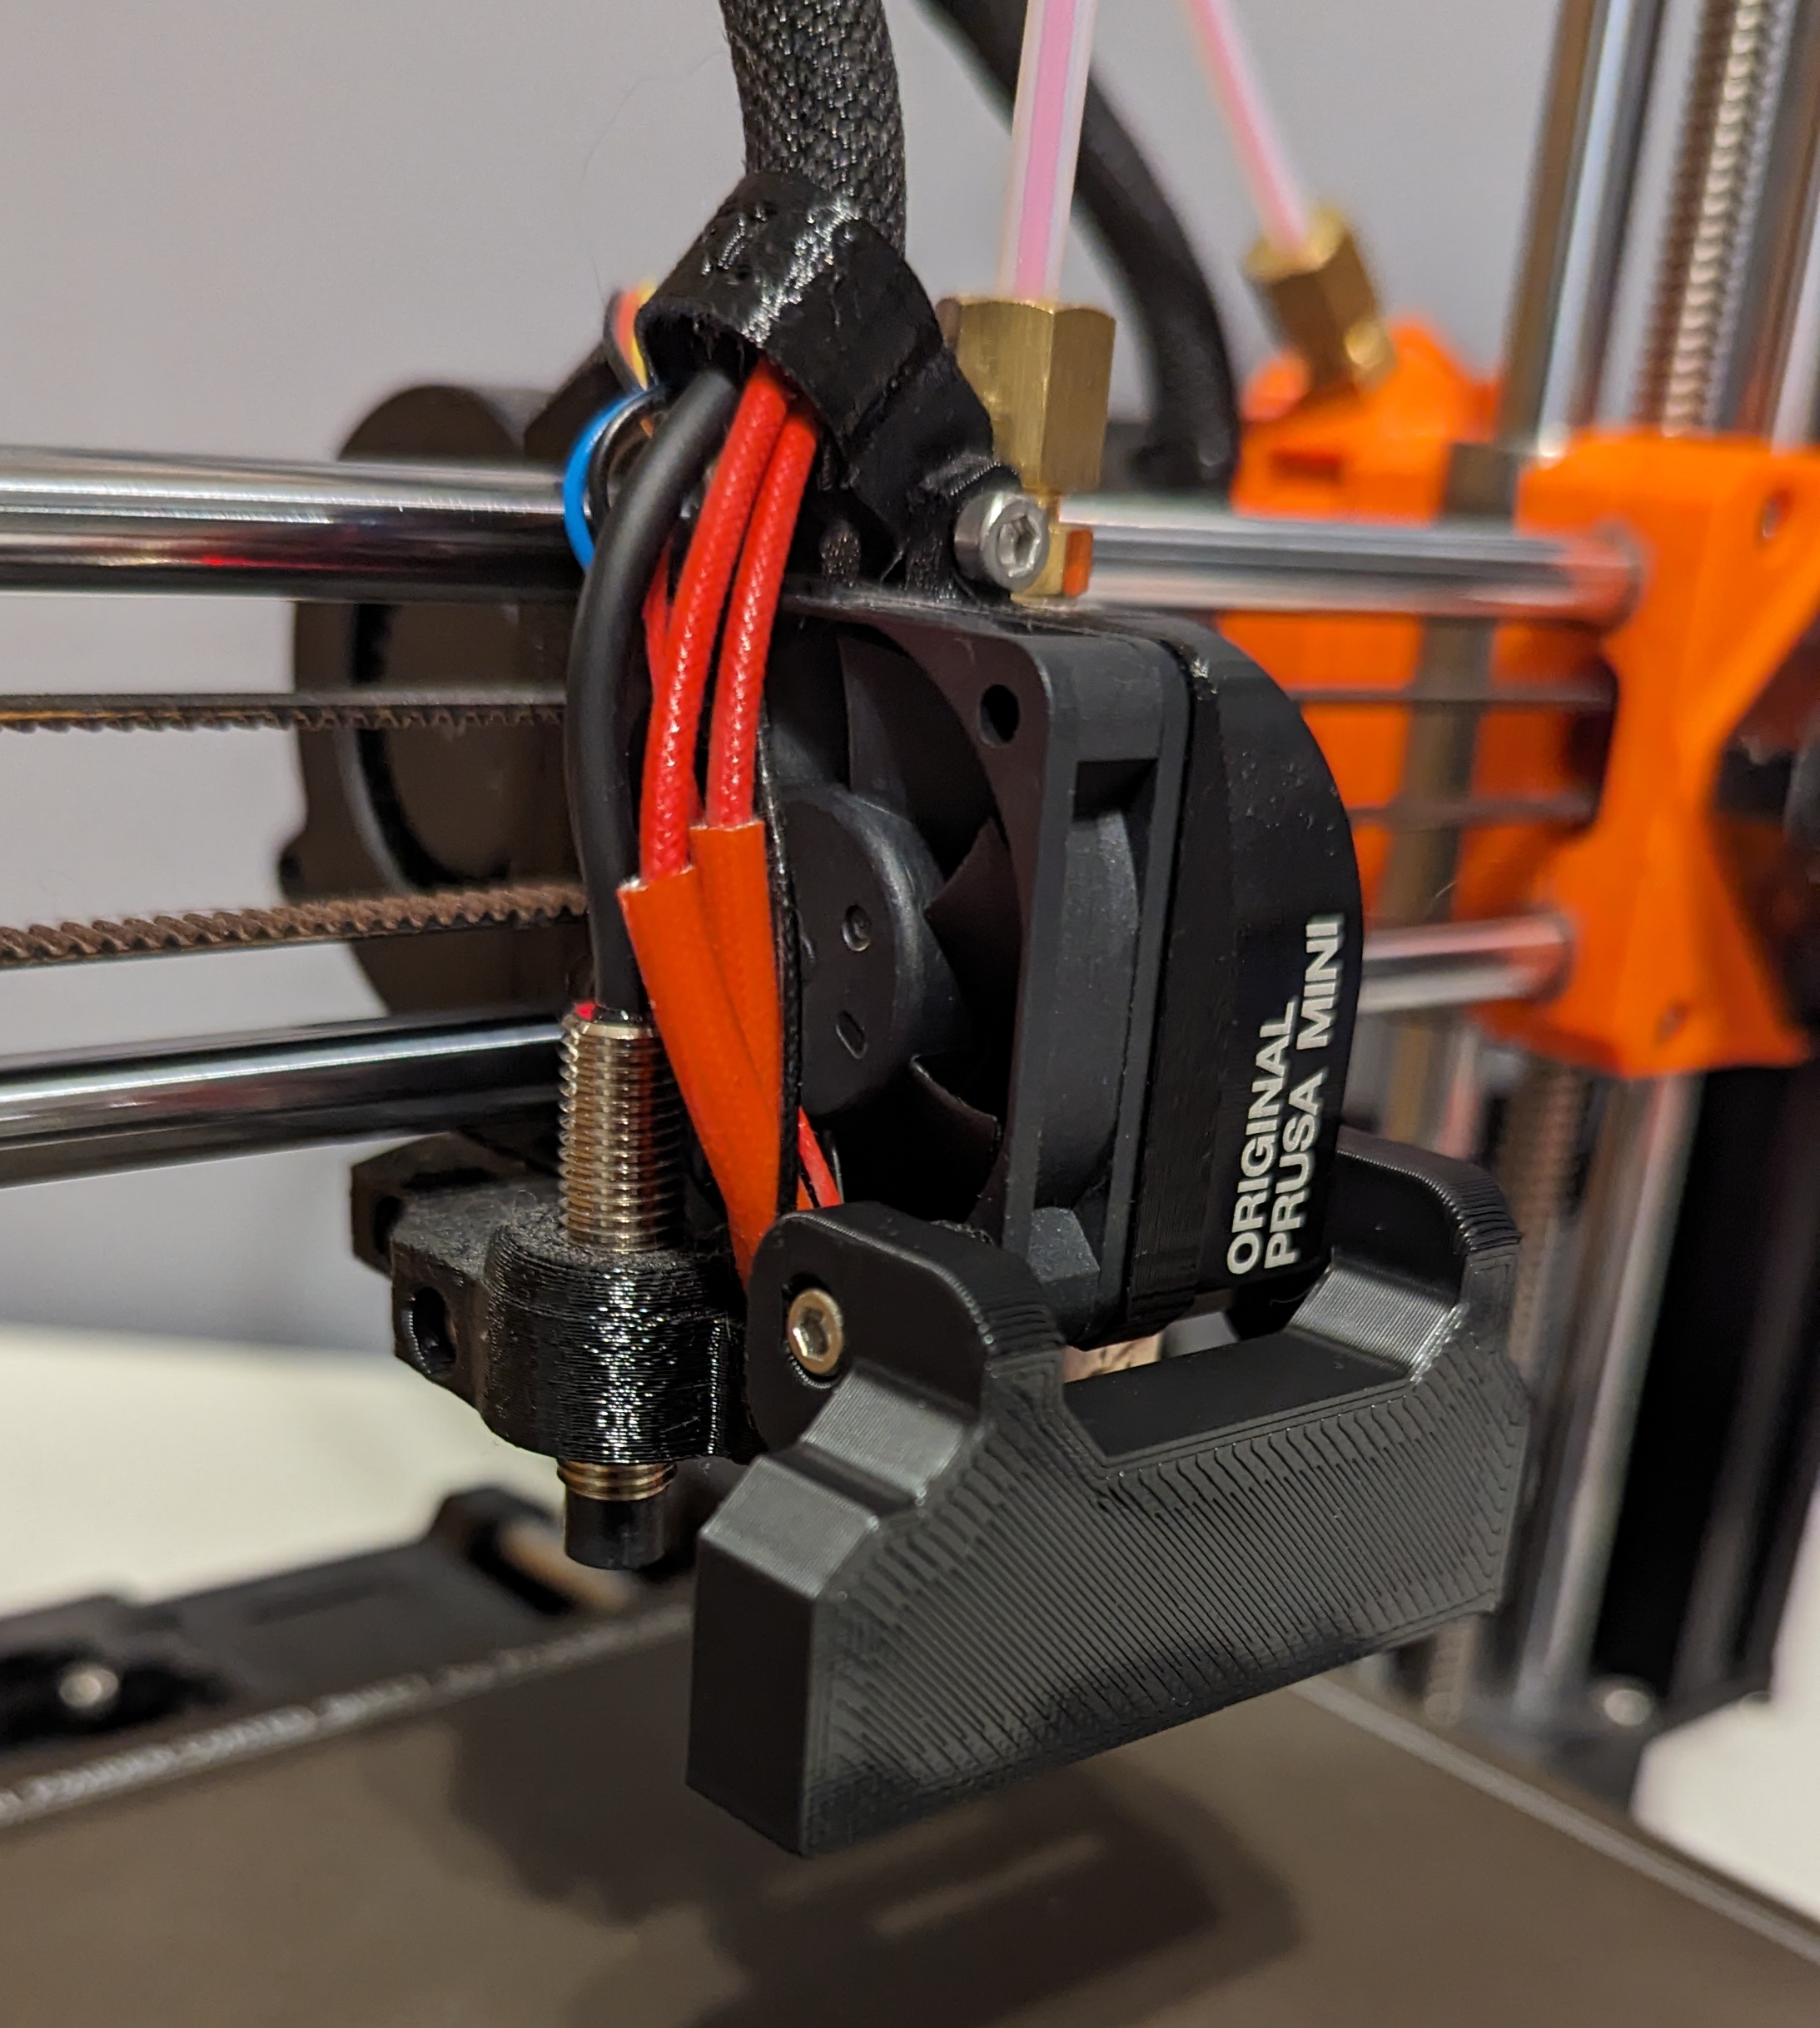
-
The screw should exit the heatsink and slot back into the hotend ram (M13).
Done!
4.0 VAAPR Bed
VAAPR Installation
- The VAAPR bed is slightly smaller in area than the Prusa Mini PEI sheet. When installing the VAAPR bed, center the VAAPR bed over the print area square on the Prusa Mini PEI Sheet.
Purge Line Modification
- The default purge line created by PrusaSlicer prints slightly outside of the print area, so with the VAAPR bed installed, it will try to purge outside the VAAPR bed area. To solve this issue, you can either move the purge line inward (+Y) by 5mm, or delete the purge line entirely in the machine start gcode.