Manual Raspberry Pi Installation
If you want to install AutoFarm3D on a Raspberry Pi, follow these instructions!
1. What you'll need
| Item | Minimum Specs |
|---|---|
| Raspberry Pi 4 | 2 GB RAM |
| MicroSD card | 16GB, Class 10 Rating. Maximum 64 GB |
| Raspberry Pi 5V power supply | 3 Amps |
| USB or SD to MicroSD adapter | none |
| Ethernet cable | none |
2. Load Software Onto SD Card
Formatting your card erases all data on the SD card. Make sure you have backed up any important files before proceeding.
2.1 Format SD Card
- Insert the micro SD card into your computer.
- Install and open SDCard.org SD card formatter (download here)
- Format your SD card:
- If you are using a NEW card: use the "Quick Format" option.
- If you have used this SD card before: use the "Overwrite Format" option as there may be data fragments on it.
Why we recommend using the SDcard.org formatter
Your computer likely has a built-in SD card formatter, but they can be unreliable, especially if the SD card previously contained a Linux file system. The SDcard.org SD Card Formatter produces identical results on Mac and Windows computers, and works on any SD card, regardless of what file system it contains.
2.2. Choose Software
- Download AutoFarm3D for Raspberry Pi (First time user) or (Existing user) and extract the file from the .zip.
- Install and open Raspberry Pi Imager (download here), use v1.8.5 or newer.
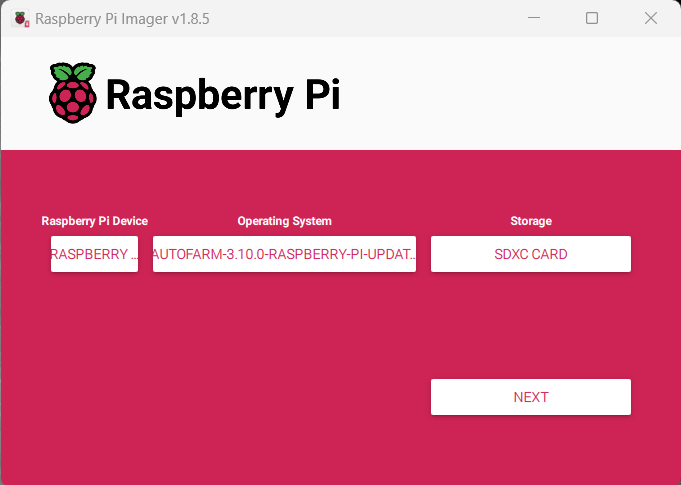
- Click ‘Choose Device’ and choose “Rasberry Pi 4”.
- Click ‘Operating System’ and select ‘Use custom’.
- Select the AutoFarm-x.x.x.img file you downloaded from our website. It will be in a .zip file, so please extract it first. If it is not in a .zip file, something has gone wrong during download. Please try re-downloading and contact support if you encounter issues.
Can't unzip the file?
Mac computers sometimes have issues unzipping large files. For a fix, please follow this guide.
- Click “Choose Storage” and select the SD card you have formatted from previous stage.
- Click Next.
2.3 Network Configuration
- Ethernet (Recommended)
- WiFi
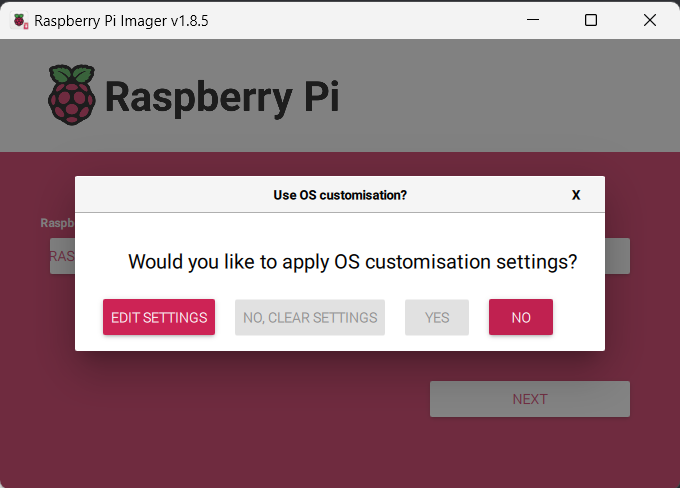
Raspberry Pi Imager will prompt for “Use OS Customization”, choose No.
If you're planning to use Ethernet to connect your Pi to the internet, you can continue to section 2.4.
Some Raspberry Pi models don't support 5G Wifi, so use 2.4G unless you've checked your device specs.
If your network is a 'corporate' network (E.g. not a standard home wifi system, your workplace has an IT team, you're a school/university, you work in a shared workplace, etc.), please contact 3DQue support for setup assistance.
- Click the gear (settings) icon. A new dialogue should pop up showing "Advanced Options."
- Enter your SSID (WiFi name) and WiFi password. These are case-sensitive, and make sure to double-check that they are spelled correctly.
- Select your Wifi country, you may have to look up your country code.
- Select and set locale settings and choose your correct time zone.
- Click 'save' and the options menu will close.
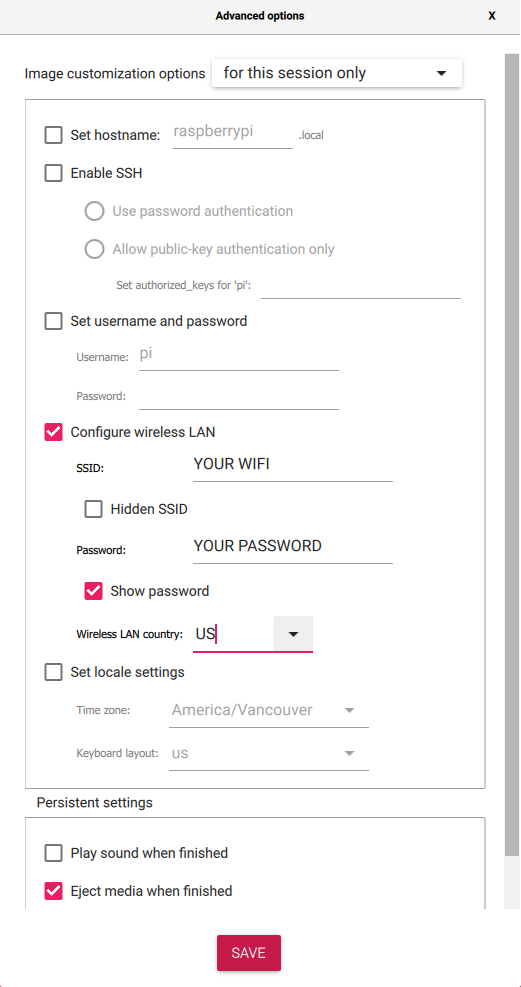
Do not set a custom username for your Pi - AutoFarm3D wont boot! Your username must be exactly pi
You may, however, set a custom password. As long as the username is pi, it'll boot up fine.
2.4 Write to SD card
- Click ‘SD Card’ and select your SD card.
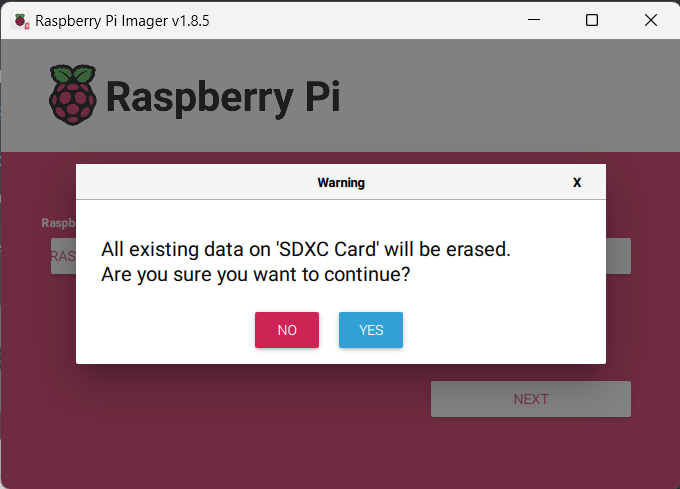
- Select ‘Write’ and wait until it's finished. Writing to the SD card may take up to 15 minutes.
This process will delete all data on the selected SD card. Make sure you select the correct SD card!
If you have other SD cards or USB flash drives plugged into your computer that contain important files, to prevent accidents, you may want to temporarily eject any drives you don't want to accidentally overwrite.
3. Plug Everything In
- Make sure the Pi is turned off and unplugged.
- Insert SD card.
- Connect an ethernet cable from your router to the Pi (unless using Wifi).
- Connect the power supply. Your Pi should power on and begin booting up.
4. Log in to AutoFarm3D
4.1 Finding Your IP Address
When the Print Farm Hub successfully boots and connects to the internet, you will need to find its IP address.
To find your IP address, we recommend using Angry IP Scanner. To begin, please download and run the appropriate installer.
Once installed, you should see this:
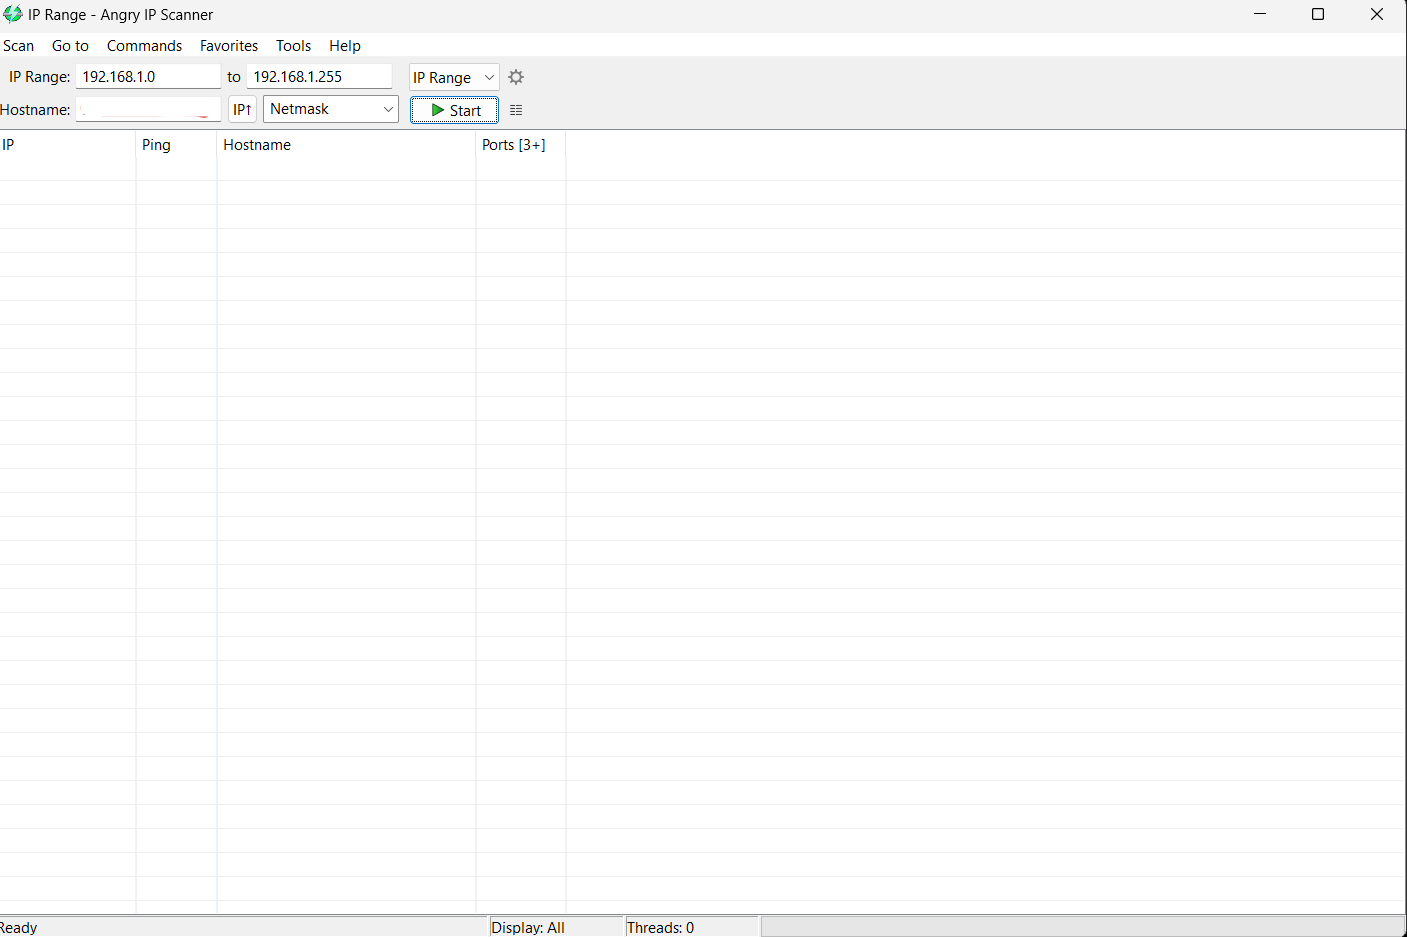
Simply click the “Start” button and wait until scanning is complete (approx. 60sec). Once it is complete, click close.
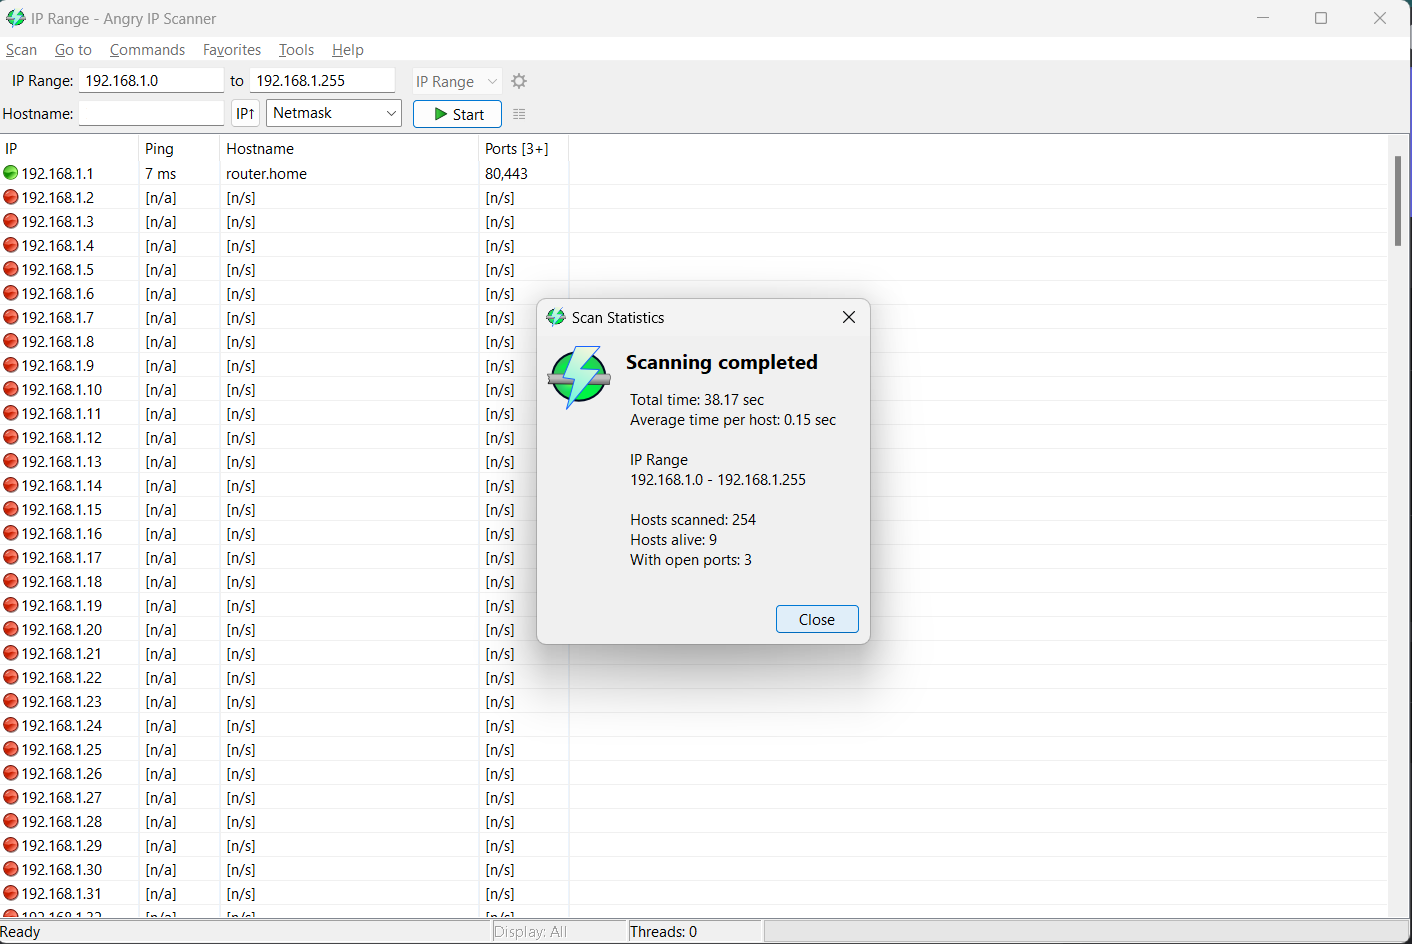
Look for "Raspberrypi.home" in the Hostname column
You can search for the above by using ctrl+f on Windows or cmd+f on Mac, and can sort the column by clicking “Hostname” then “Sort by Hostname.”
Once you have found the IP address, you can proceed to 4.2!
If you are having issues finding the IP or unsure if your Print Farm Hub is functioning correctly, please see our Network Troubleshooting Page.
4.2 Log in From Your Browser
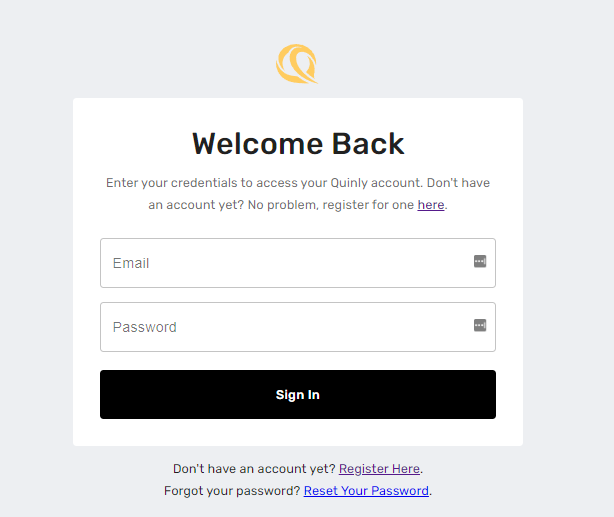
- On your computer, open a browser and enter the IP address followed by “:8080”. You should now see the 3DQue login screen.
- Sign in to your AutoFarm3D account. If you don't have an account, please create one.
5.0 Next Steps
Check out our Tutorials to learn how to use AutoFarm3D!