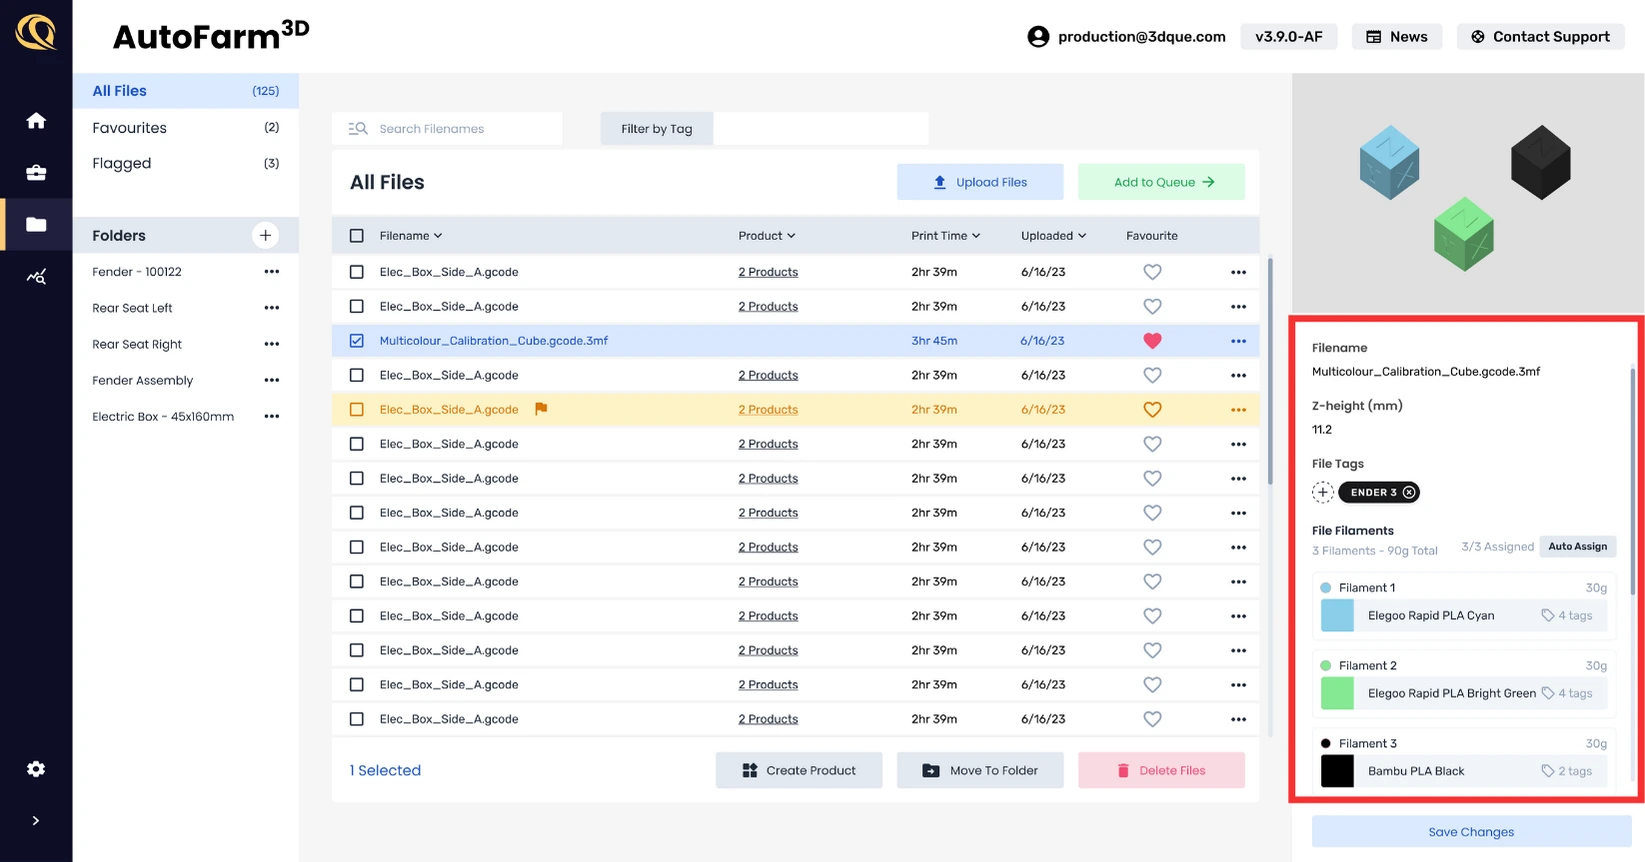
Files Overview
The files page is where you can manage your gcode files. You can upload, rename, move, and delete files. You can also create folders to organize your files. Files here are shared across all printers, so you can keep all your files in one place.
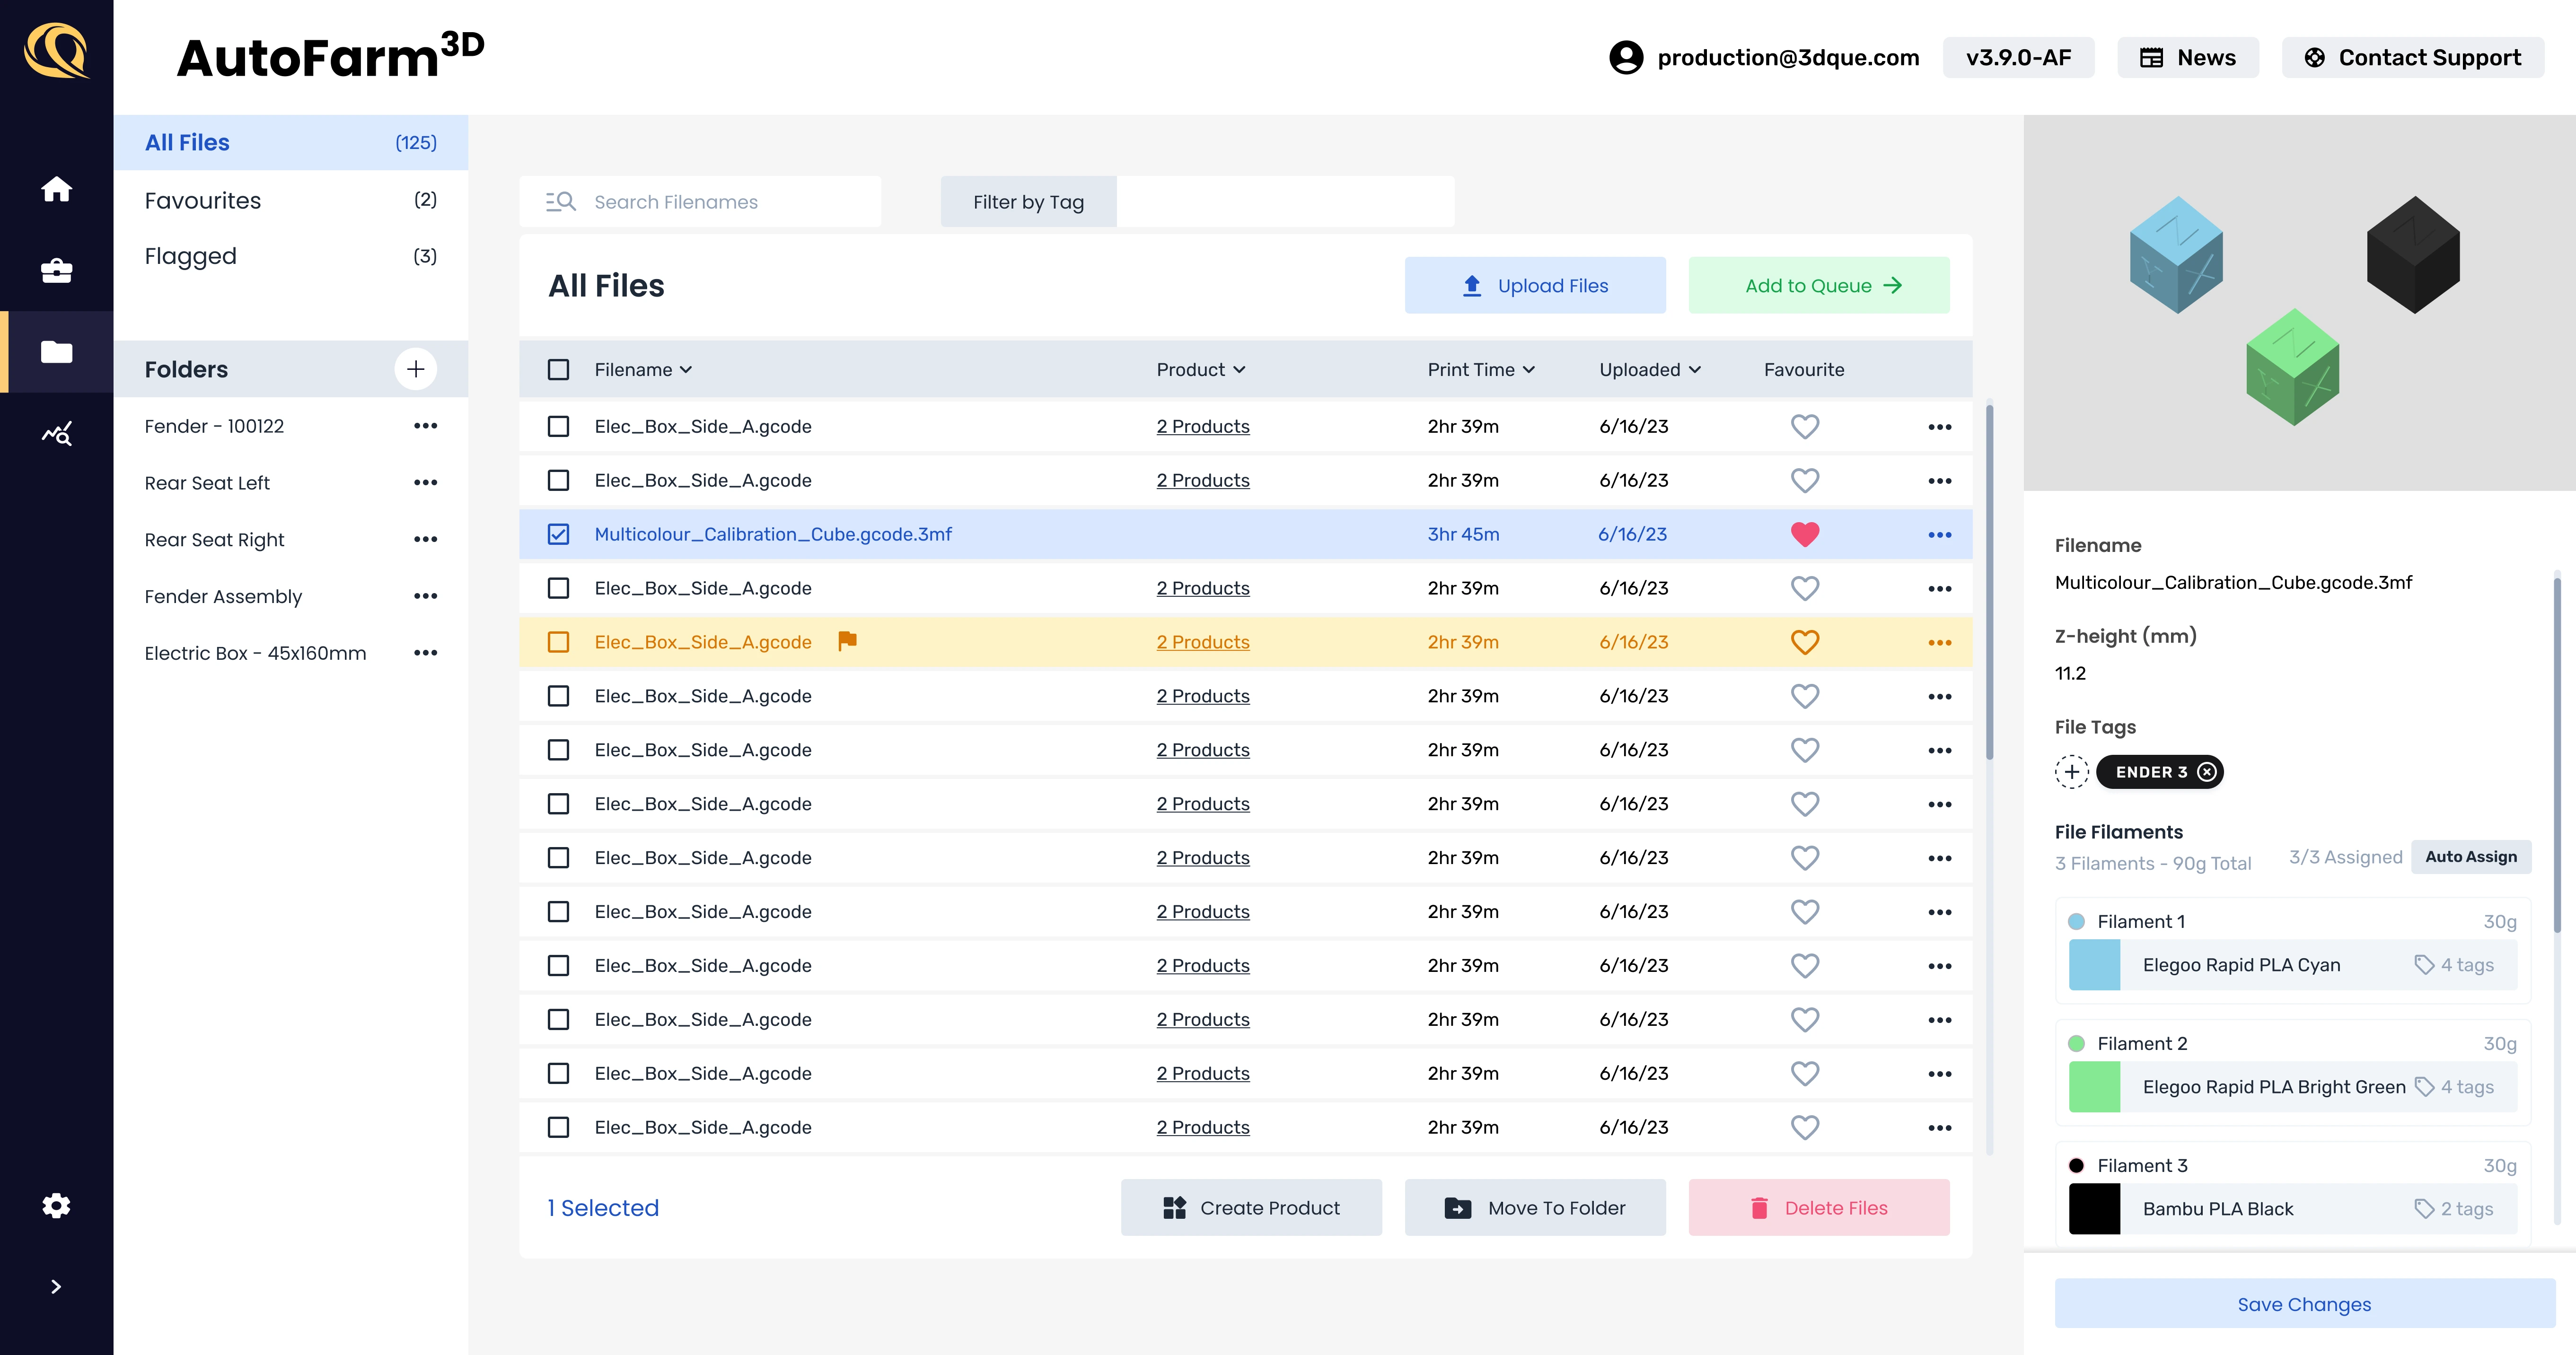
1. Files
All your files are listed here. All files are accessible by all printers in your farm.
- Upload file(s) Upload gcode files from your computer. You can upload multiple files at once. Note: you can only upload gcode files.
- Select file(s). Select multiple files to do bulk actions.
- Move To Folder Moves selected files to a particular folder.
- Delete file(s). Deletes the selected files from AutoFarm3D. Note: You cannot delete a file if it is currently in the queue or being printeiles from a particular folder. This will not delete the file from AutoFarm3D, it just removes it from the folder.
- Download file(s) Downloads selected gcode files back to your computer.
- Favourite a file. A favourited file will show up in the Favourites folder on the side panel. Use favorites to quickly find files you want to print often.
- Print Time - The print time is initially an estimate calculated by AutoFarm3D. It is not always accurate, but it is usually close. The estimate will be updated with the actual print time once the file has been successfully printed.
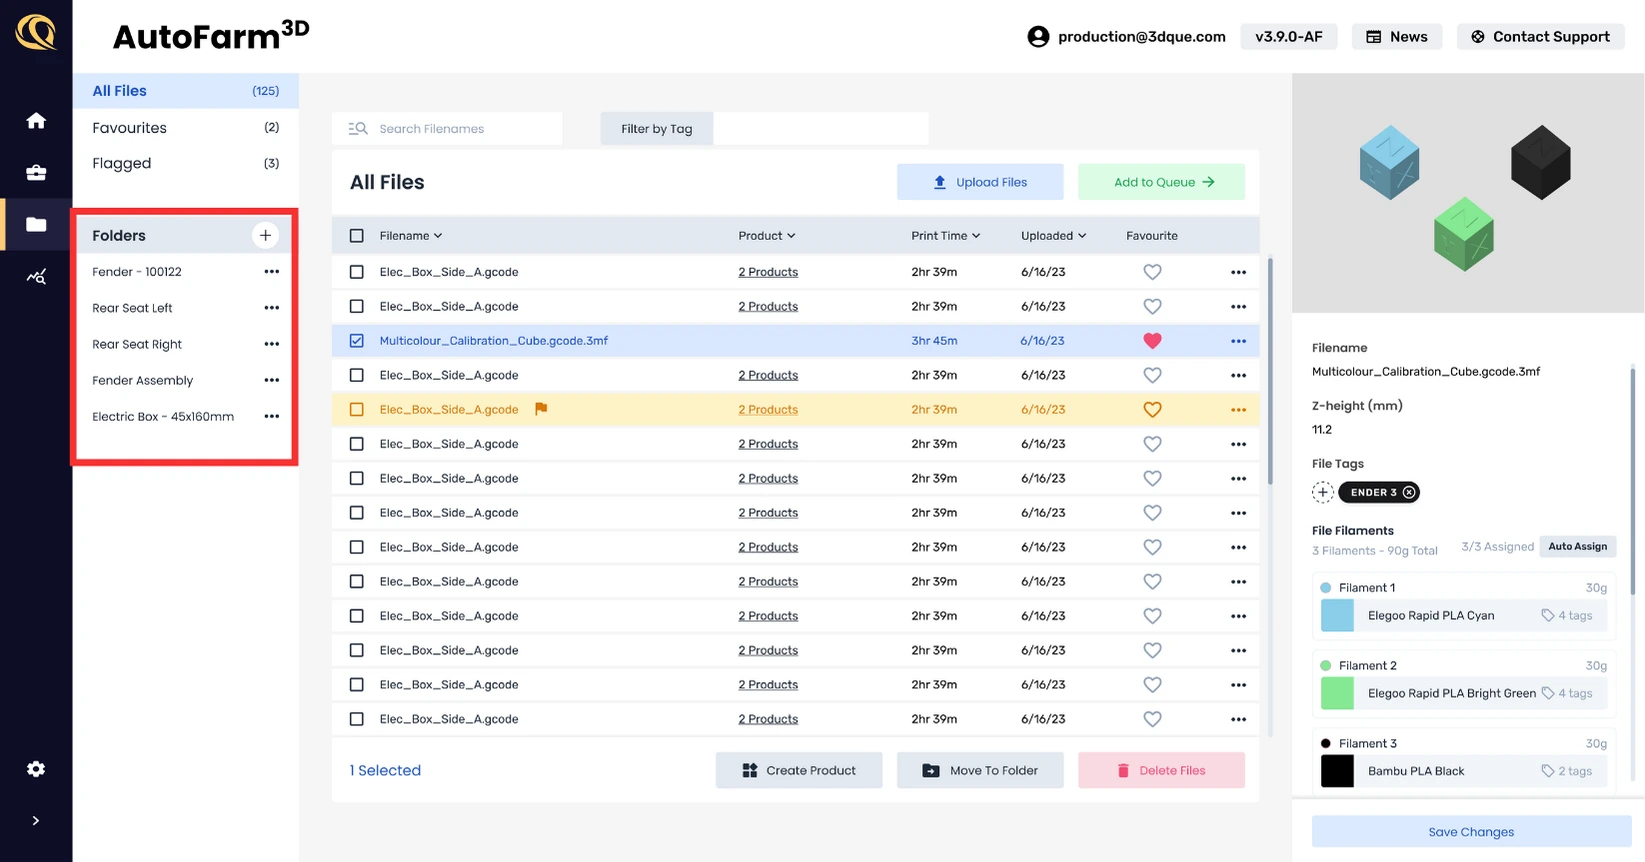
2. Folders
Folders are a great way to organize your files. You can create as many folders as you like, and move files between them. The same file can be in multiple folders at once, but it is still only one file. Deleting a file from a folder will not delete the file from AutoFarm3D.
- Add new folder. Click the + button to create a new folder. Input your new folder name and hit enter to save.
- Rename folder. Click on the three dots next to a folder to find the rename button. Input your new folder name and hit enter to save.
- Delete folder. Click on the three dots next to a folder to find the delete button. Deleting a folder will not delete the files in the folder. See Manage Files, for more information on deleting files.
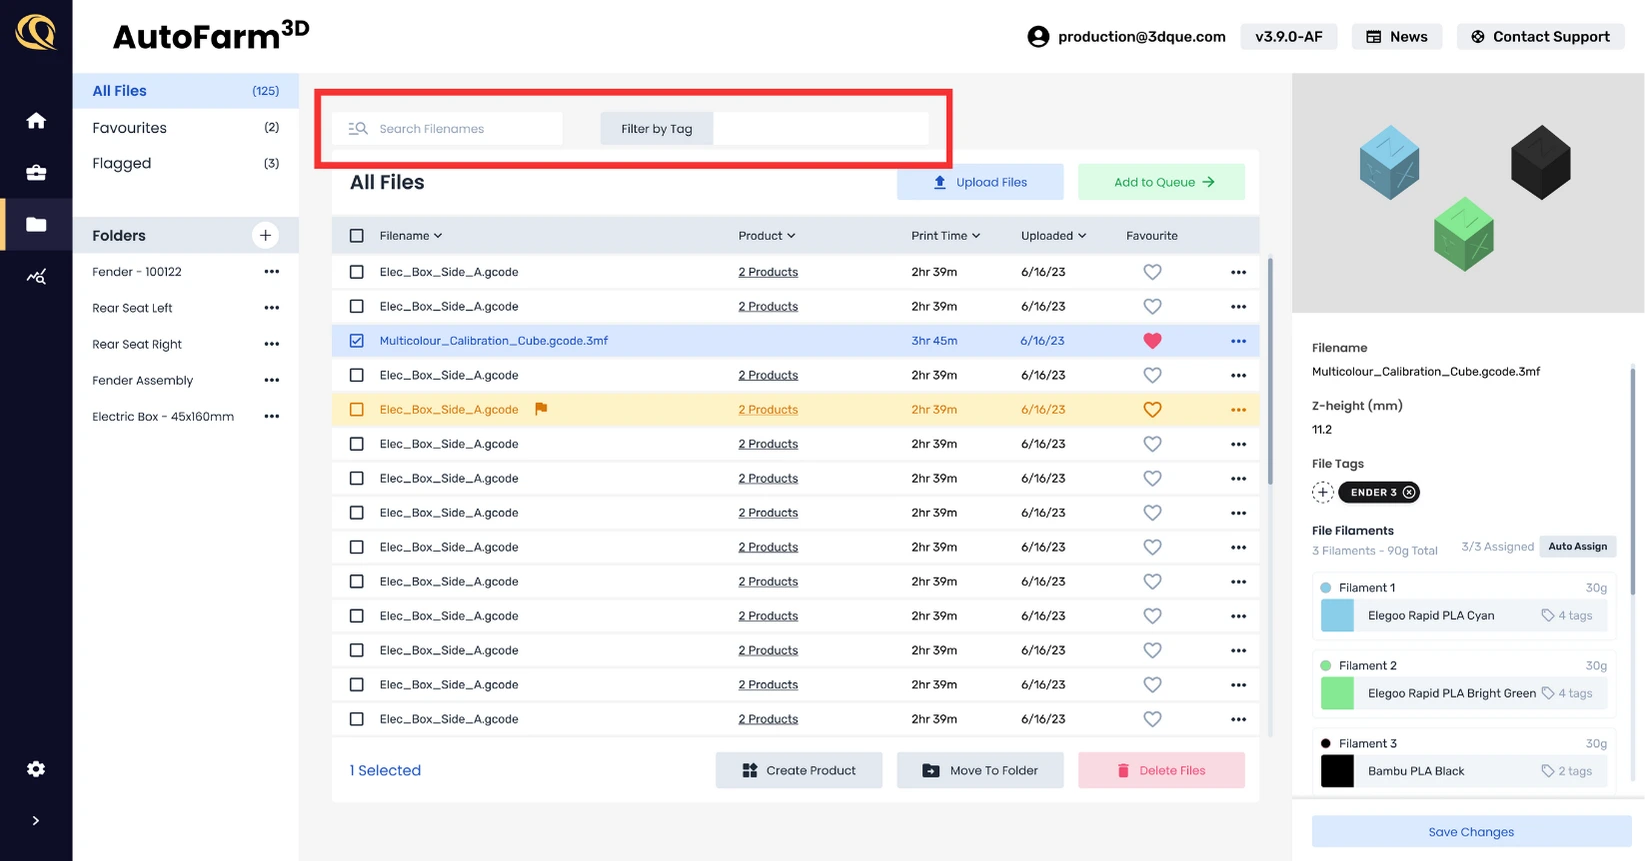
3. Search and Filter
Use the search and filter bar to quickly find the files you are looking for.
- Search - Search for files by name.
- Filter - Filter files by tags, such as color, printer type, or material.
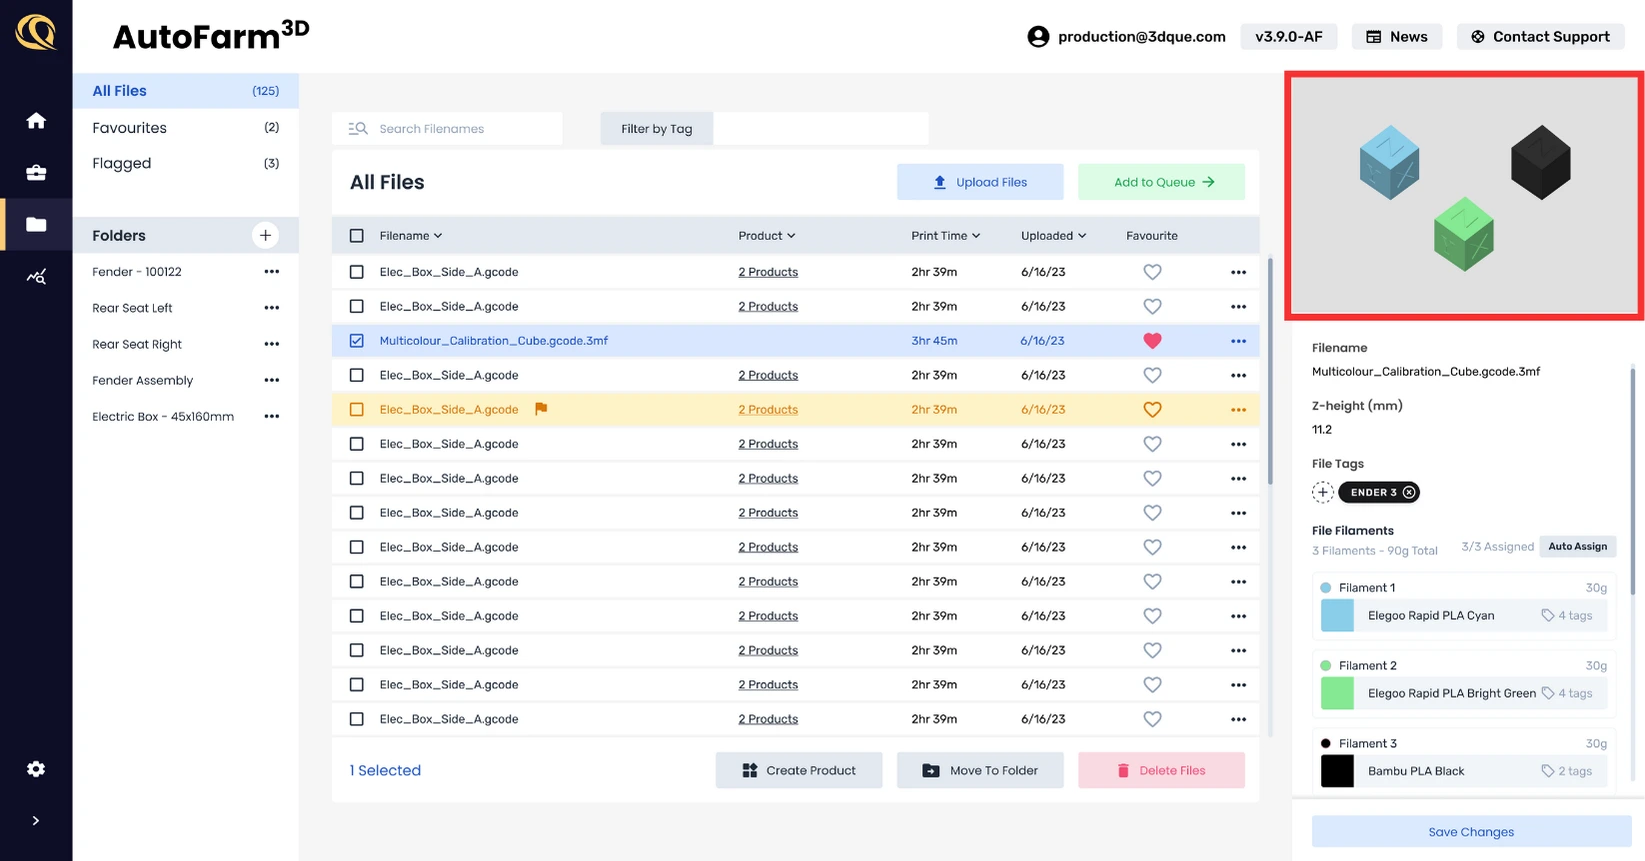
4. 3D Gcode Preview
Shows a 3D render of the gcode. Click on the preview to open an interactive 3D viewer. Rotate with left click. Pan with right click. Zoom with scroll wheel.
5. File Details
Each gcode file can contain extra information that is useful for managing your print farm.
- Default Tags - If you sliced your gcode for a particular printer, material, nozzle diameter, etc. you can set default SmartTags so that it only gets printed on printers that are compatible with the gcode.
- Default Release Temp - If auto-ejection is enabled, then the printer will wait for this temperature before ejecting the part.
- Production Notes - Add notes about this print. This is useful for keeping track of print settings, or any other information you want to keep track of.
- Flag Gcode for Review - If the gcode has issues, or needs to be reviewed for any reason, you can flag it for review. This will add a flag to the file. You can also add a production note to the file to explain why it was flagged. This is especially helpful when multiple people are running the print farm and need to communicate.
- Cost Per Print - This is a manual input where you can record the cost of material, electricity, and wear and tear on the printer.
