Setting up an Order
Creating an Order
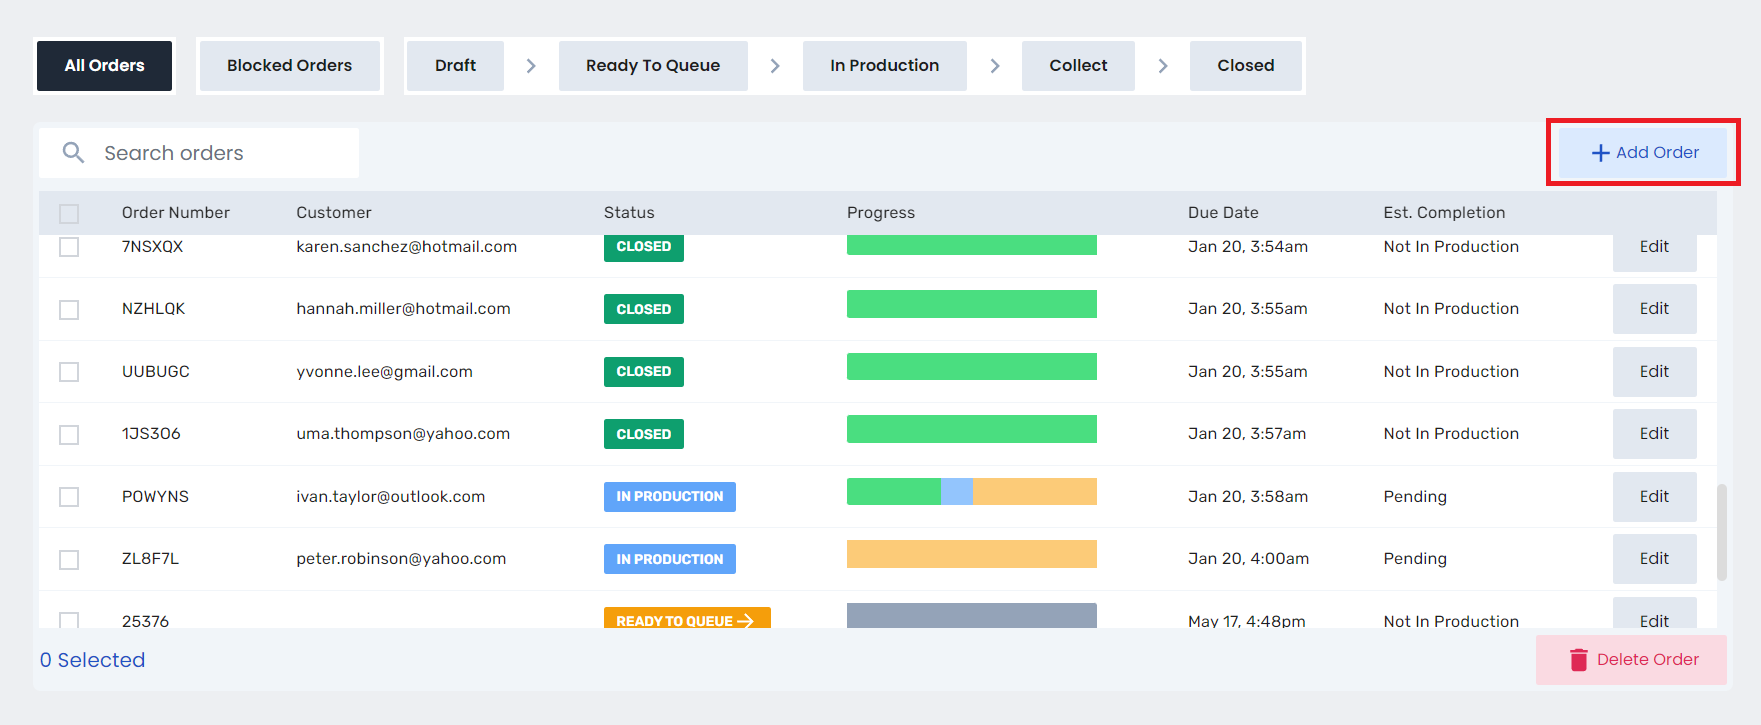
To create an order, click the Add Order button in the top right corner of the screen. This will open the New Order dialog.
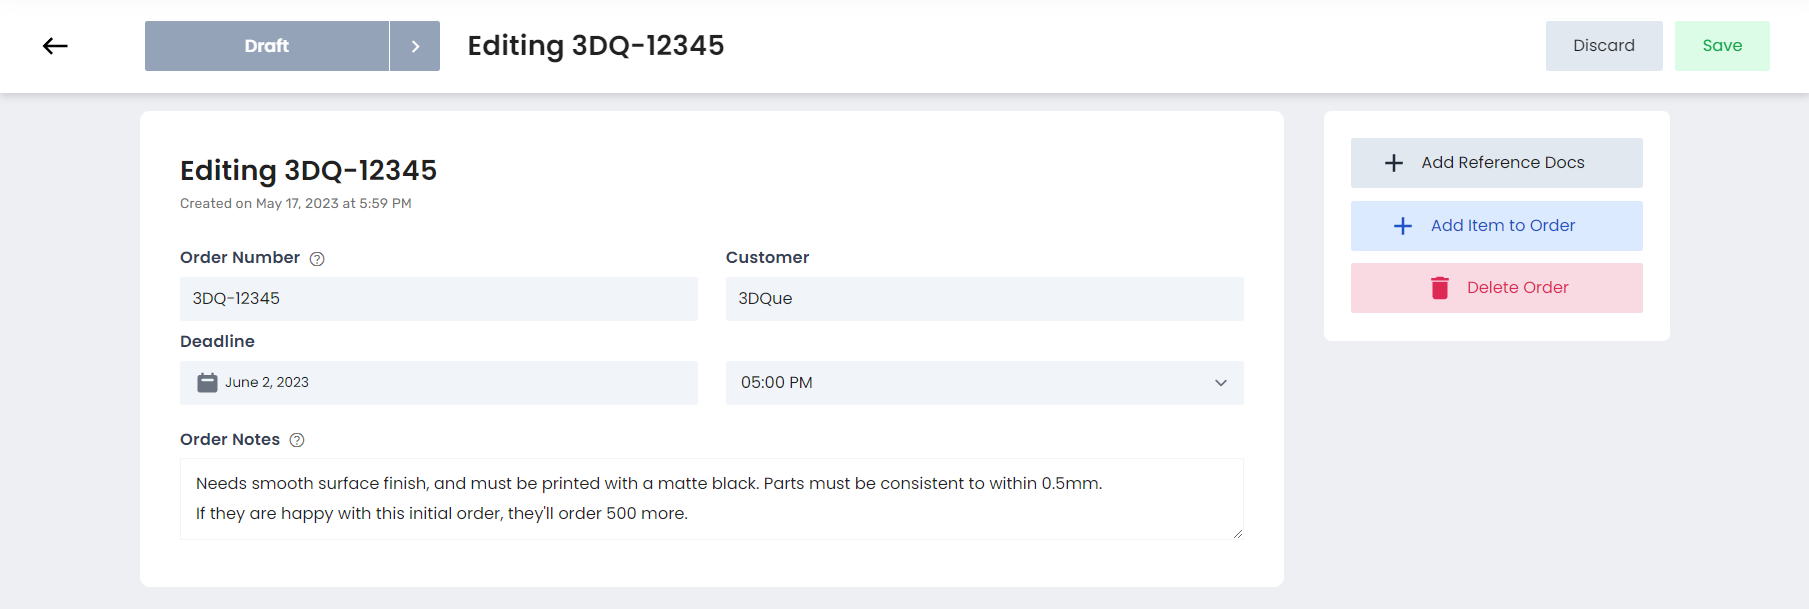
This page allows you to enter the details of the order. You can enter the order number and customer's name. You can also enter the due date and order notes.
- Order Number: The order number is used as a reference to trace the order through the system. Order numbers are auto-generated, but you can edit it to match any existing order management workflows.
- Order Notes: Add any notes about the order. This is useful for keeping track of custom requests from the customer, special requirements, or any other information you want to keep track of.
Add Items to the Order
To add items to the order, click the Add Item To Order button.
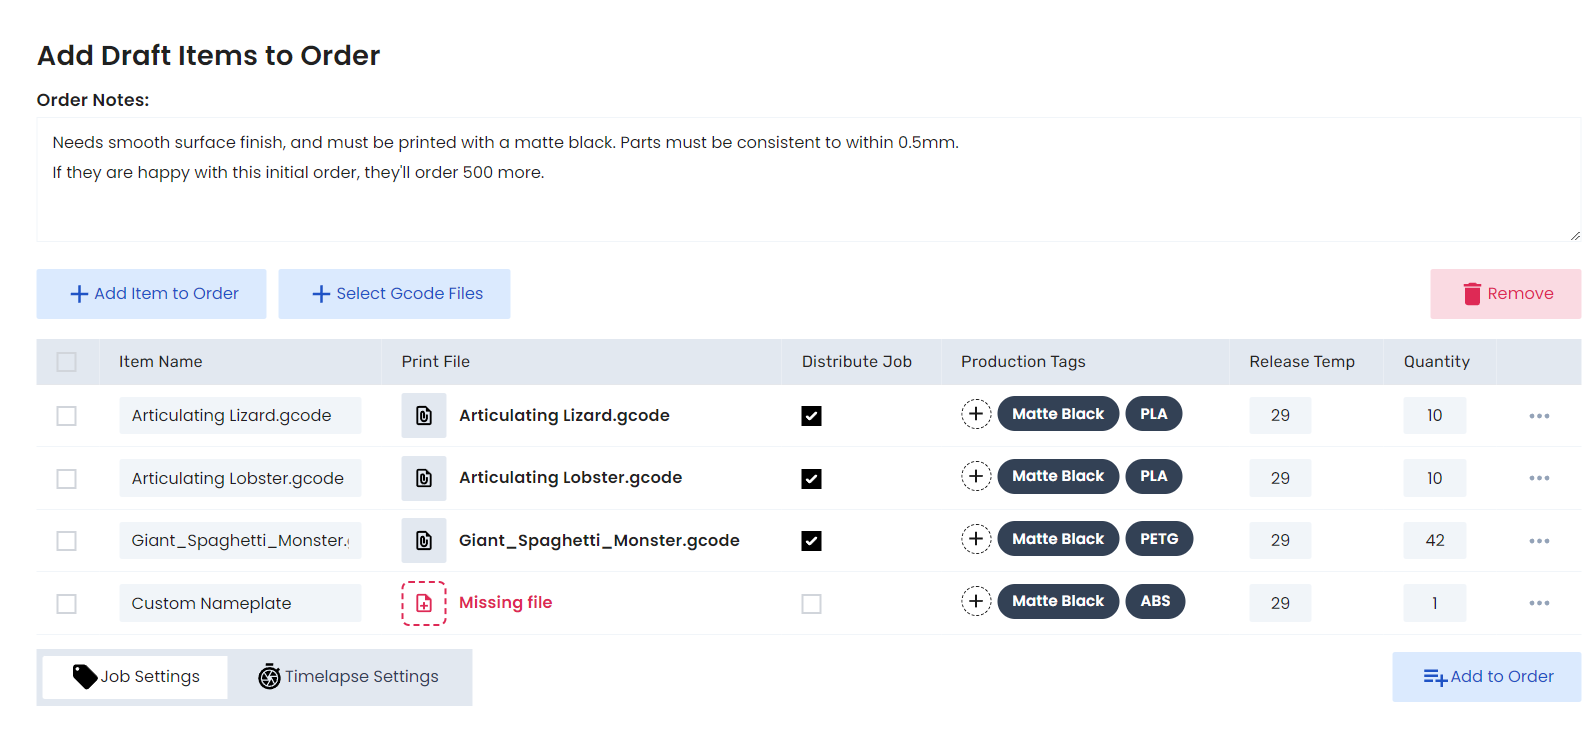
You can add multiple items and gcode files to the order. Each item can have a different quantity, material, and color. You can also add items that don't yet have a file uploaded. This is useful for keeping track of orders that are still in the design phase.
Order Details
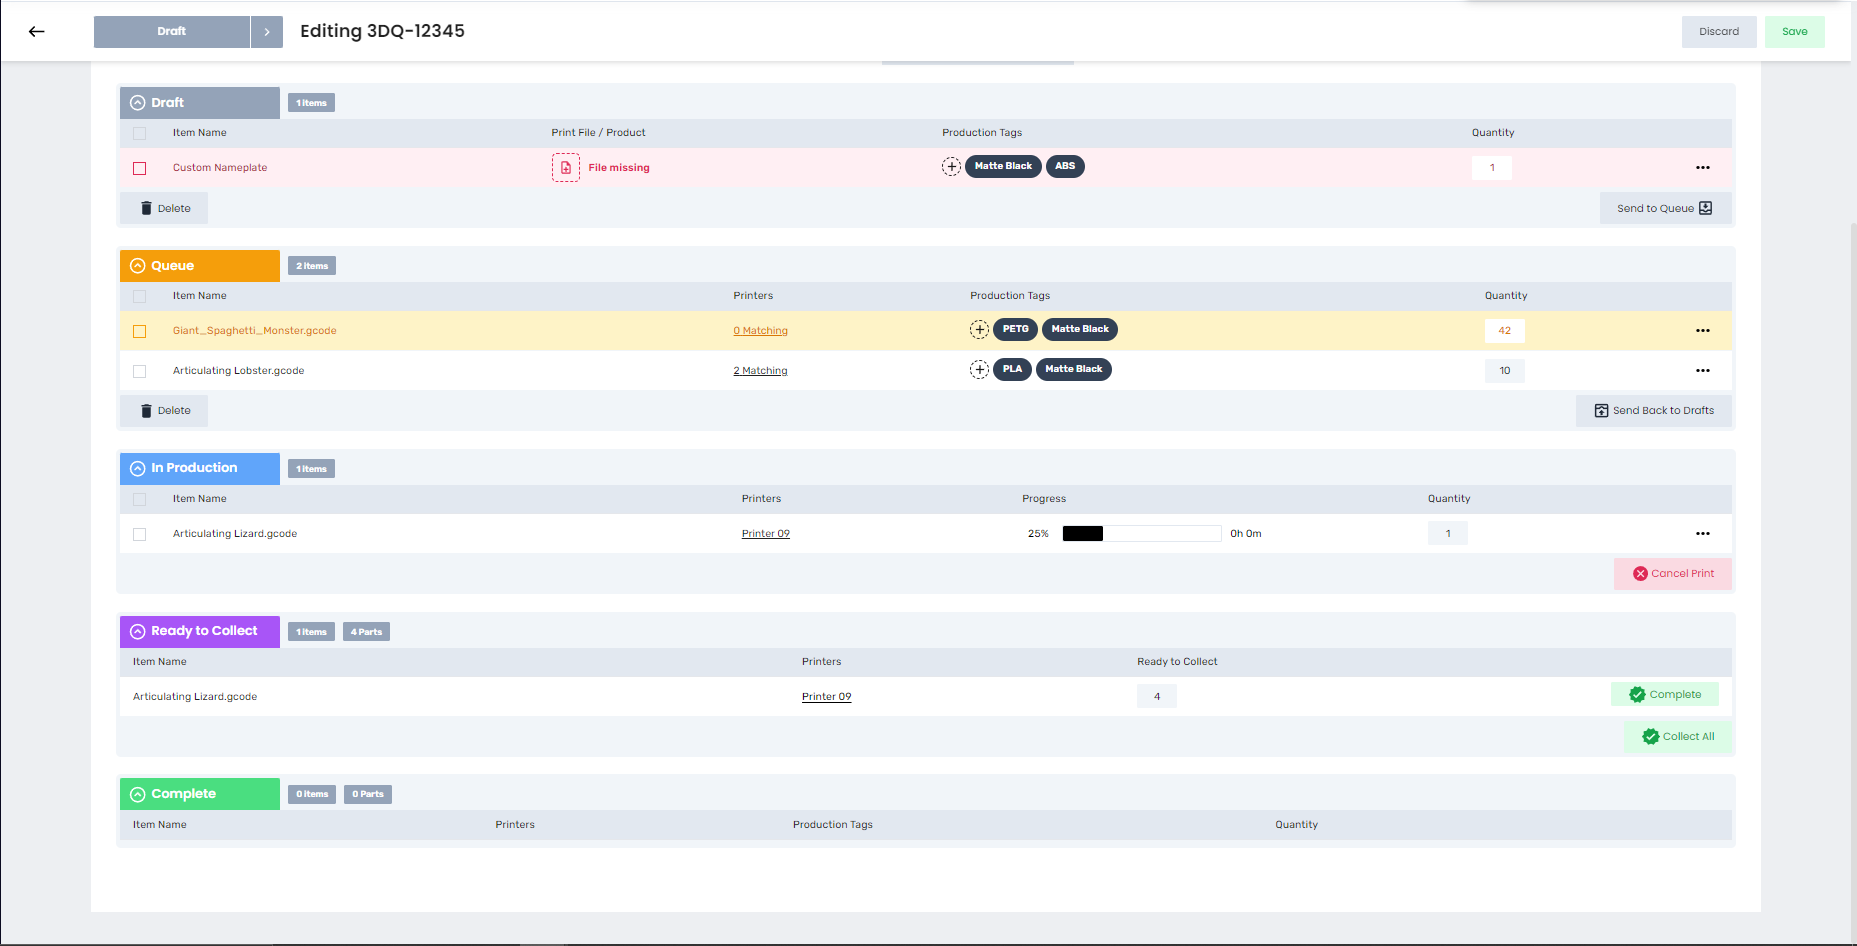
Scroll down to the bottom of the page to see the order details. This section breaks down the order into the different states, and shows how many items are in each state.
Draft
Draft jobs are used to keep track of items in the order that may have missing information, have not been sliced yet, or are not yet ready to be printed. To queue a draft entry, a gcode file must be associated with the part.
Missing Files
Draft jobs that don't have a gcode file associated with them are highlighted with a red background. You'll have to associate a gcode file with the job to remove the warning.
In Queue
Jobs in the queue are ready to print, and are waiting for a compatible printers to become available.
Blocked Jobs
Blocked jobs in the queue are highlighted with a yellow background. This means that the job is ready to print, but there are no matching printers available. You'll have to change SmartTags on your printers to match the tags on the job to unblock it.
In Production
Parts in production are currently being printed on at least 1 printer.
Ready to Collect
Parts that are ready to collect have been completely printed, and are waiting to be picked up from their respective printers.
Complete
Prints are marked as complete when they have been collected from the printer. This is the final "Closed" state for items in this order.