Timelapses
Timelapses make great content for social media, and you can also use them to diagnose print issues if your part fails halfway through.
There are two timelapse modes: Seamless and Fast timelapses.
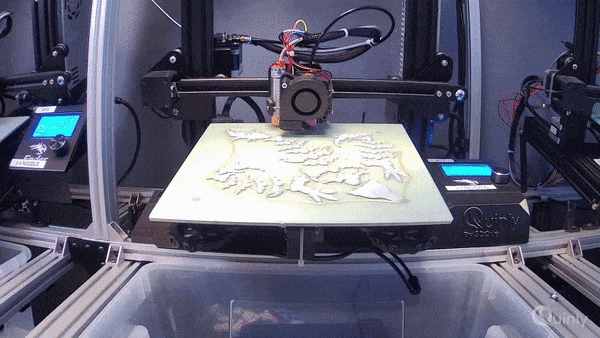
^ Example of a seamless timelapse with auto-ejection video recording.
Seamless Timelapses
Seamless timelapses look really good. Once it is time to take a photo, the nozzle moves to a specified park position, and it looks like the print is growing out of the print bed.
Seamless timelapse can, however, cause oozing or stringing with some filaments. If you're doing a seamless timelapse, make sure you are printing at a lower temperature to avoid stringing.
Example of a seamless timelapse:
Fast Timelapses
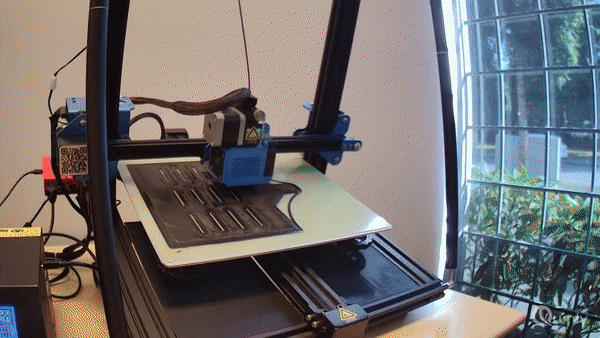
Fast timelapses have no effect on print quality because it doesn't park the nozzle to take a timelapse. The downside to this is it makes the timelapse look more choppy.
Fast timelapses are useful if your print quality is very important, but you still want a record of your prints.
Example of a fast timelapse:
If your print has a Z seam that is in the same position for every single layer, then fast timelapse will look just as good as a seamless timelapse, because the nozzle will be in the same position for every photo!
How to Start Timelapses
1. Plug in Webcam
First of all, you'll need a webcam. Any USB webcam will work fine. Pi cams also work, if you have a Raspberry Pi. Plug the camera in, restart your Pi/Hub and you're ready to go.
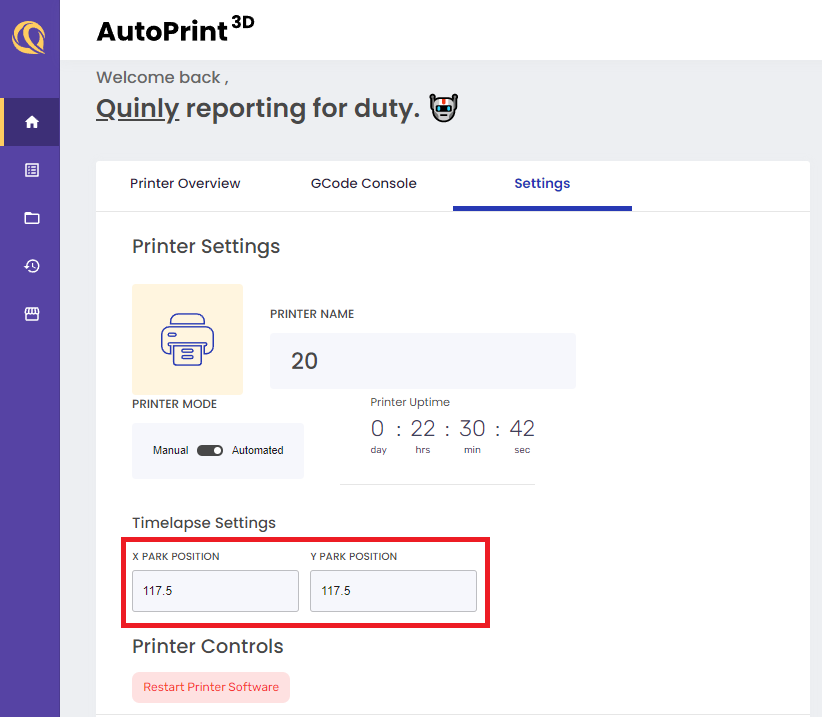
2. Set Nozzle Park Position
On the Overview page, go to the printer settings tab and set the X and Y coordinates of the park position.
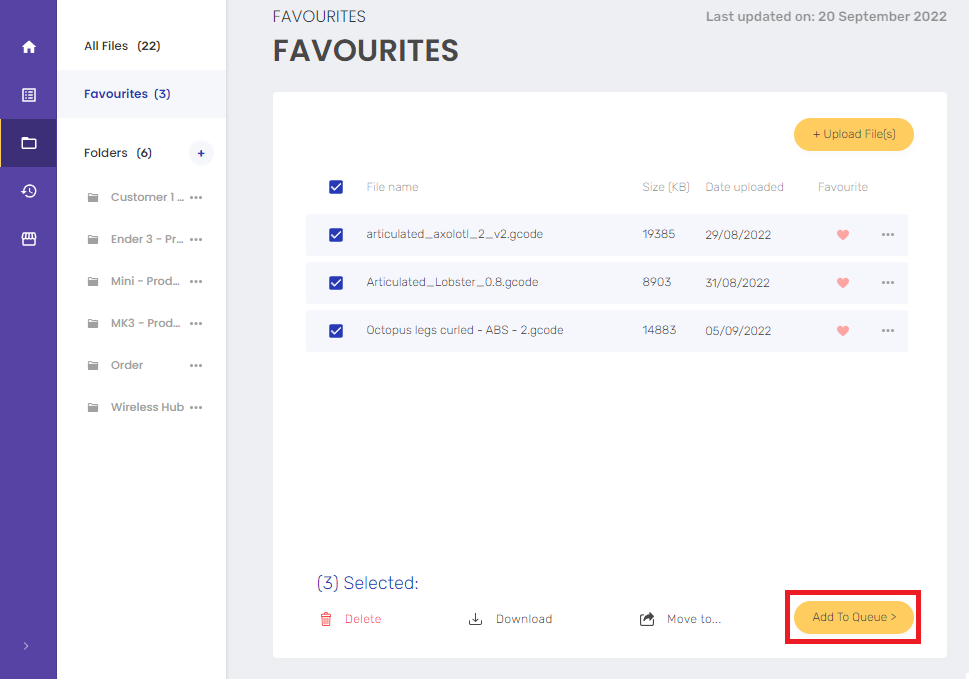
3. Add Print(s) to the Queue
Go to the Files page, select the file(s) you want to print, and click "Add To Queue"
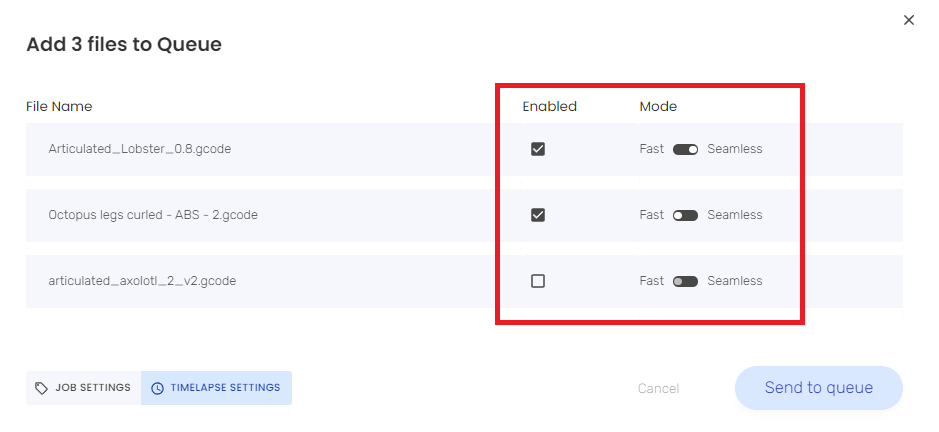
4. Click Timelapse Settings
Add SmartTags, set the quantity for each print, and set the release temperature, if applicable. Then click the "Timelapse" button to see the timelapse settings.

5. Adjust Timelapse Settings
For each print job, you can enable/disable timelapse, and you can choose fast/seamless.
6. Send Prints to Queue
Send your prints to the queue and come back when they've been printed.
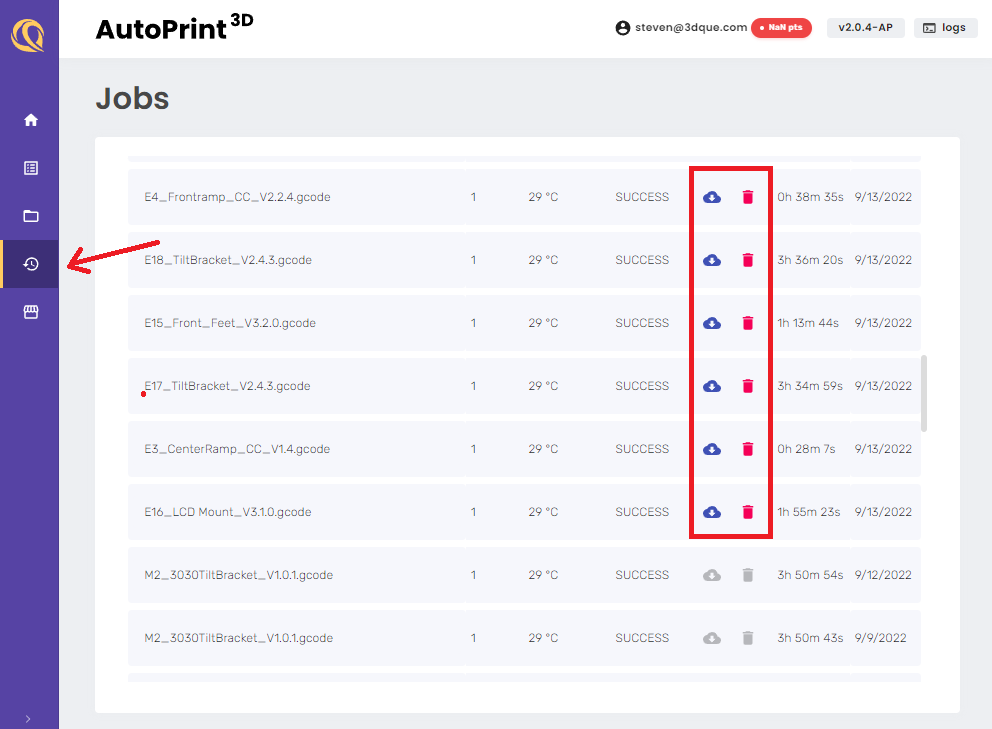
Where to Find Timelapses
In the Job History page, you'll find a record of every print your printer has completed. If there is a timelapse associated with that print, you can download or delete the timelapse.