Hub Modes
There are three different Hub modes: Standalone, Command, and Worker.
If you only have one Hub for your whole farm, it should remain in the default mode, standalone. If you want to connect multiple hubs together, you'll need to set one to command mode and the rest to worker mode.
To find out how many Hubs you need to run your farm, please see our Hub calculator.
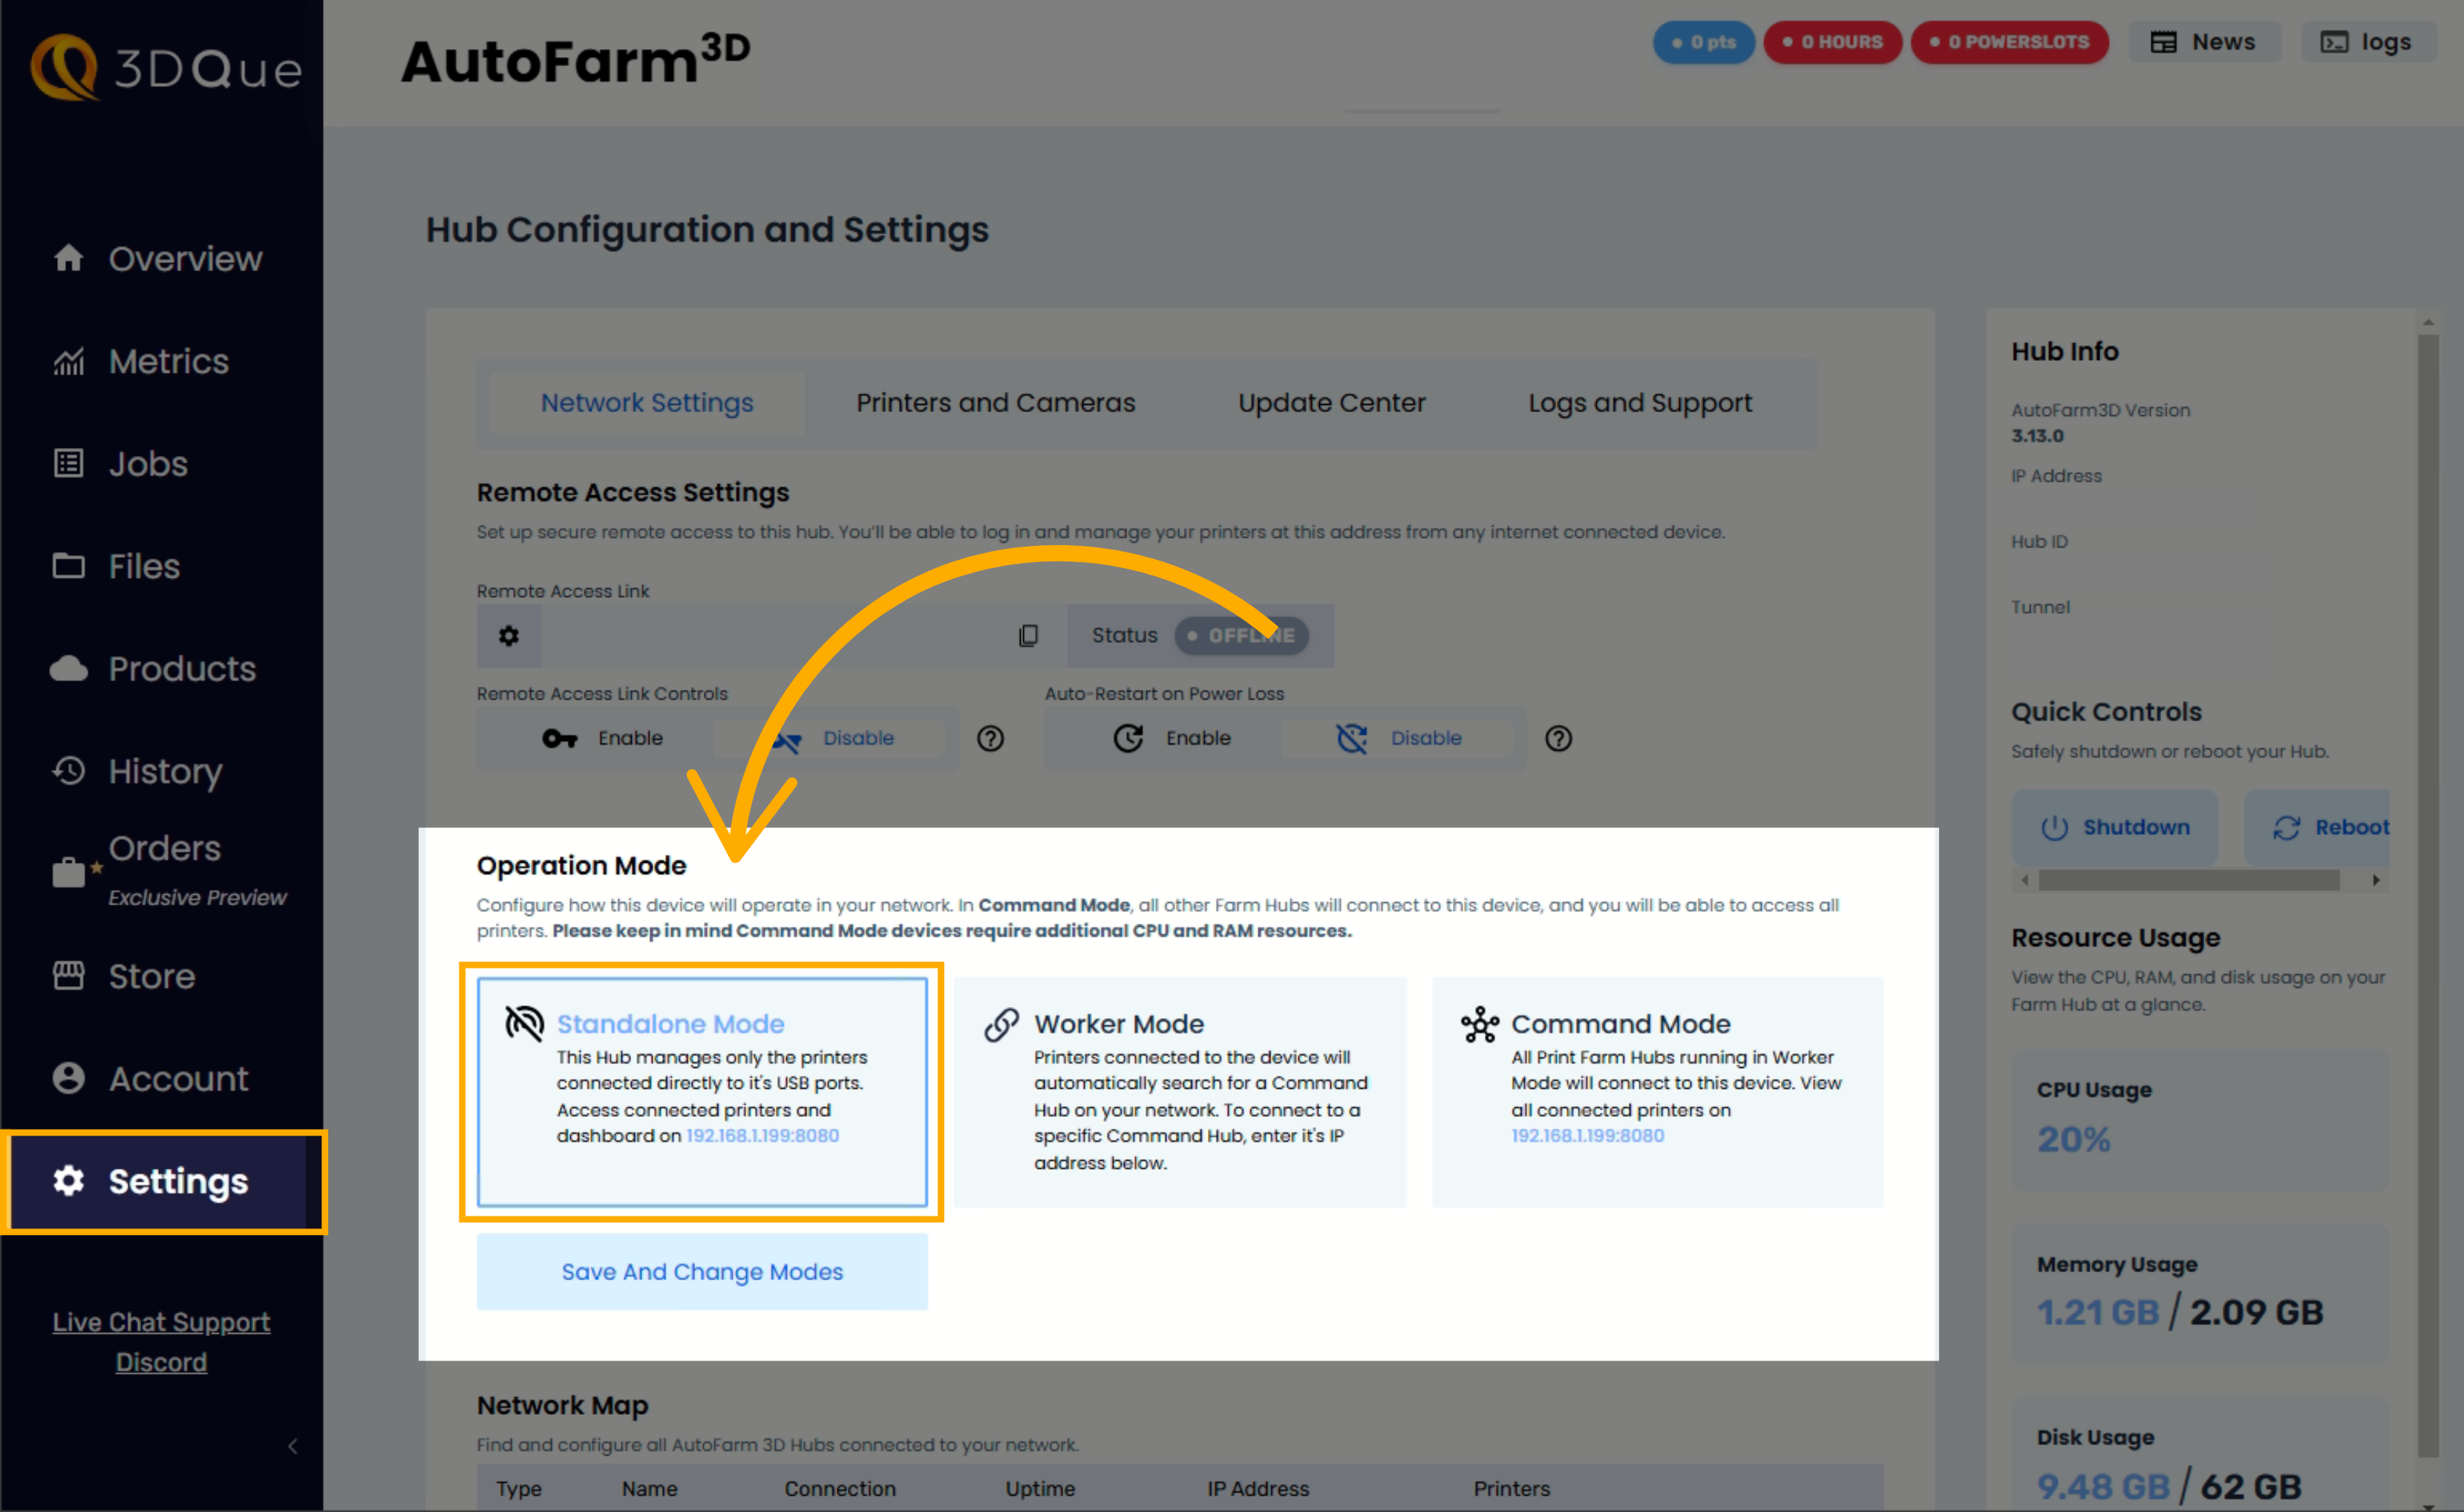
Standalone Mode
By default, each Hub will run in standalone mode. This means that it will manage all printers and webcams connected to it.
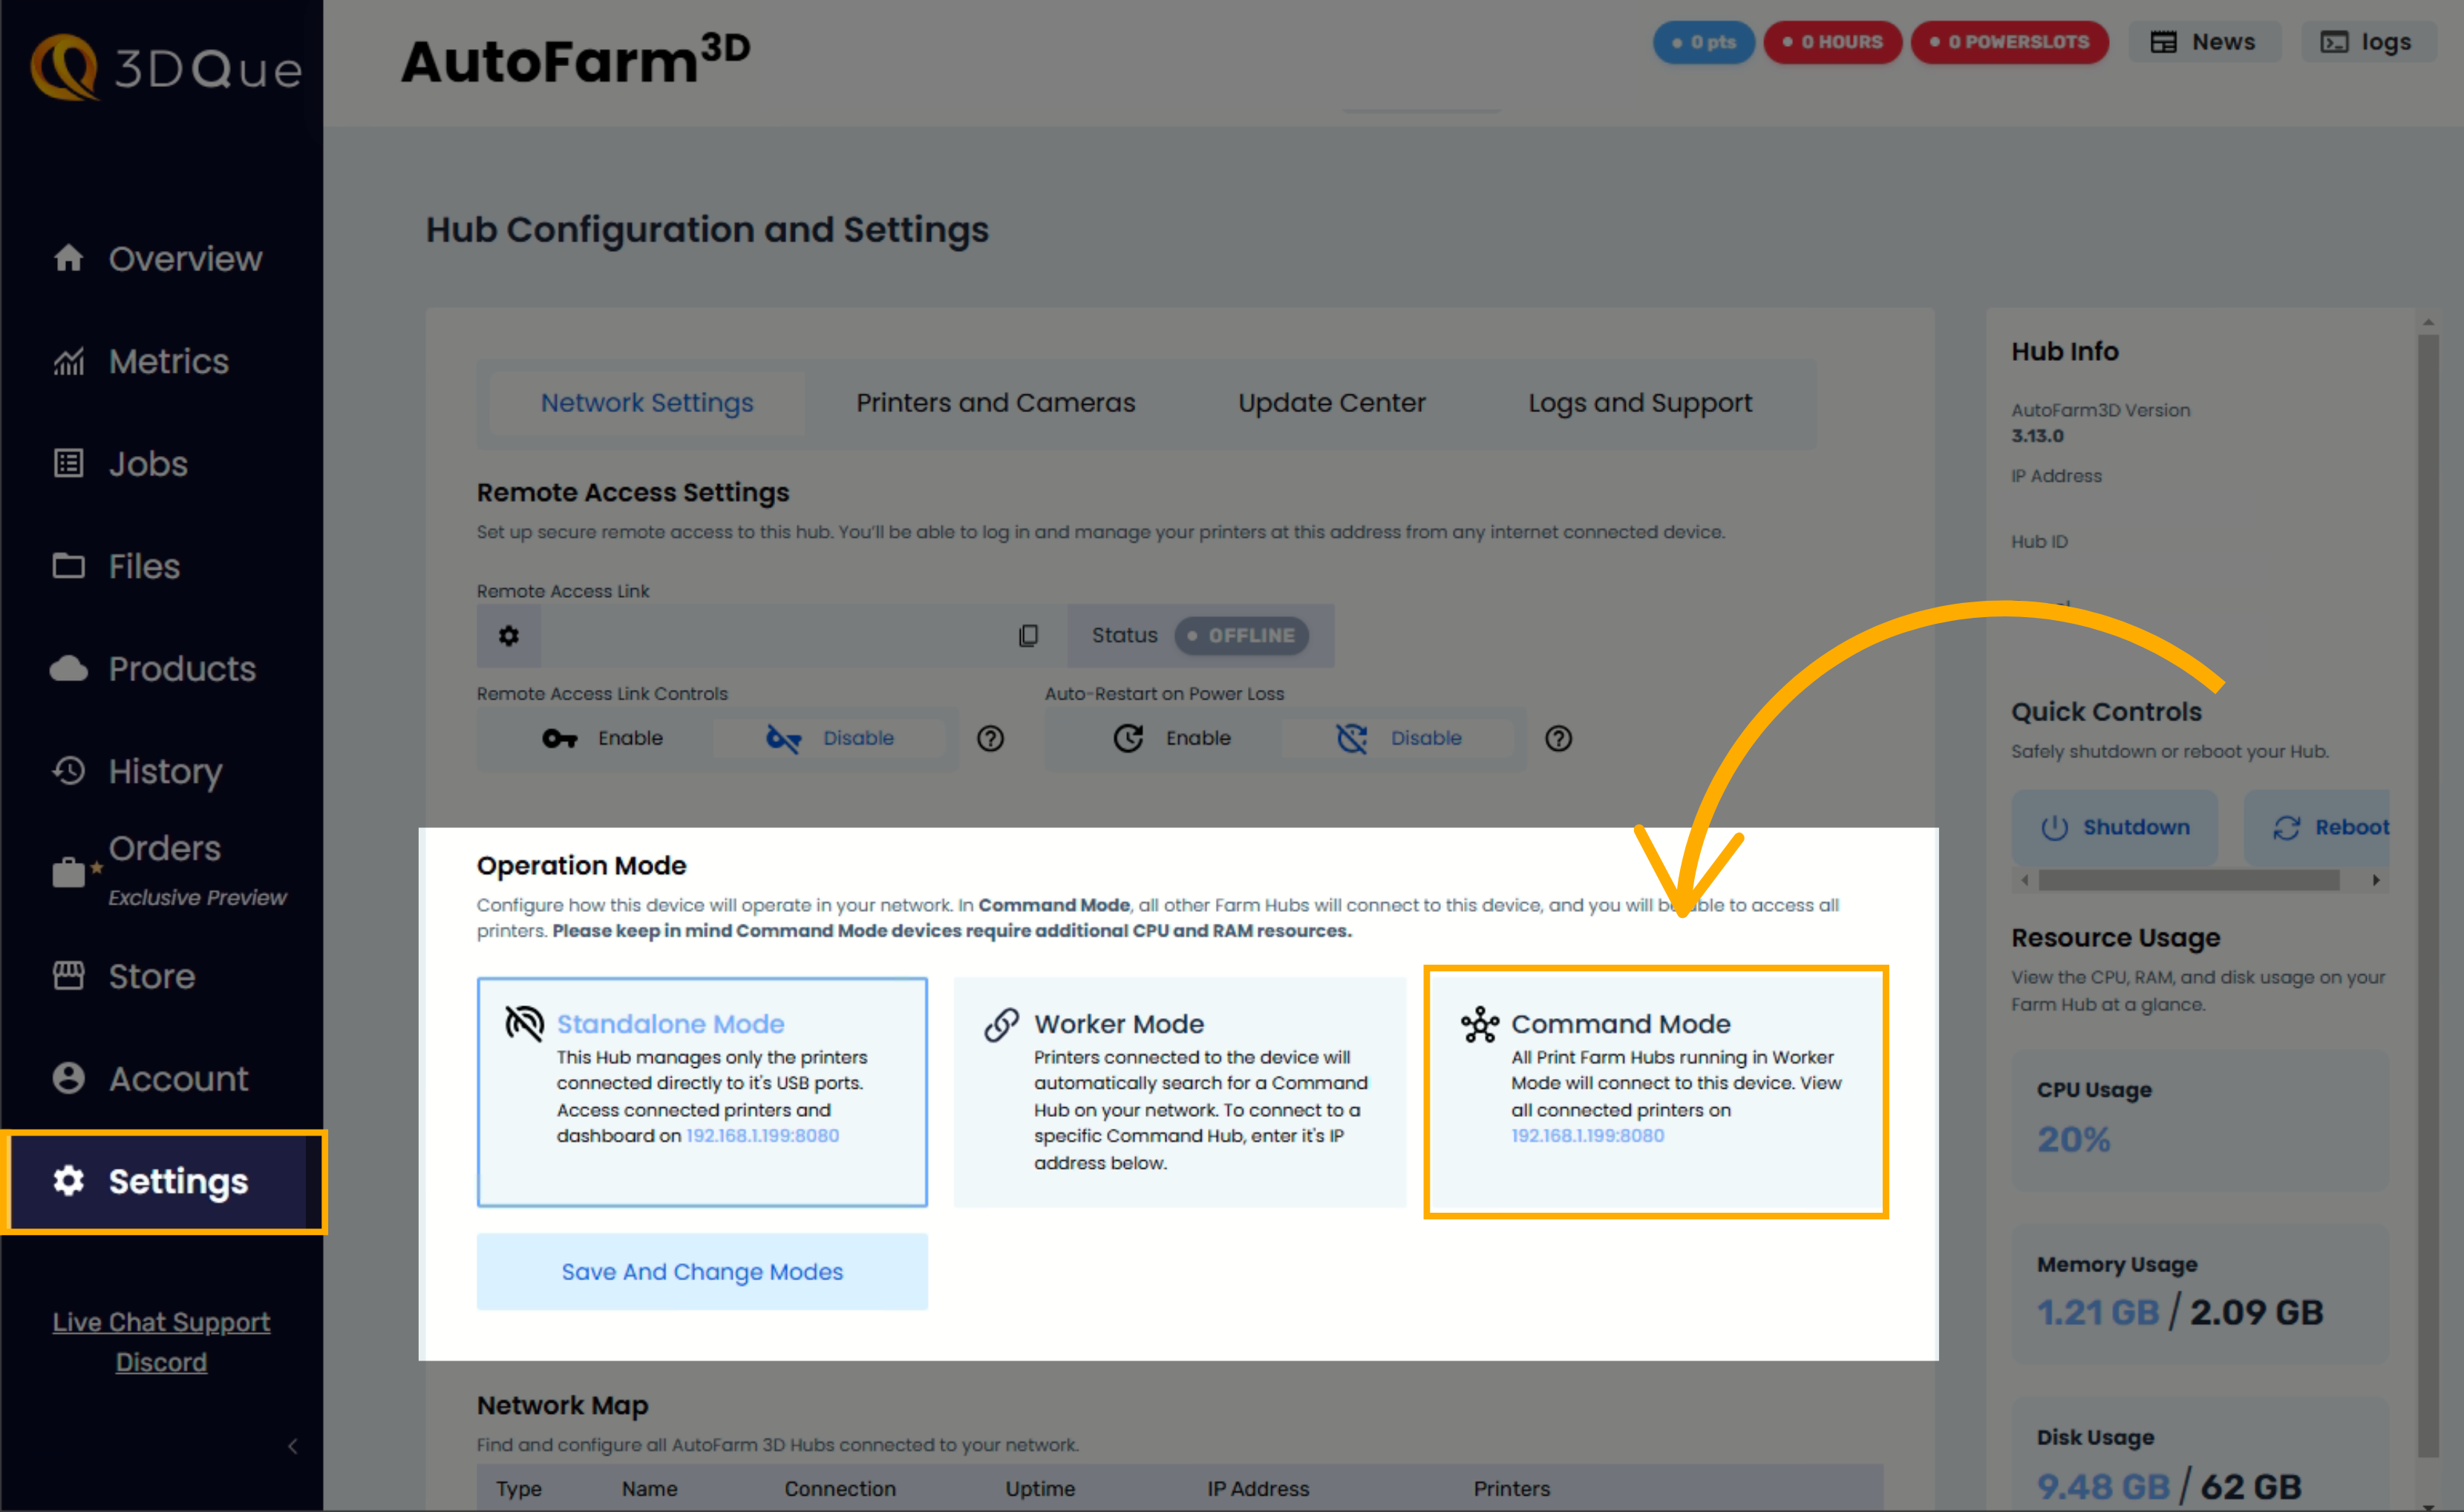
Command Mode
To connect multiple hubs together, you'll need to set one Hub to command mode. Hubs in command mode manage all the worker hubs on the same network.
This Hub has many duties:
- Stores all gcode files and timelapses
- Serves the AutoFarm3D web page
- Distributes print jobs to worker hubs
- Records print job history
- Collects printing stats
- Manages remote access
- Manages user accounts
Please note: Hubs in command mode should not have any printers or webcams connected to them.
Set Hub to Command Mode
- Click on Settings in the side menu to open up the Hub Settings page.
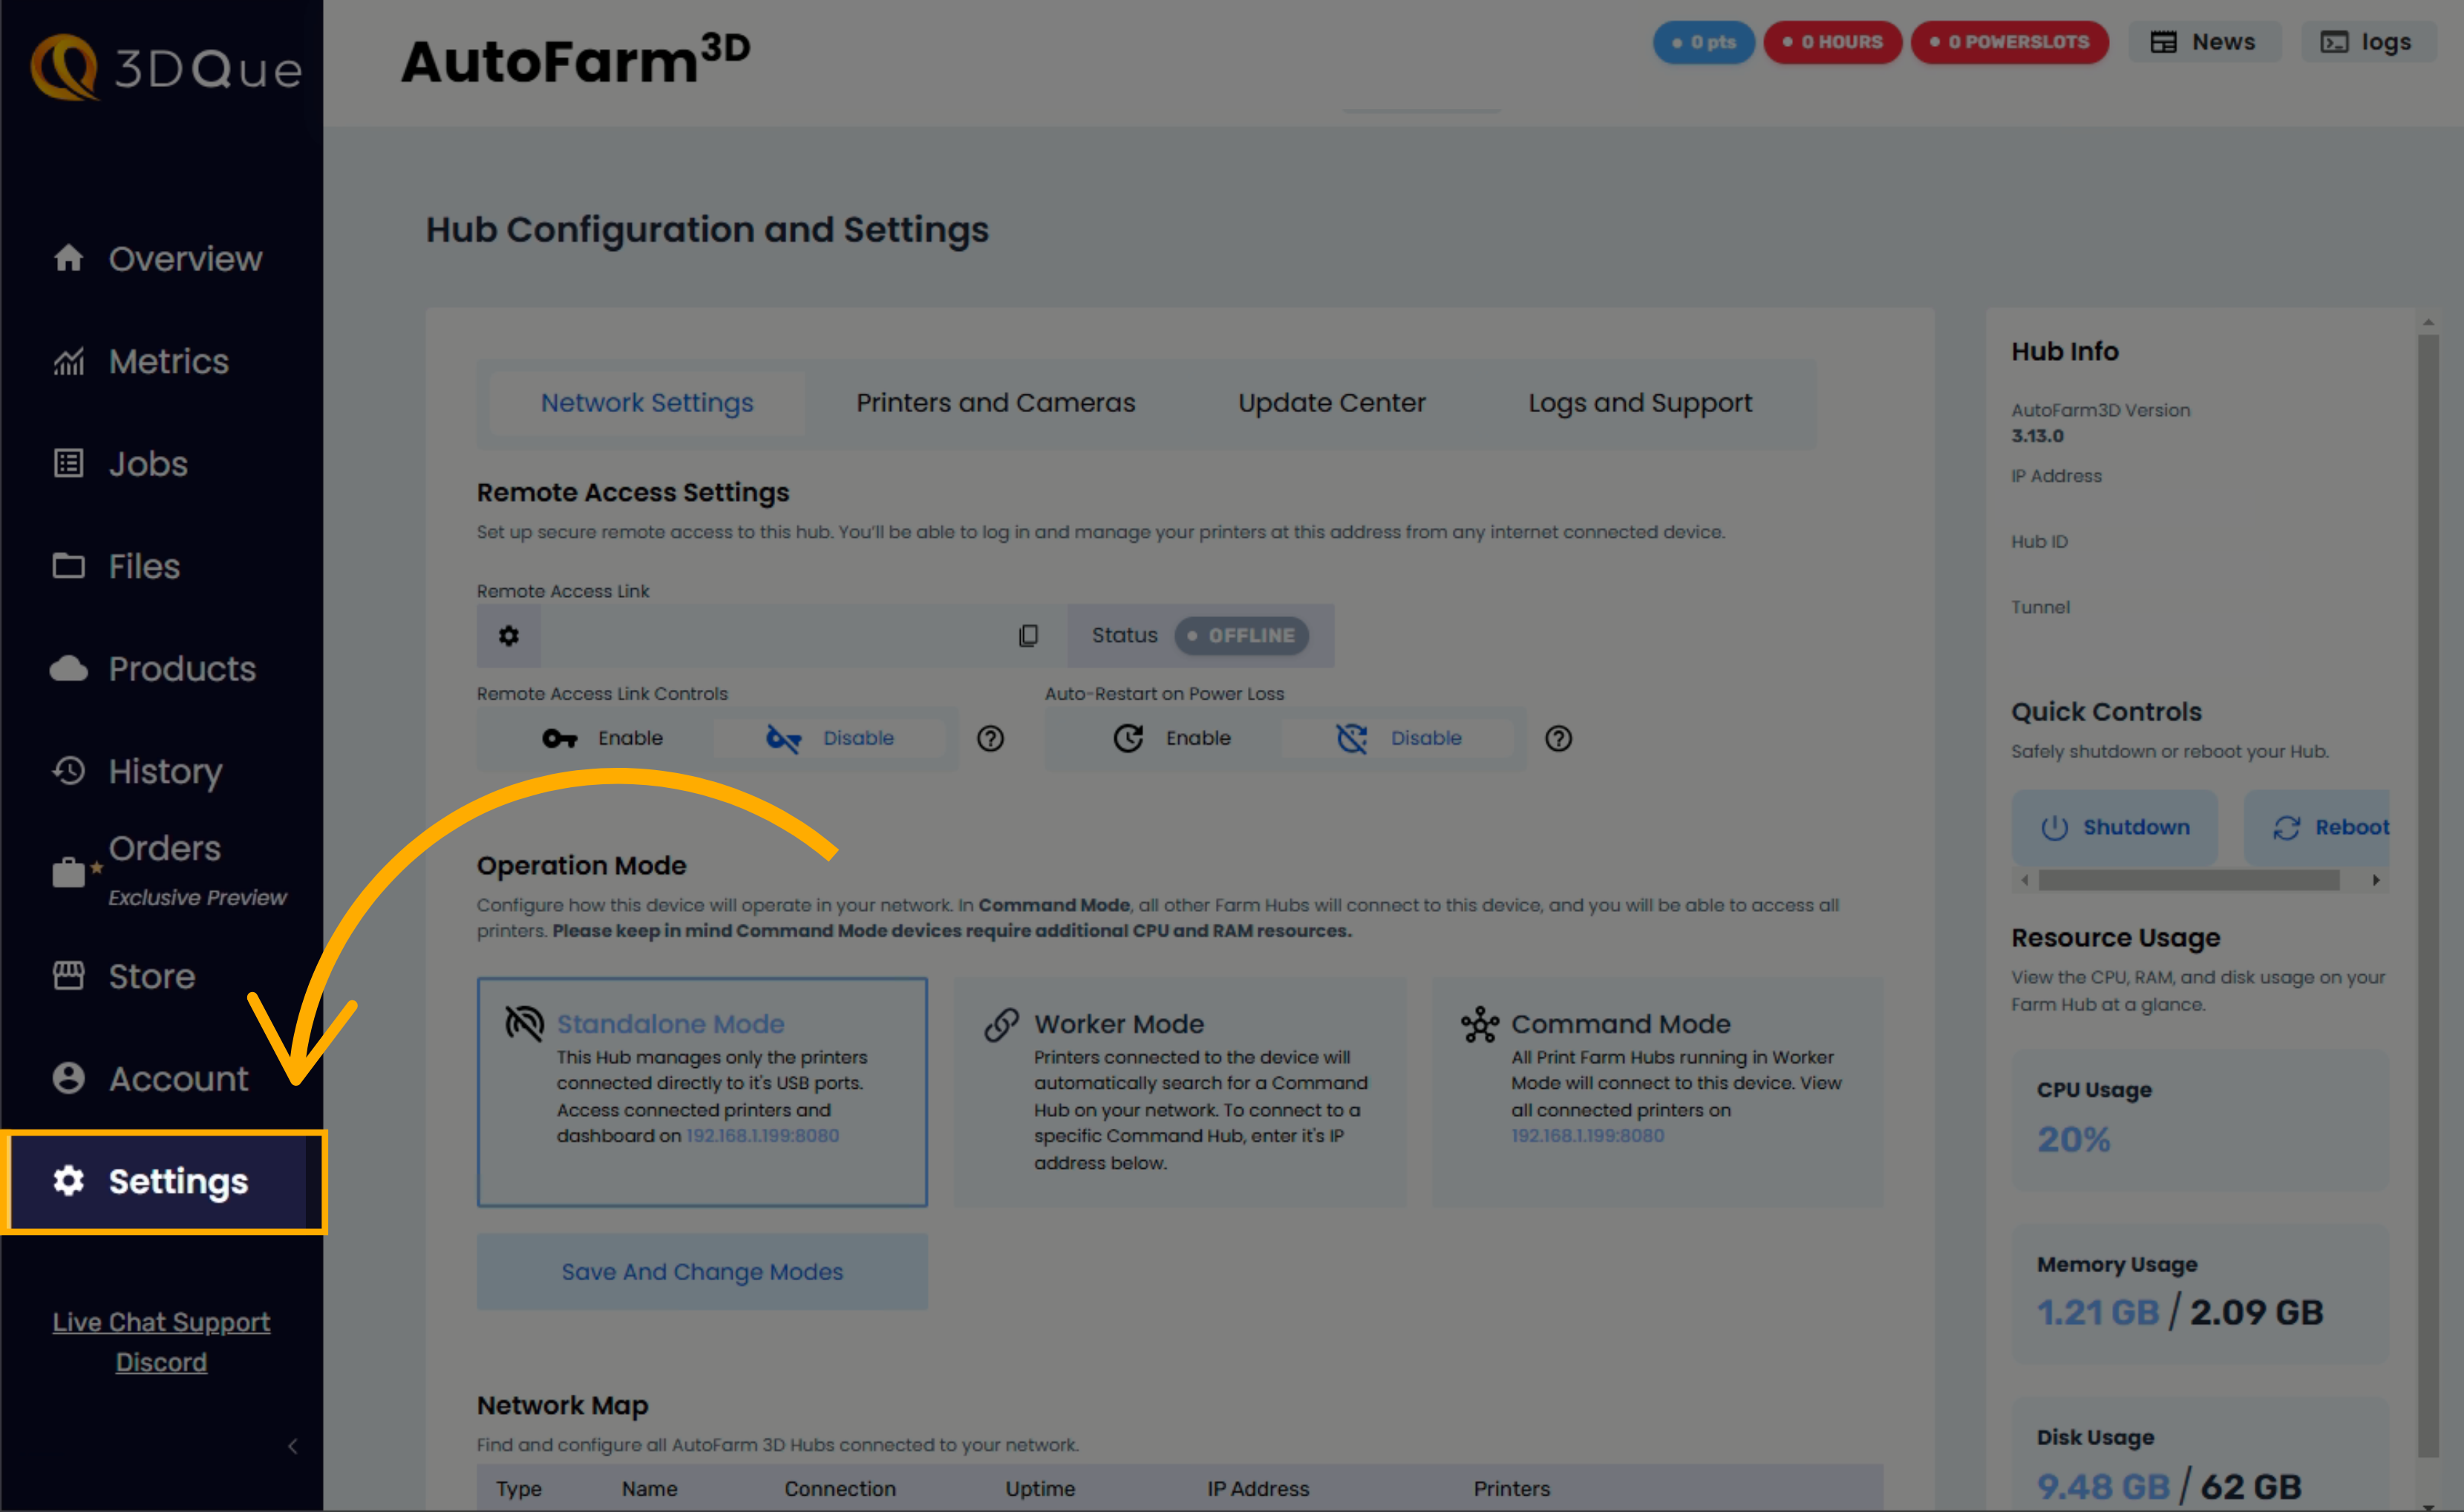
- Choose Command mode. Click "Save And Change Modes".
- Restart the hub.
Worker Mode
When using multiple Hubs, all Hubs aside from your command hub should be set to worker mode. Hubs in worker mode receive print jobs from the command Hub and manage the printers and webcams directly connected to them.
To learn more about how many printers & webcams you can connect to each hub, check out the Hub requirements page.
Set Hub to Worker Mode
- Click on Settings in the side menu to open up the Hub Settings page.
- Choose Worker mode. Click "Save And Change Modes".

- Restart the hub.
When the hub boots up again it will find the command hub and automatically connect to it.
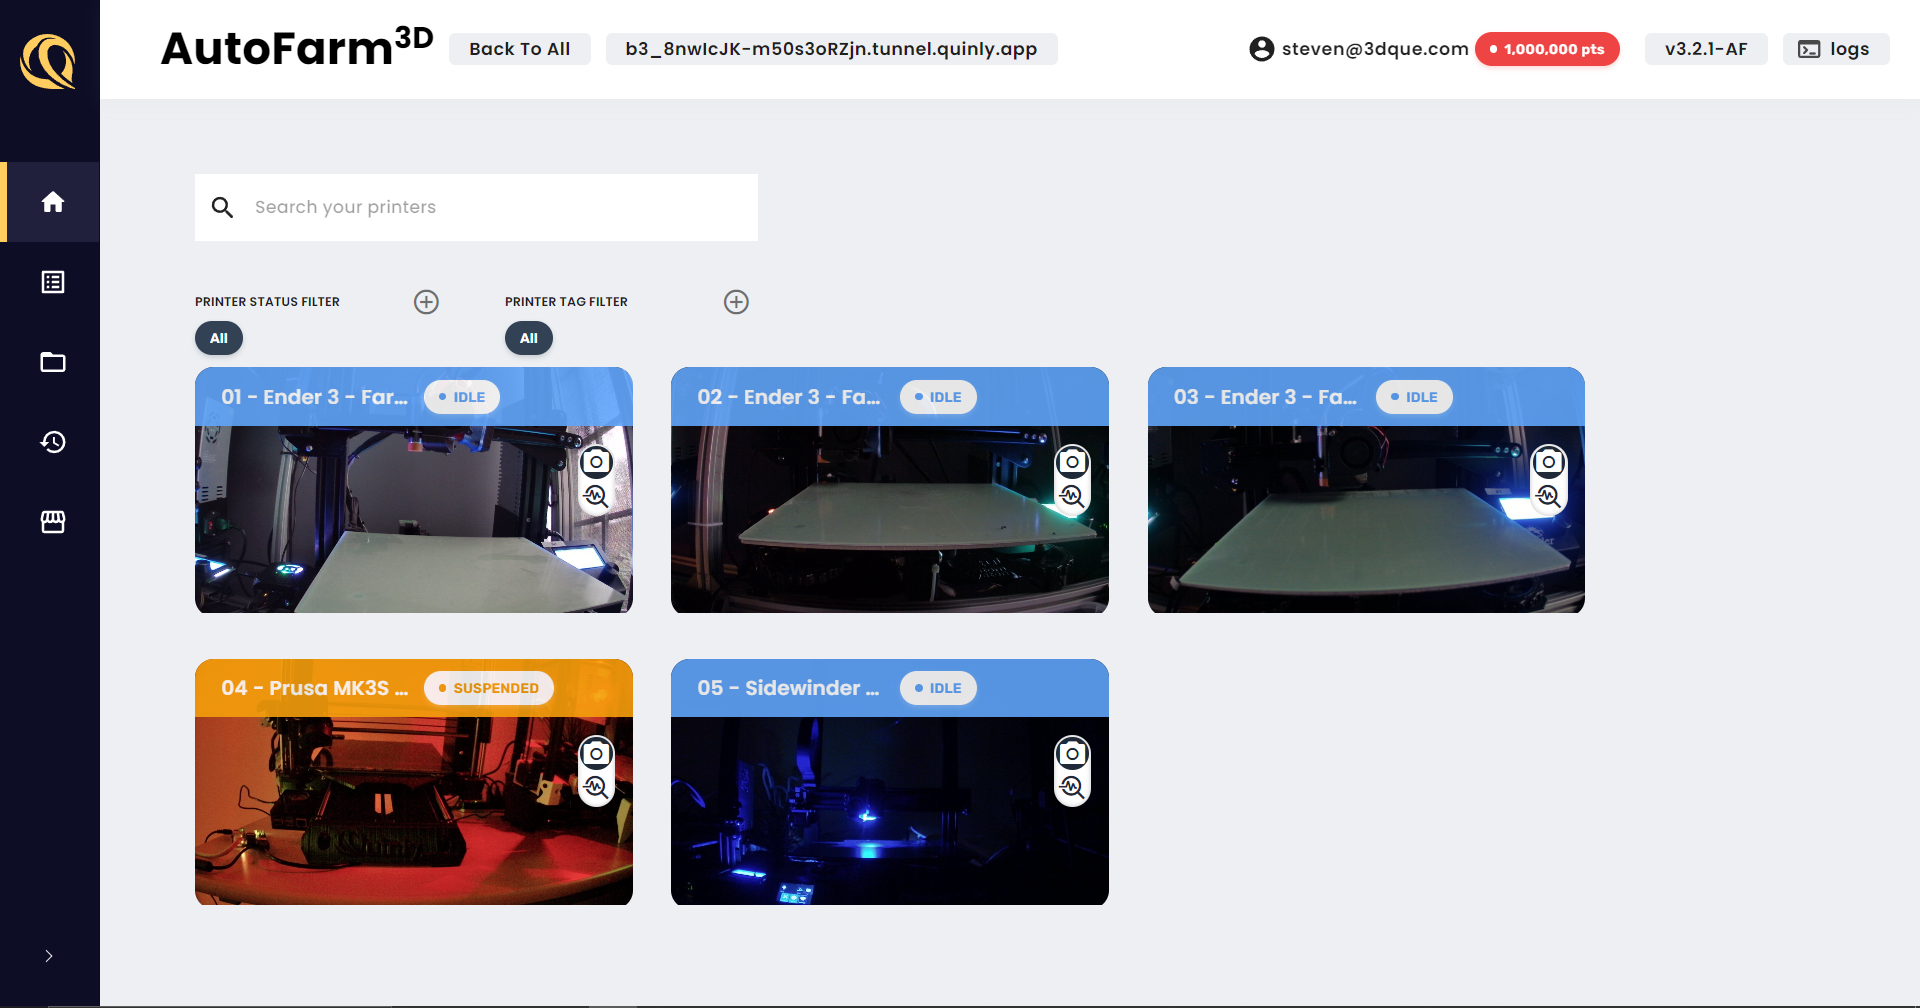
Once you've switched modes and restarted everything, go to your command hub's IP address. In my case, it's 192.168.1.121:8080. All your printers should now be accessible from a single screen!