Prusa MK3/S/+
-
Update Firmware: Update your firmware to the latest official release as per Prusa's instructions. Must be version 3.10.0 or newer.
-
Disable Pi Mode: Go to your LCD Menu → Settings → RPi Port → “off”.
-
Disable Crash Detection Go to your LCD Menu → Settings → Crash Detection → “off”.
-
Remove SD Card: Remove the SD card from the printer. When plugged in, it can interfere with the connection stability.
-
Set Printer to Automated Mode: Please follow the instructions here to set your printer to automated mode.
1.0 What's in the Kit
Printed Parts
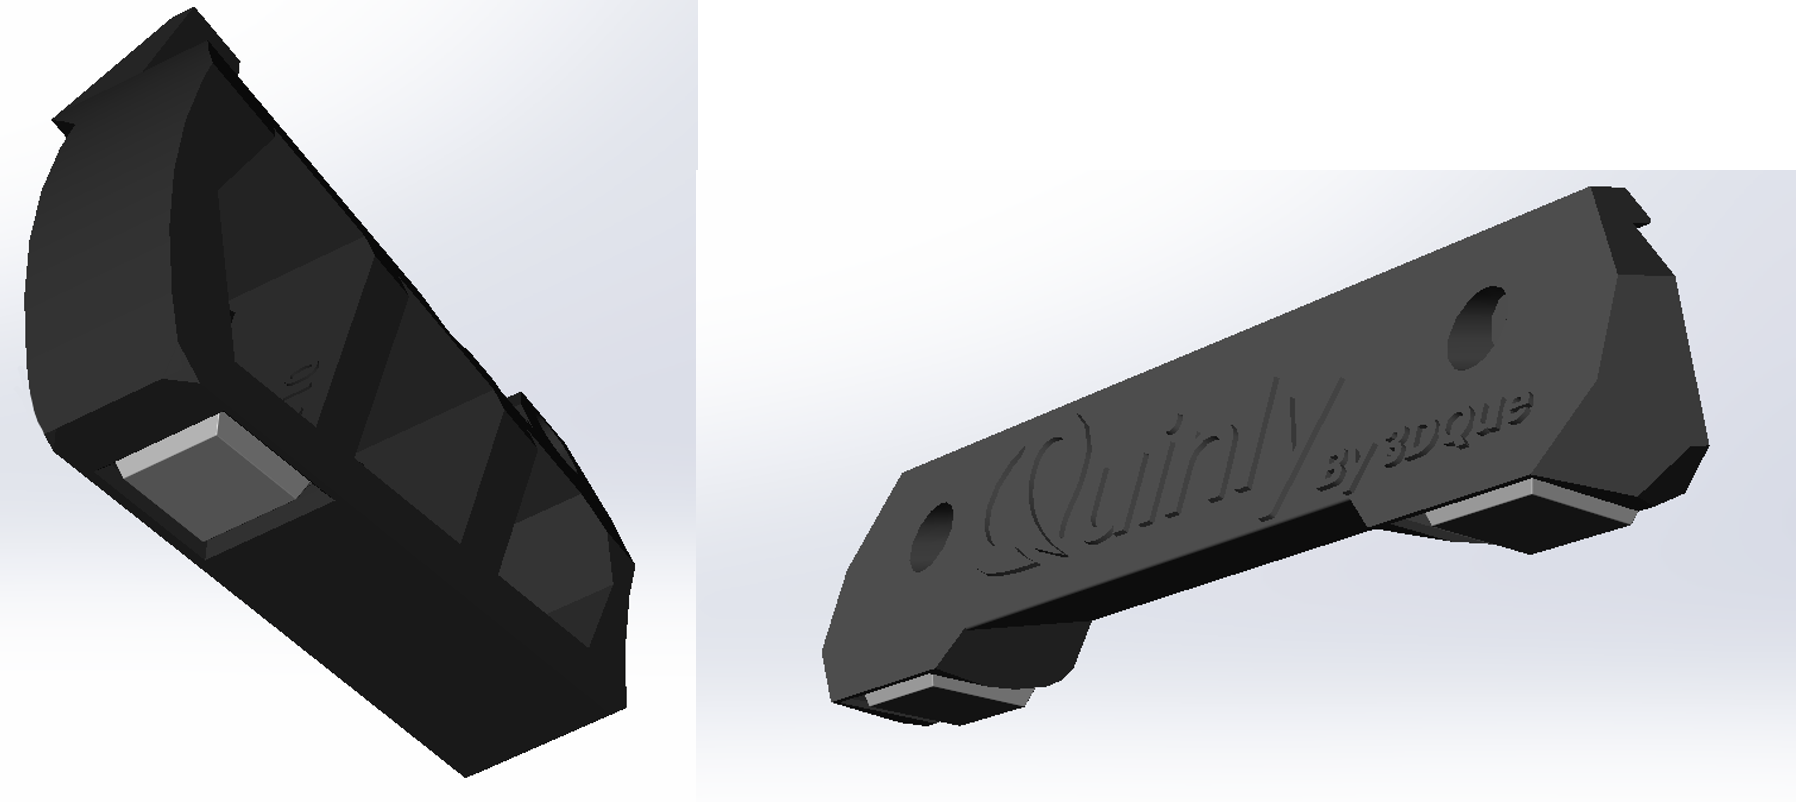
- 1 x Front Brace (P1)
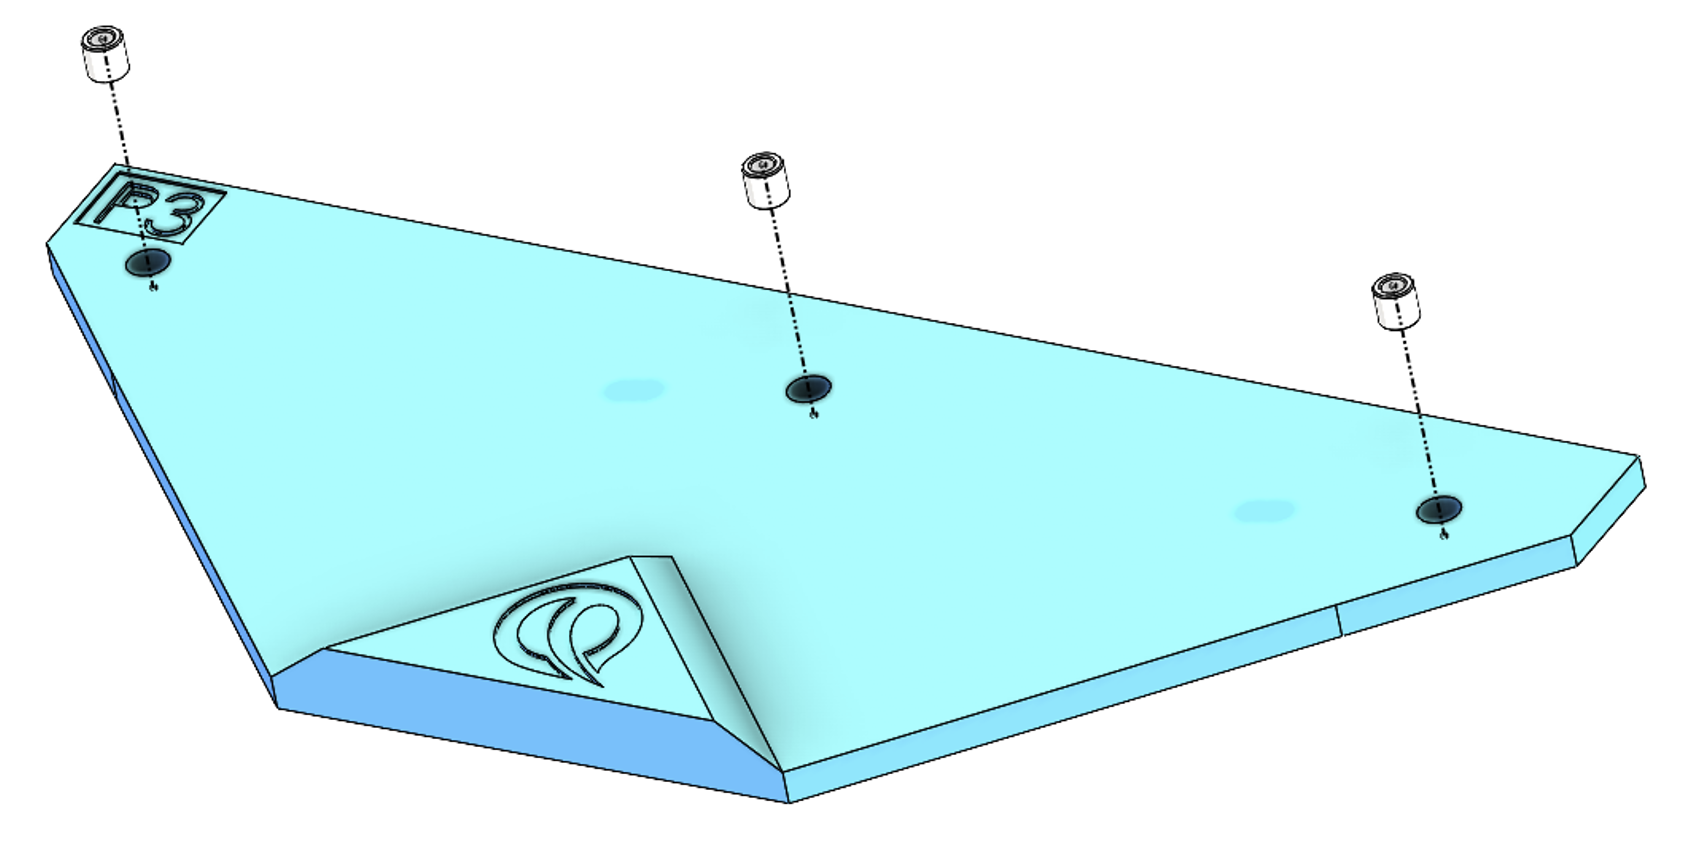
- 3 x Part guidance ramps (P3, P4, P5)
- Center Ramp (P3)
- Front Ramp Left (P4)
- Front Ramp Right (P5)
- 2 x LCD mount bracket (P6)
- 2 x LCD wire clips (P7)
- 1 x Left Tilt Bracket (P10)
- 1 x Right Tilt Bracket (P11)
Hardware
- 5 x M5x8 Button head screws (1 spare)
- 5 x M5 3030 T nuts (1 spare)
- 4 x Rubber Feet
2.0 What You'll Need
- 3mm Allen key
3.0 Install Tilt Kit
-
Remove the LCD and spool holder, keep the mounting hardware for later.
-
Prepare the P10 and P11 tilt brackets by installing the M5x8mm and 3030 T-nuts.
-
Using the provided rubber feet, peel off and adhere to the bottom of the tilt brackets (P10/P11) and front feet (P1), if not preinstalled.
-
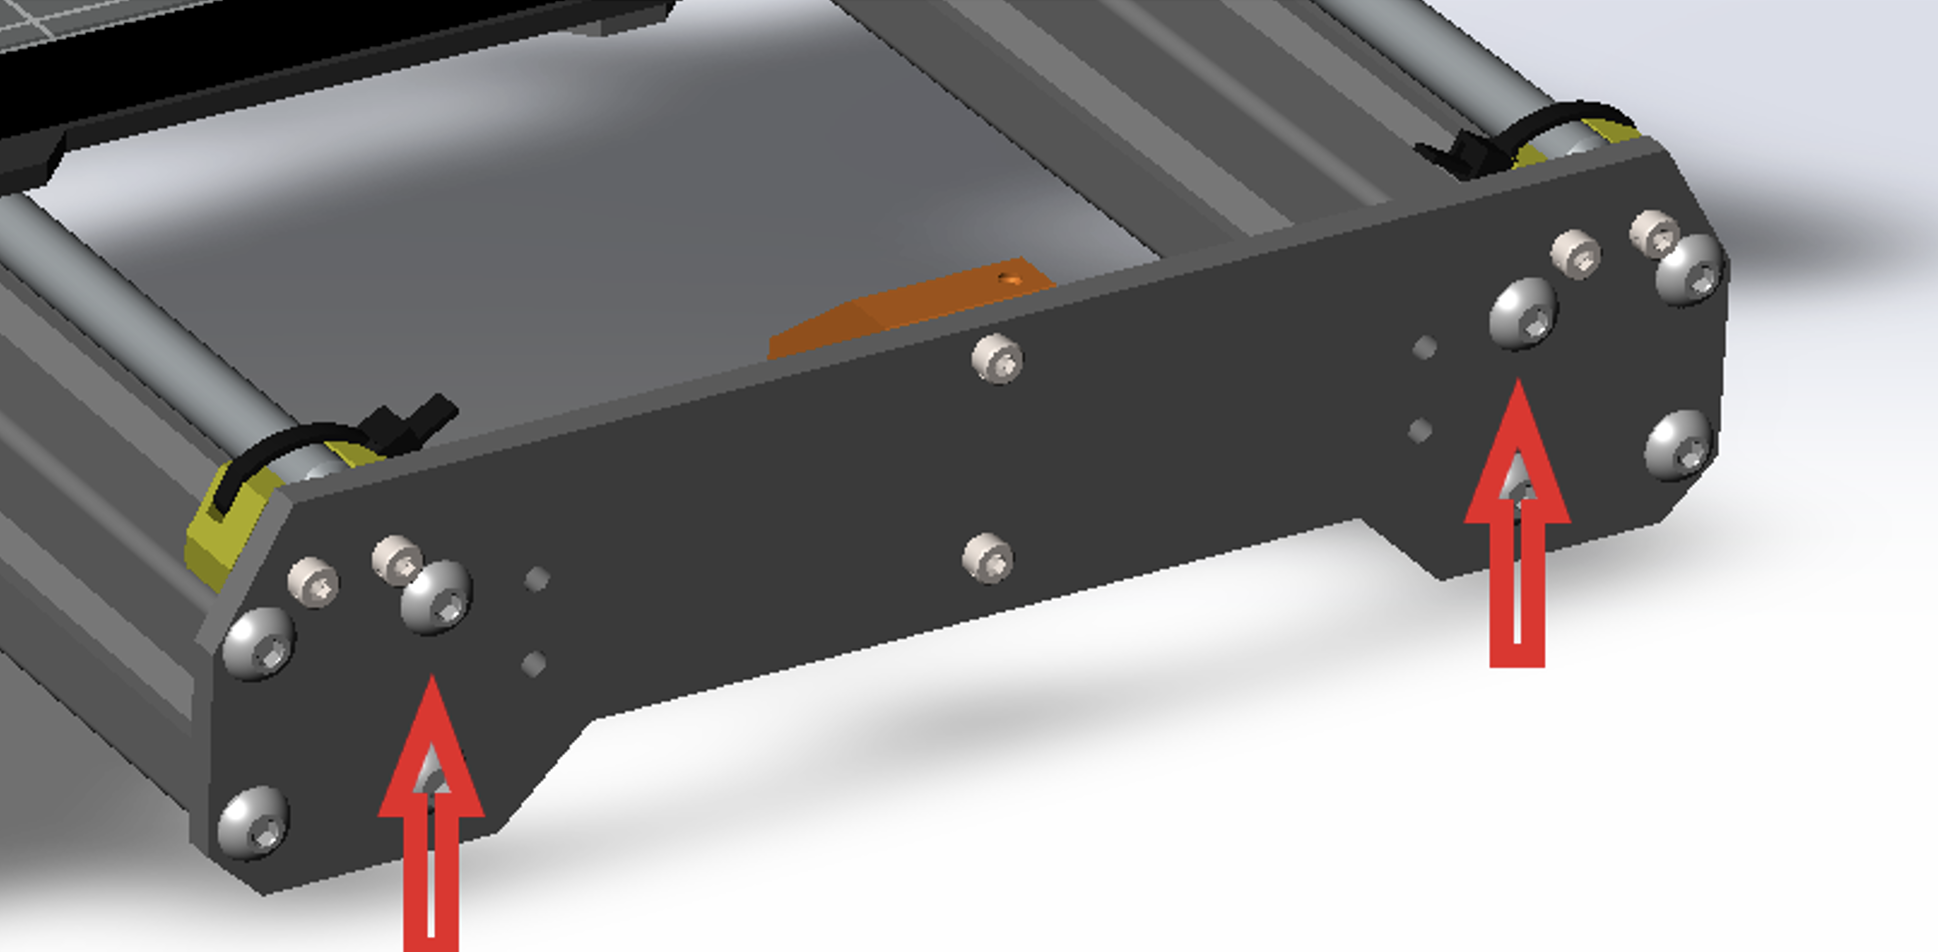
Unscrew the following screws at the front of the printer:
-
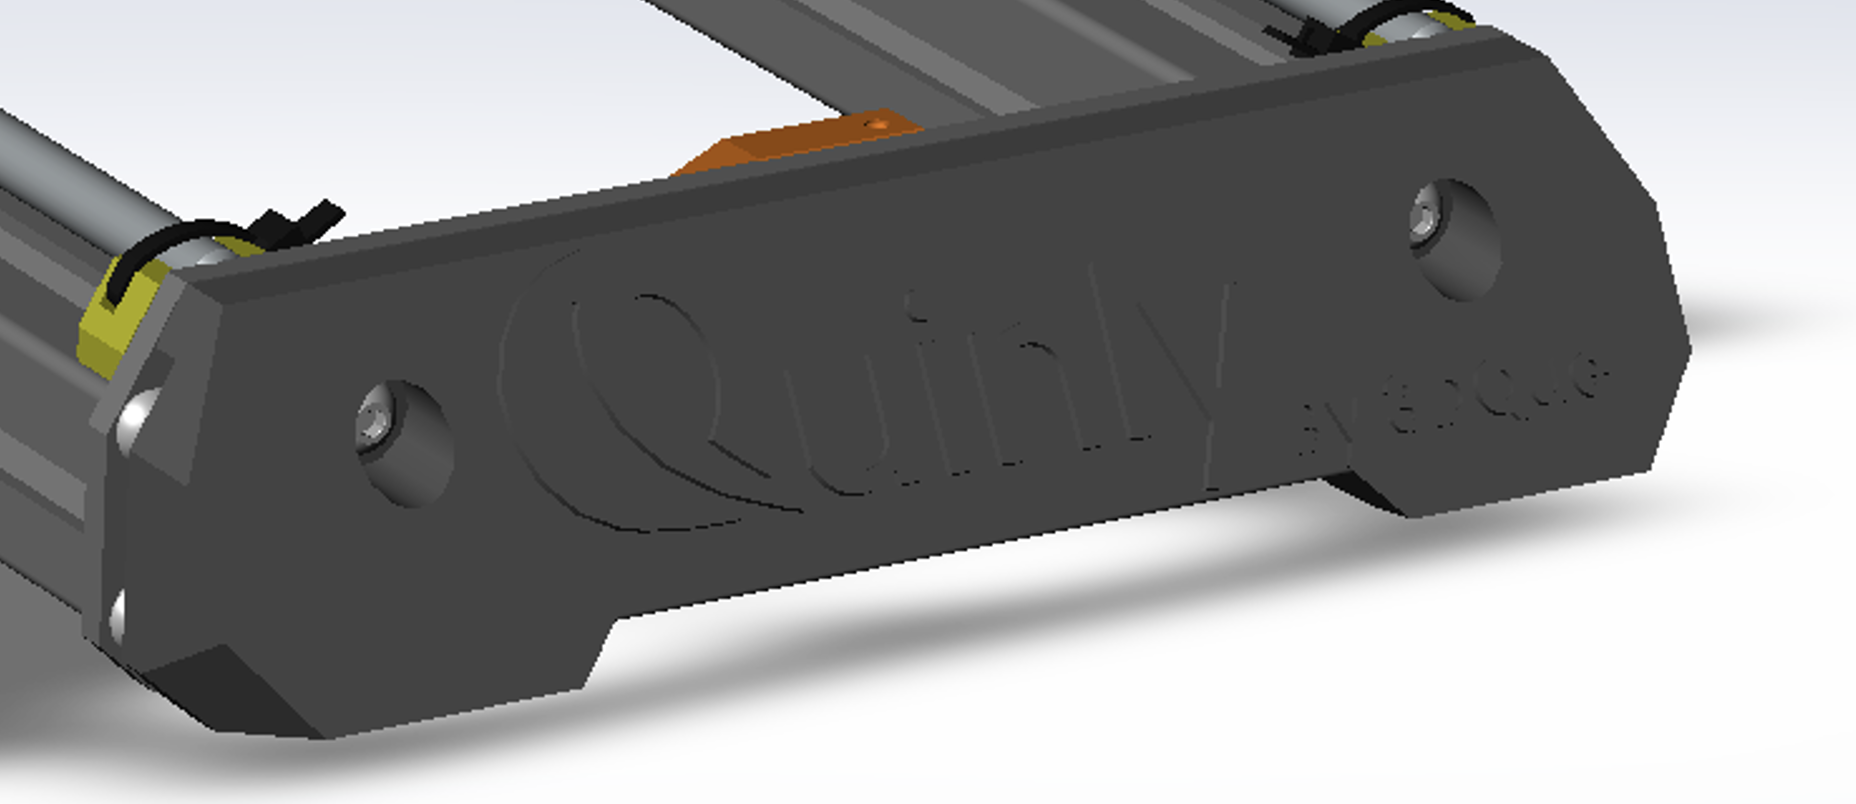
Install front feet (P1) using the screws from previous step.
-
Rotate and lay the MK3/S/+ printer on its right side.
-
Using P10 tilt bracket, slide in the front t nut without tightening it, as shown below.
-
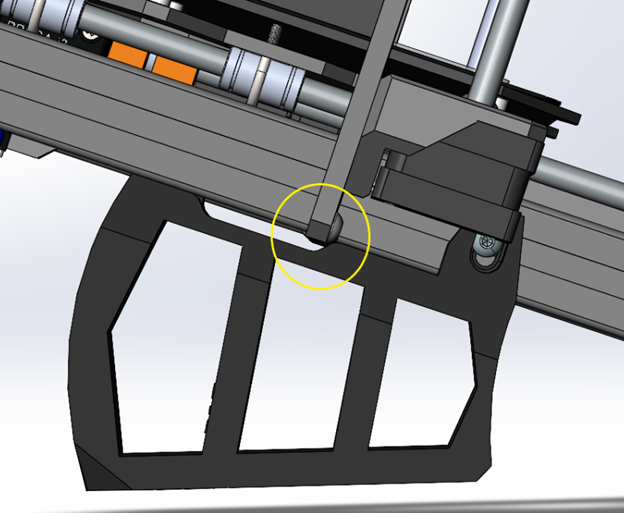
Slide back P10 until the z-frame of the printer sits on the notch of the tilt bracket, as shown below.
-
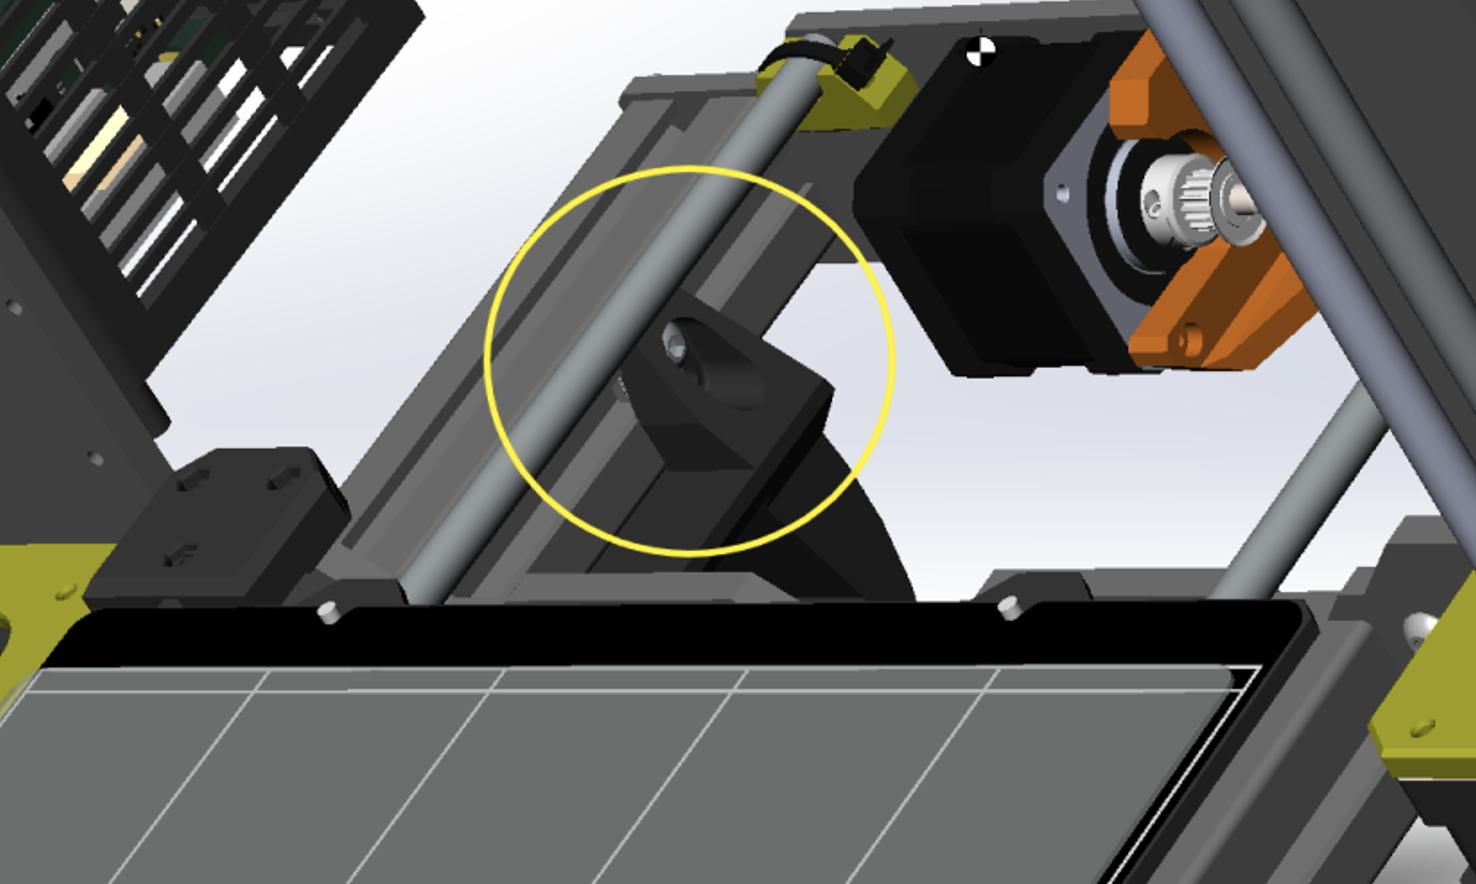
Slide the bed forward and slide in the rear bolt/t nut.
-
Move the bed backward and tighten the front bolt/ t nut.
-
Rotate the printer and lay it on its left side and repeat steps 7 to 10 using P11.
-
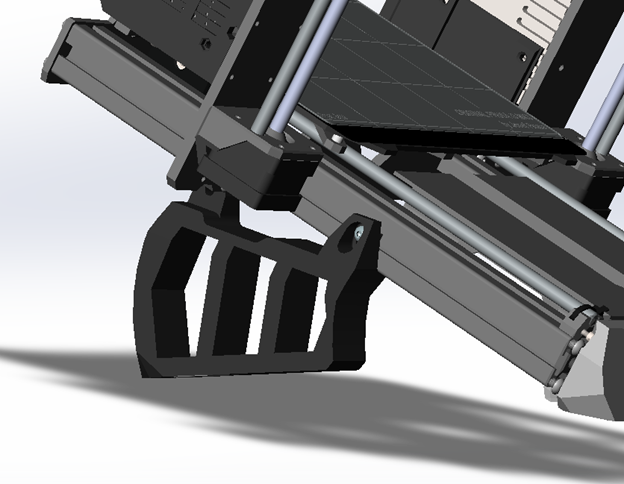
Once tilt brackets are installed properly, rotate the printer and allow it to stand on the tilt brackets.
-
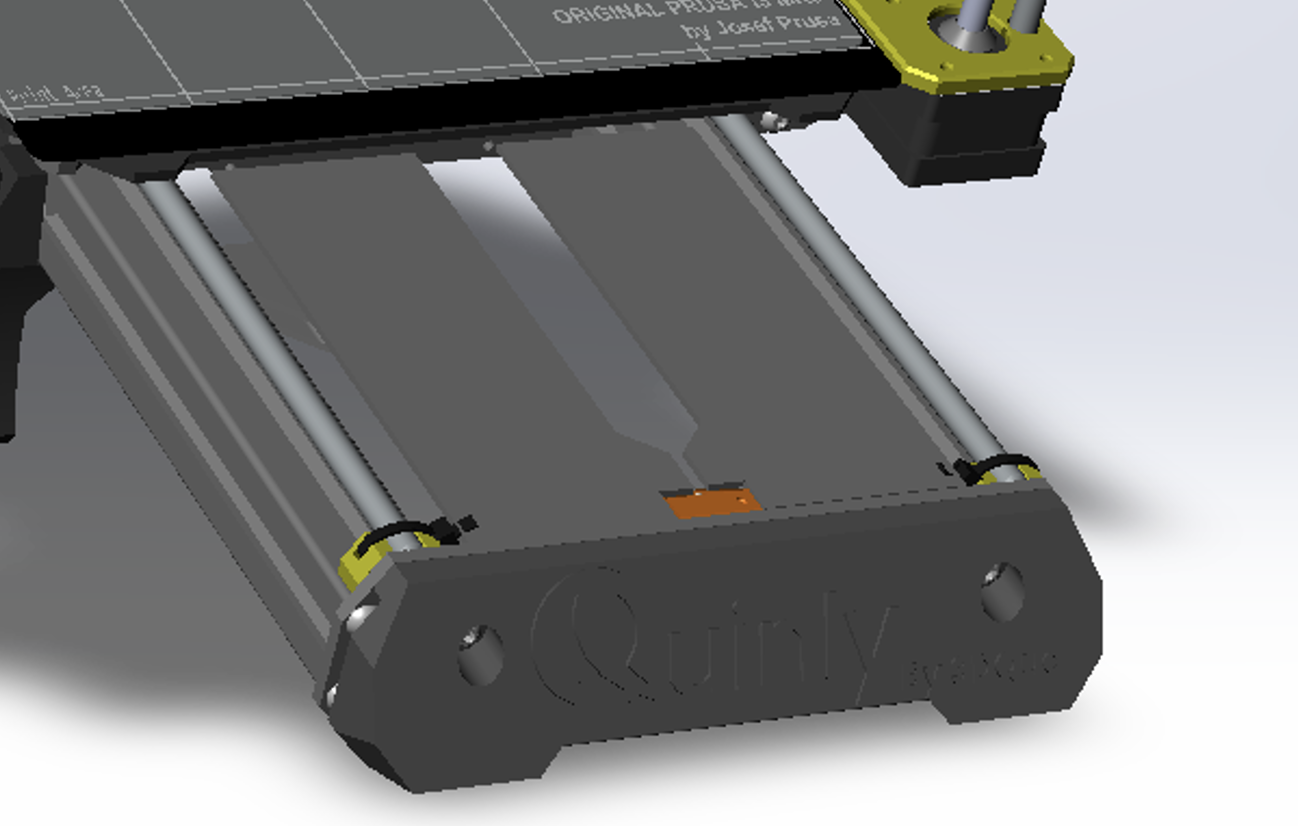
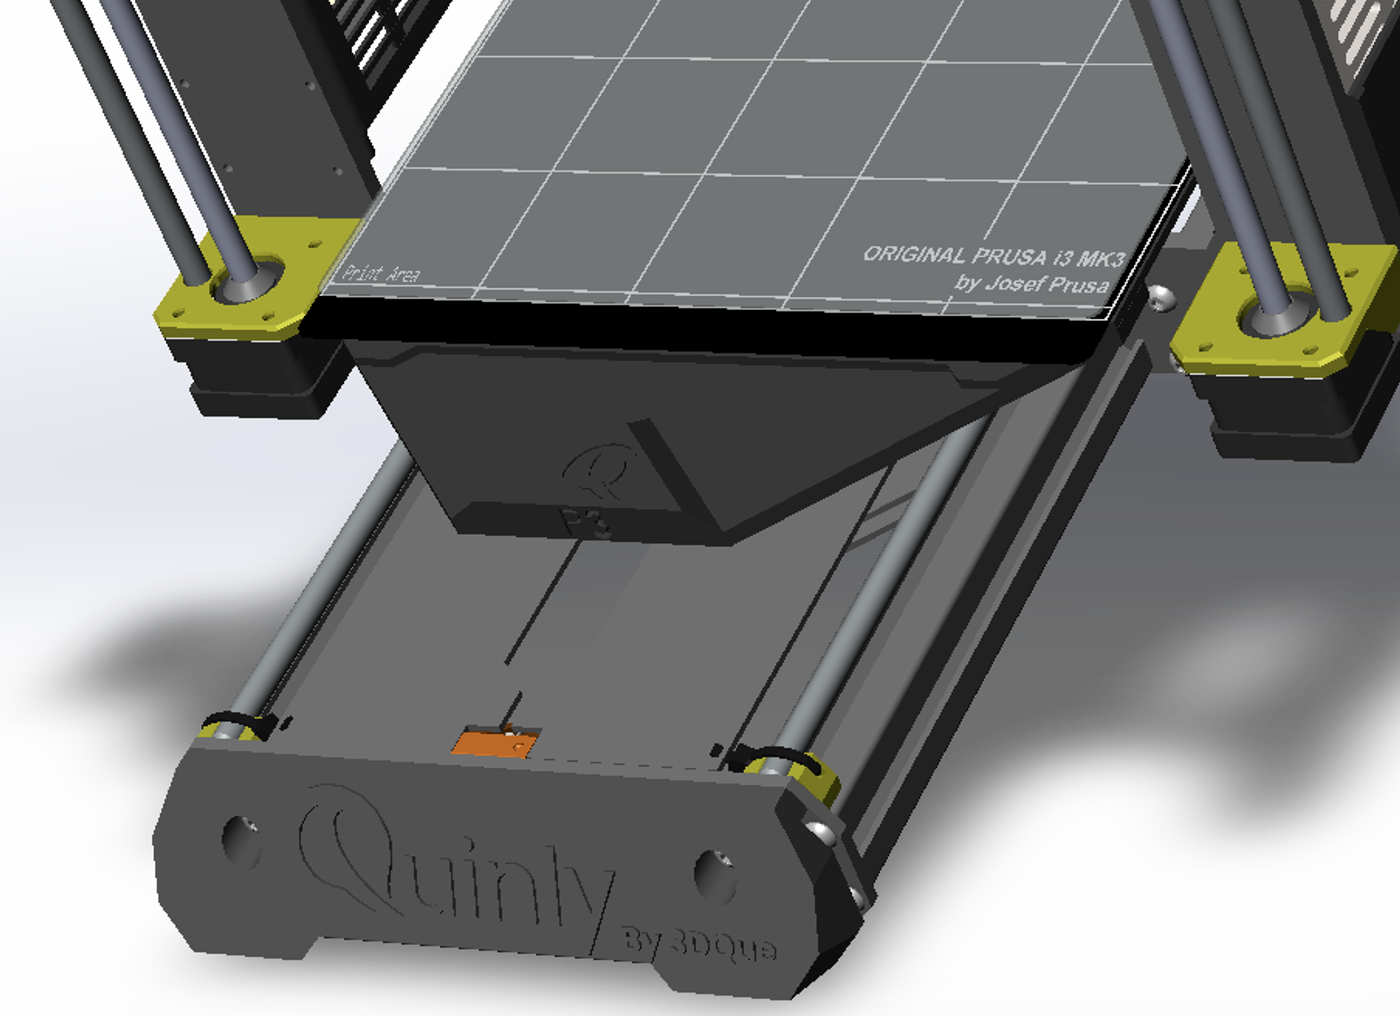
Clip the guidance panels (P4,P5) onto the inside of the MK3/S/+ frame as show below, ensuring they come flush with the front plate.
-
Take off the MK3/S/+ flex plate.
-
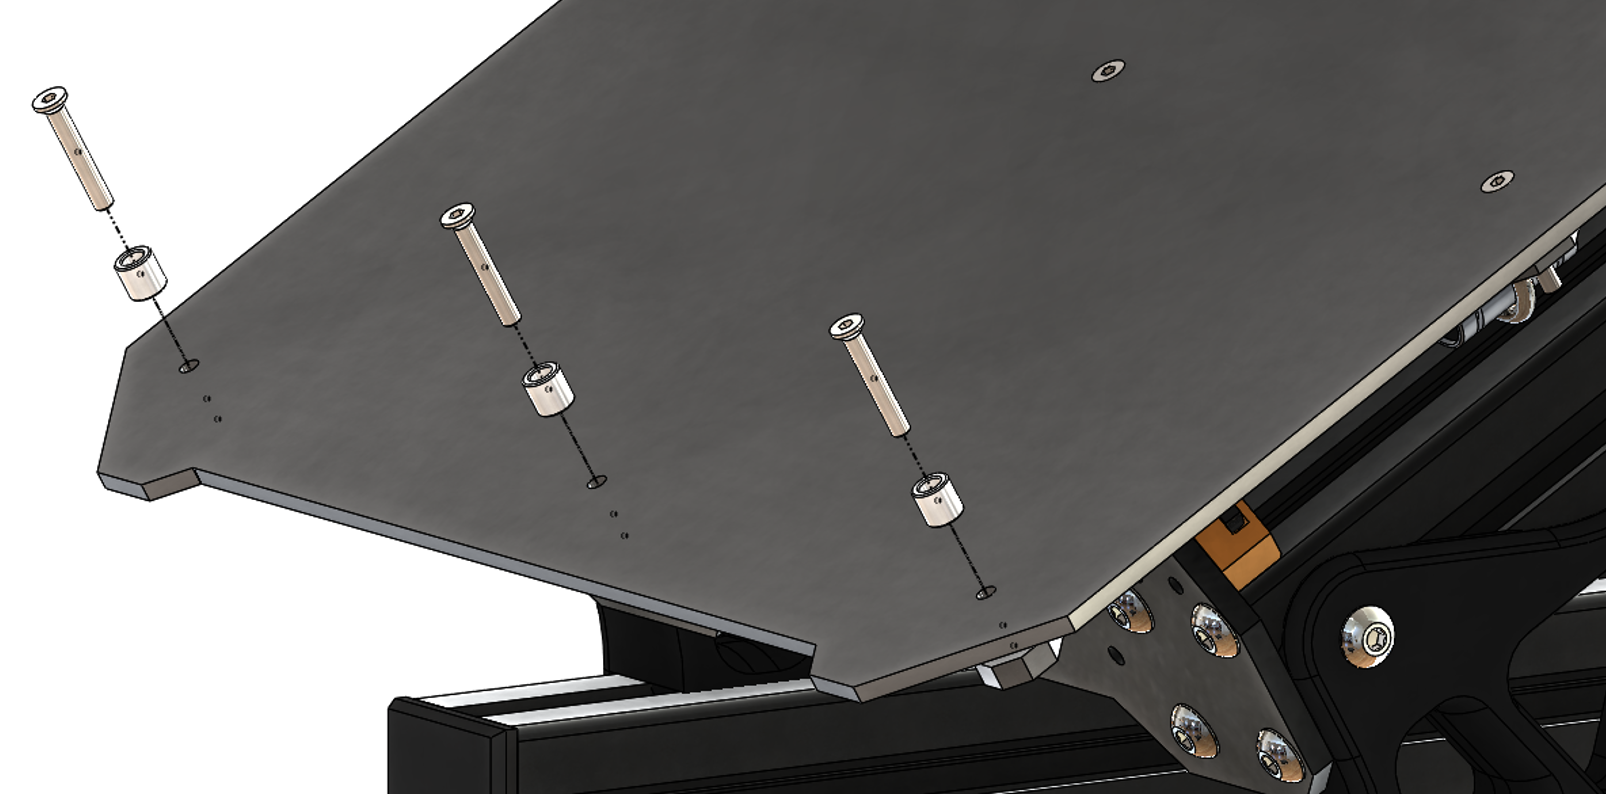
Remove the front 3 screws as well as the 3spacers separating the bed from the Y axis mounting plate.
-
Push the spacers into the holes of the P3 Front ramps.
-
Using the bed screws, align and slide in the screws onto the spacers previously install on the front ramps. Fasten the front ramp.
-
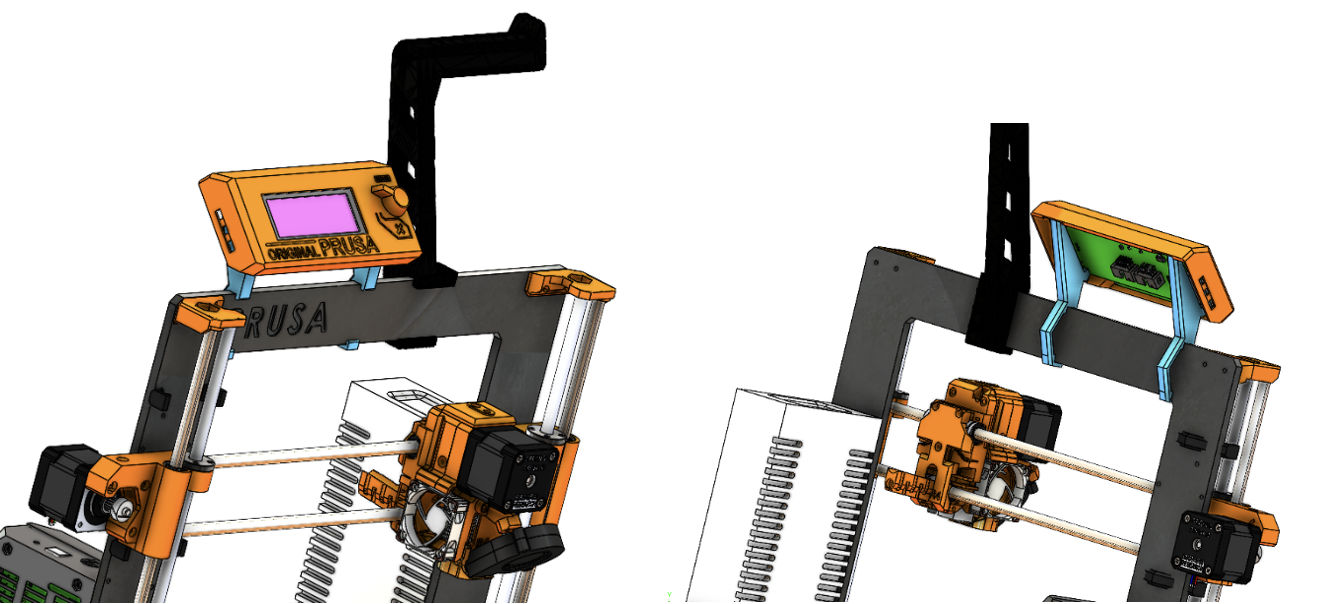
Remove the LCD Cover.
-
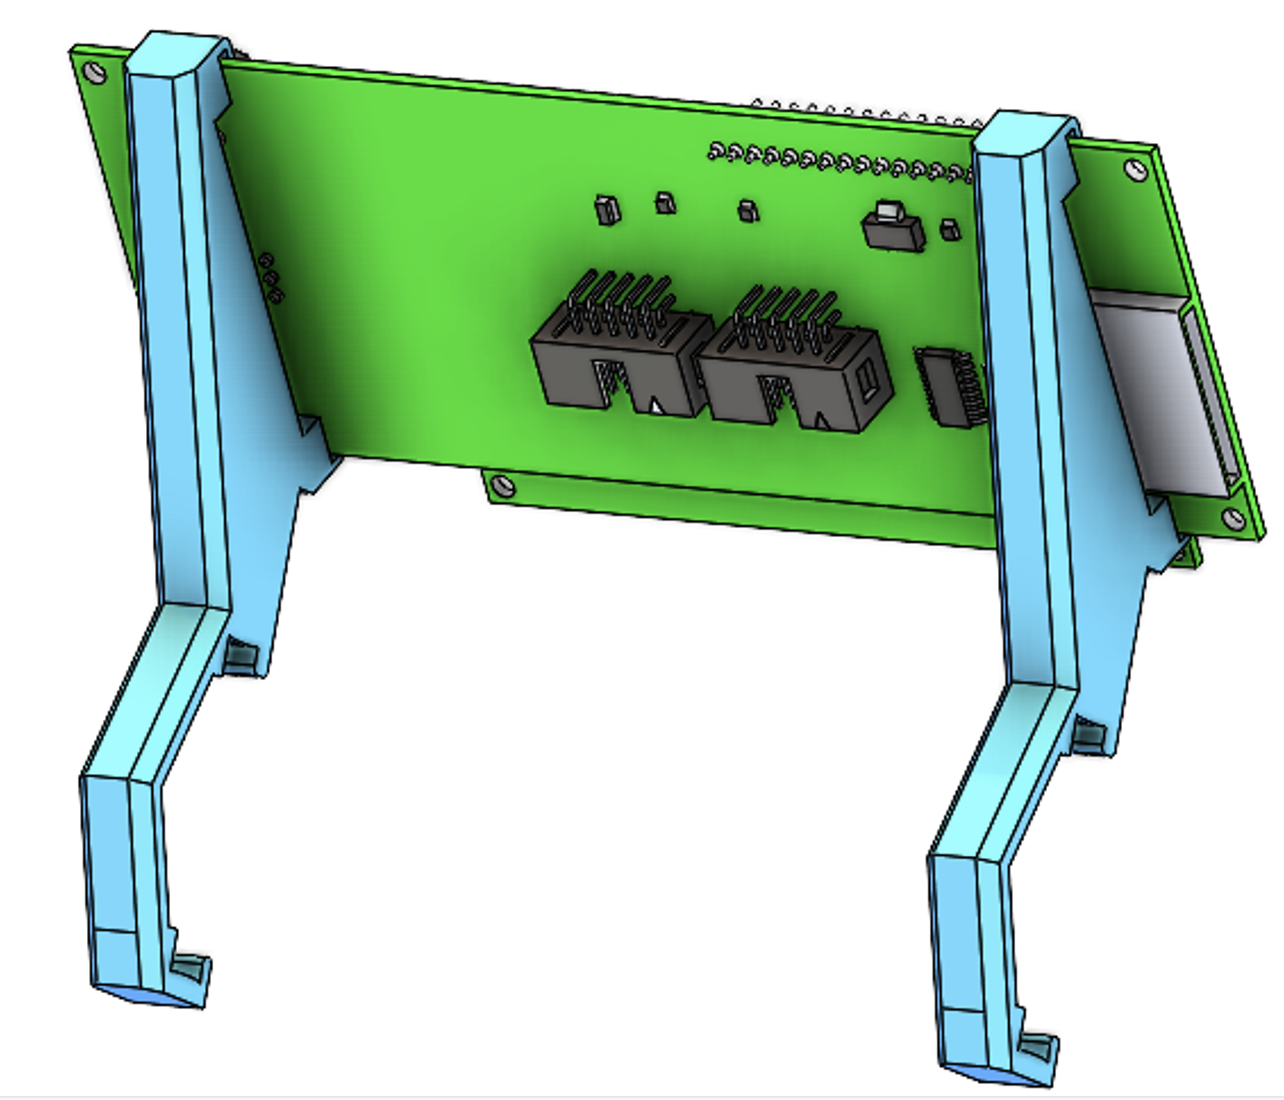
Attach the mounting brackets to the circuitboard as shown below:
-
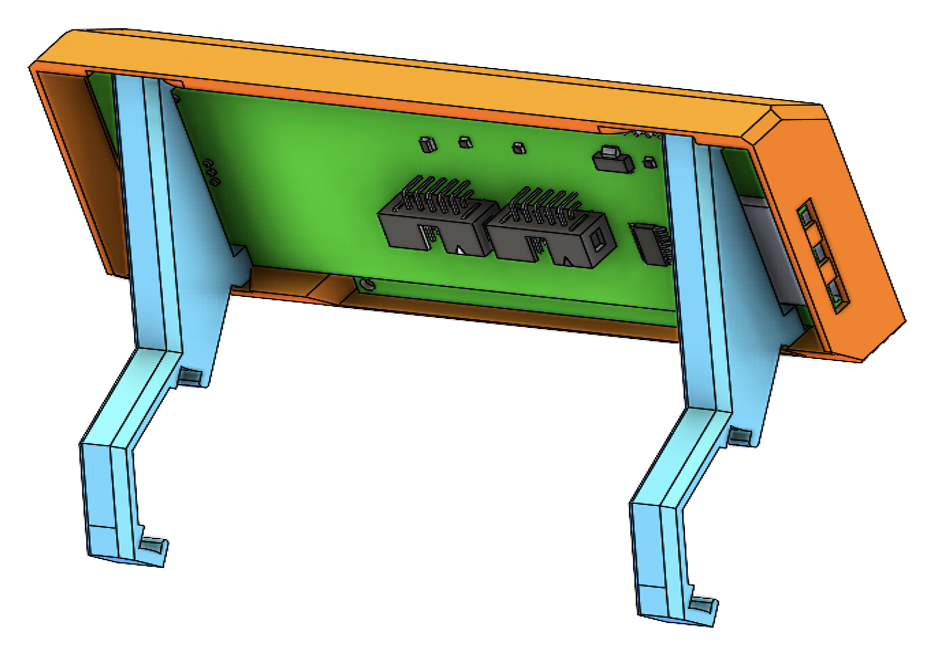
Replace the LCD cover:
-
Clip the brackets onto the top of the frame as shown below. You may need to shift over the spool holder.
-
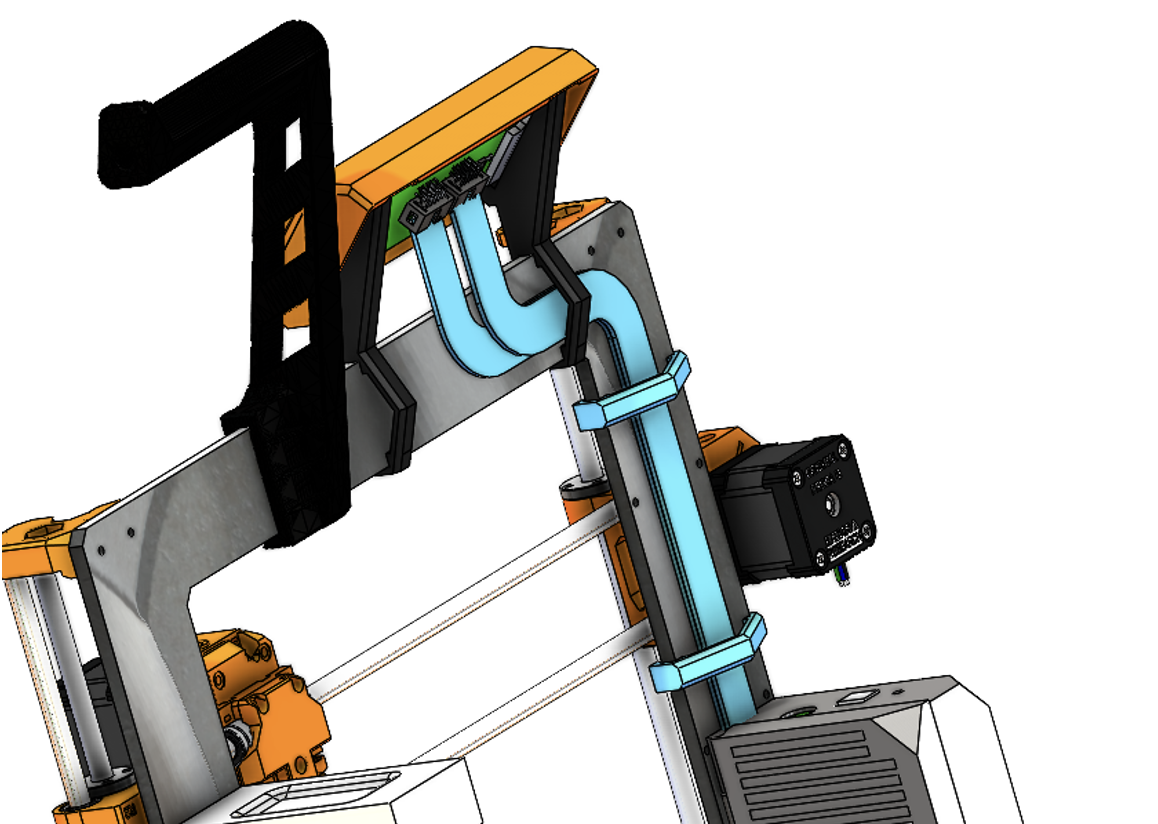
Reroute the LCD cable as shown below using the two wire clips (P7) to keep the cables out of the way.
 Done!
Done!