Ender 3 S1/S1 Pro
-
Update Firmware: Make sure your firmware is a version of Marlin 2
-
Remove SD Card: Remove the SD card from the printer. When plugged in, it can interfere with the connection stability.
1.0 What's in the Kit
Ender 3 S1
- 1 x Angle Bracket Left (ES1)
- 1 x Angle Bracket Right (ES2)
- 1 x Front Ramp (E103)
- 2 x Standoffs (E104)
- 2 x M5 x 50 mm Screws
Ender 3 S1 Pro
- 1 x Angle Bracket Left (ES3)
- 1 x Angle Bracket Right (ES4)
- 1 x Front Ramp (E103)
- 2 x Standoffs (E104)
- 2 x M5 x 50 mm Screws
2.0 What You'll Need
- Allen Keys
3.0 Install Tilt Kit
-
On an open and clean table, rotate your Ender 3 S1 (Pro) on it’s right side to give you access to the z-gantry bolts underneath.
-
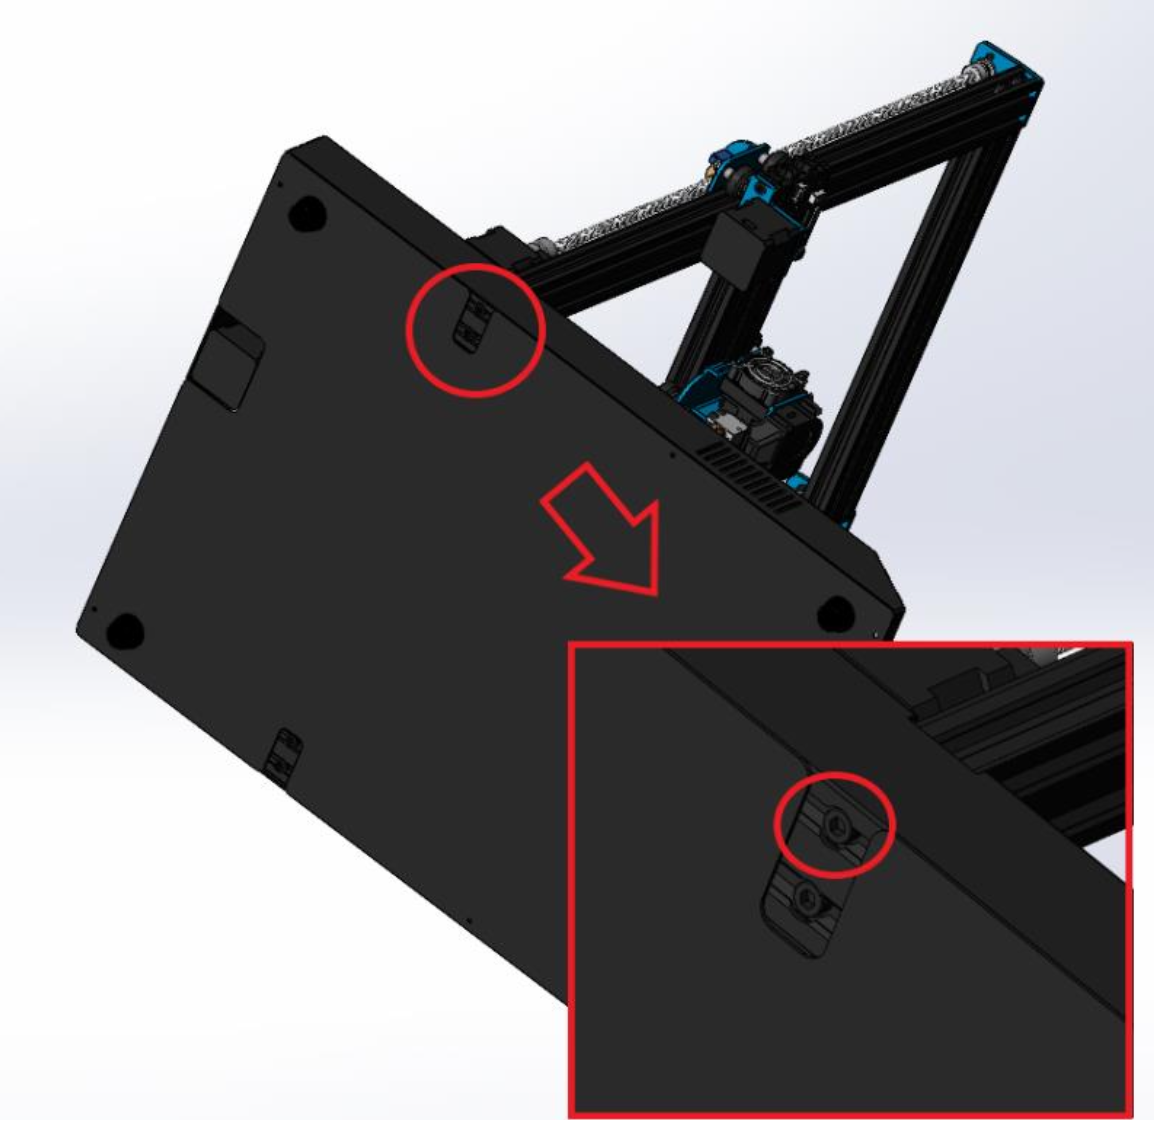
Remove the outermost z-gantry screw.
-
Using the provided M5x50mm bolt and M5 washer, install the ES1 (ES3 for S1 Pro) tilt bracket.
-
Ensure that the flat ledge of the tilt bracket is flush with the base of the 3D printer.
-
Carefully rotate your 3D printer on its left side and repeat step 2 using the ES2 (ES4 for S1 Pro) tilt bracket.
-
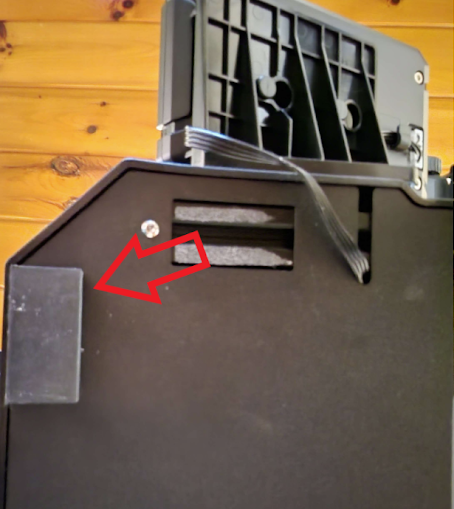
Before rotating your print upright, remove the front rubber feet and move them to the front as shown below.
-
Rotate your 3D printer and let it stand using the tilt brackets.
-
Remove front bed pull bracket (S1 Pro).
-
Loosen and remove front bed wheels to access bed springs.
-
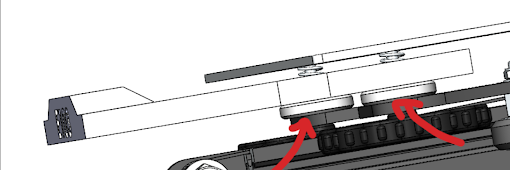
Install E103 front ramp and E104 spacers as shown below.
-
Install front bed wheels and tighten until bed is levelled.